
RDX L4-2.3L Turbo (2008)
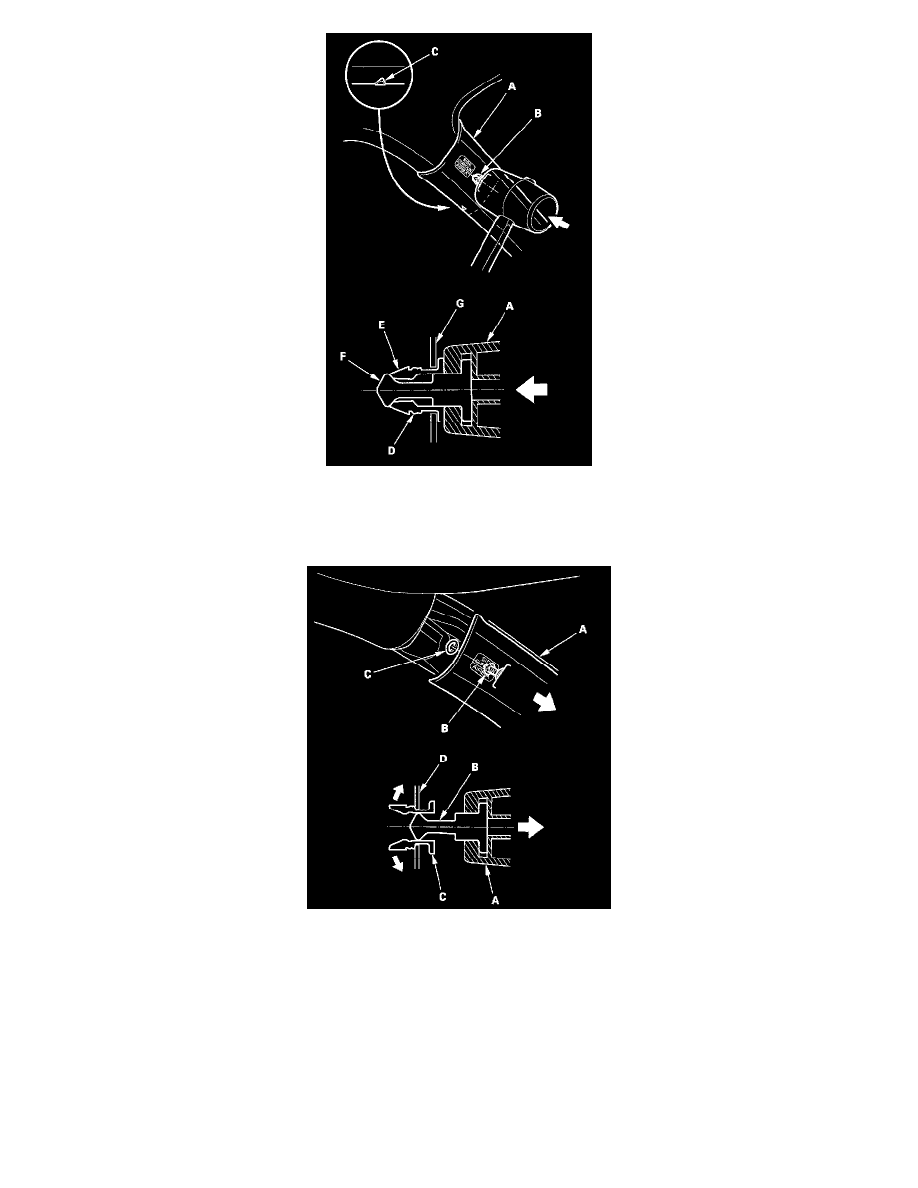
2. Hit the upper clip A-pillar trim (A) with a rubber mallet. The clip is under the point (B) where the triangle mark (C) on the edge of the trim
indicates. Hitting the clip breaks the shoulder (D) on the grommet (E) and pushes the pin (F) and grommet against the body (G).
NOTE: The clip must be replaced with a new one when the A-pillar trim is reinstalled.
3. Pull the top of the A-pillar trim (A) back by hand to remove the pin (B) from the grommet (C) remaining in the body (D).