
RDX L4-2.3L Turbo (2008)
Brake Master Cylinder: Service and Repair
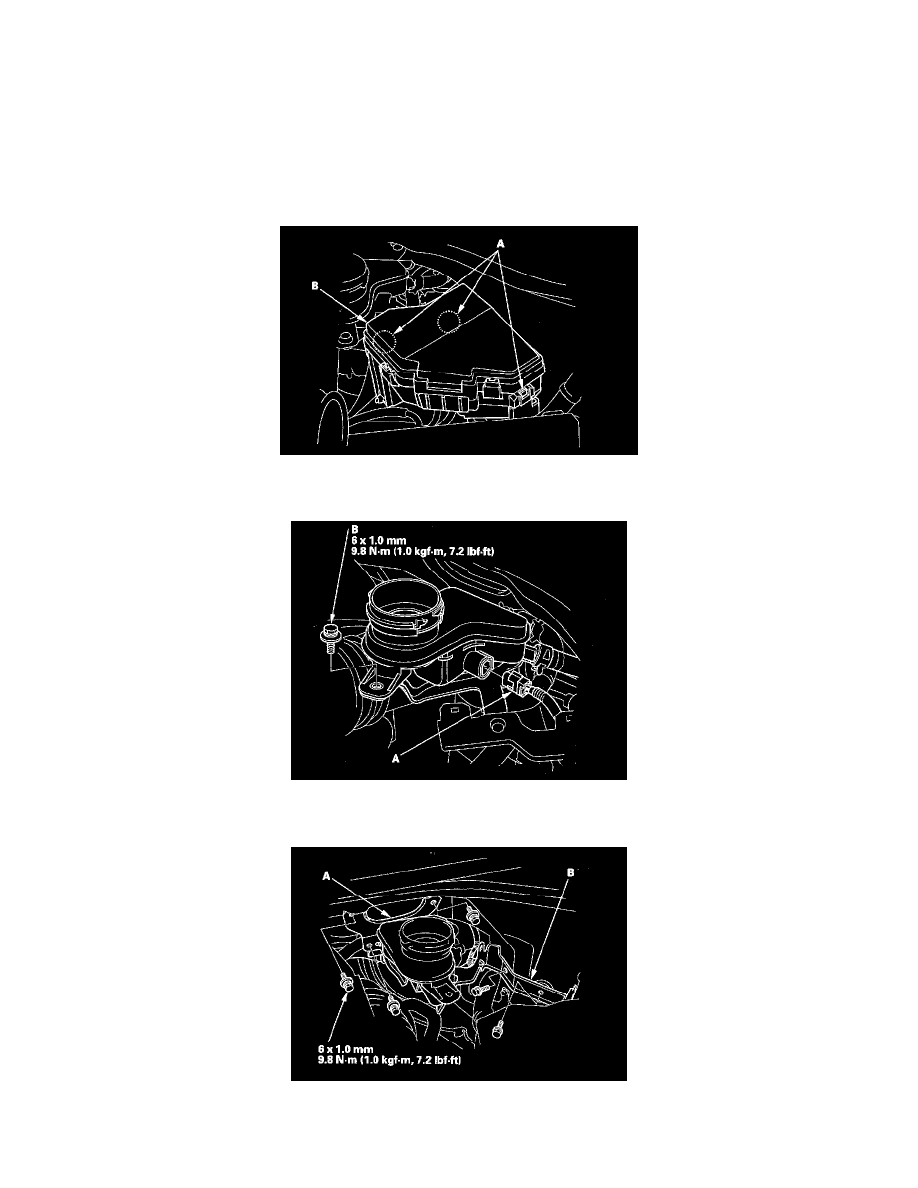
Master Cylinder Replacement
NOTICE:
-
Do not spill brake fluid on the vehicle; it may damage the paint; if brake fluid gets on the paint, wash it off immediately with water.
-
Be careful not to damage or deform the brake lines during removal and inspection.
-
To prevent the brake fluid from flowing, plug and cover the hose ends and joints with a shop towel or equivalent.
1. Remove the air cleaner housing cover.
2. Release the hooks (A), and move the under-hood fuse/relay box (B) aside. Do not disconnect the fuse/relay box connectors.
3. Remove the reservoir cap, then remove the brake fluid from the master cylinder reservoir with a syringe.
4. Disconnect the brake fluid level switch connector (A).
5. Remove the reservoir mounting bolt (B).
6. Remove the reservoir stay (A) and the under-hood fuse/relay box stay (B).
7. Disconnect the brake lines (A) from the master cylinder (B). To prevent spills, cover the line joints with rags or shop towels.