
RDX AWD L4-2.3L Turbo (2010)
Control Arm: Service and Repair
Rear Upper Arm Removal/Installation
Rear Upper Arm Removal/Installation
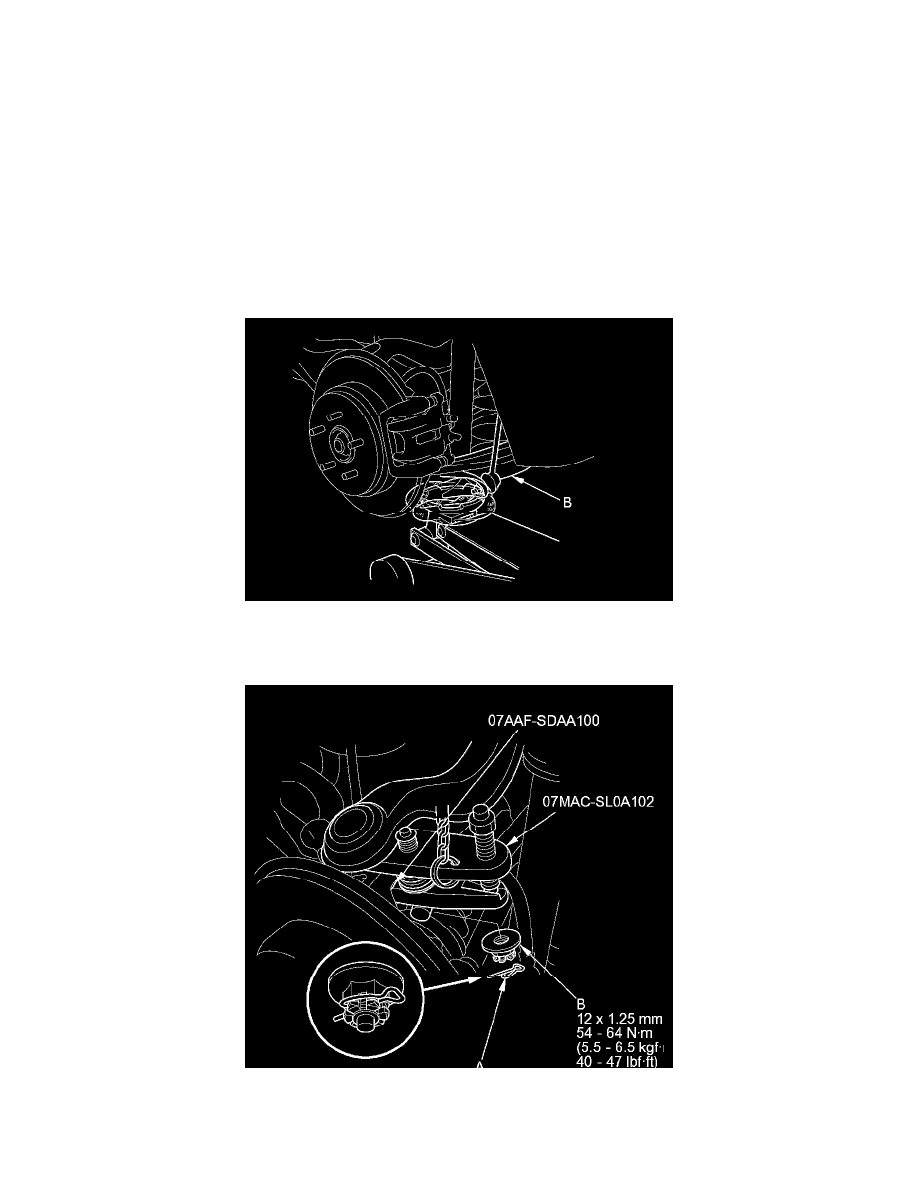
Special Tools Required
-
Ball Joint Thread Protector, 12 mm 07AAF-SDAA100
-
Ball Joint Remover, 32 mm 07MAC-SL0A102
1. Raise and support the vehicle See: Wheels and Tires/Vehicle Lifting/Service and Repair.
2. Remove the rear wheel.
3. Position a floor jack at the connecting point of lower arm B and the knuckle.
4. Remove the lock pin (A) from the upper arm ball joint, then remove the castle nut (B).
NOTE: During installation, install the lock pin as shown after tightening the new castle nut.
5. Disconnect the upper arm ball joint from the knuckle using the ball joint remover See: Ball Joint/Service and Repair/Ball Joint Removal.
6. Remove the flange bolt (A), then remove the upper arm (B) from the vehicle.