
RL V6-3.5L (2007)
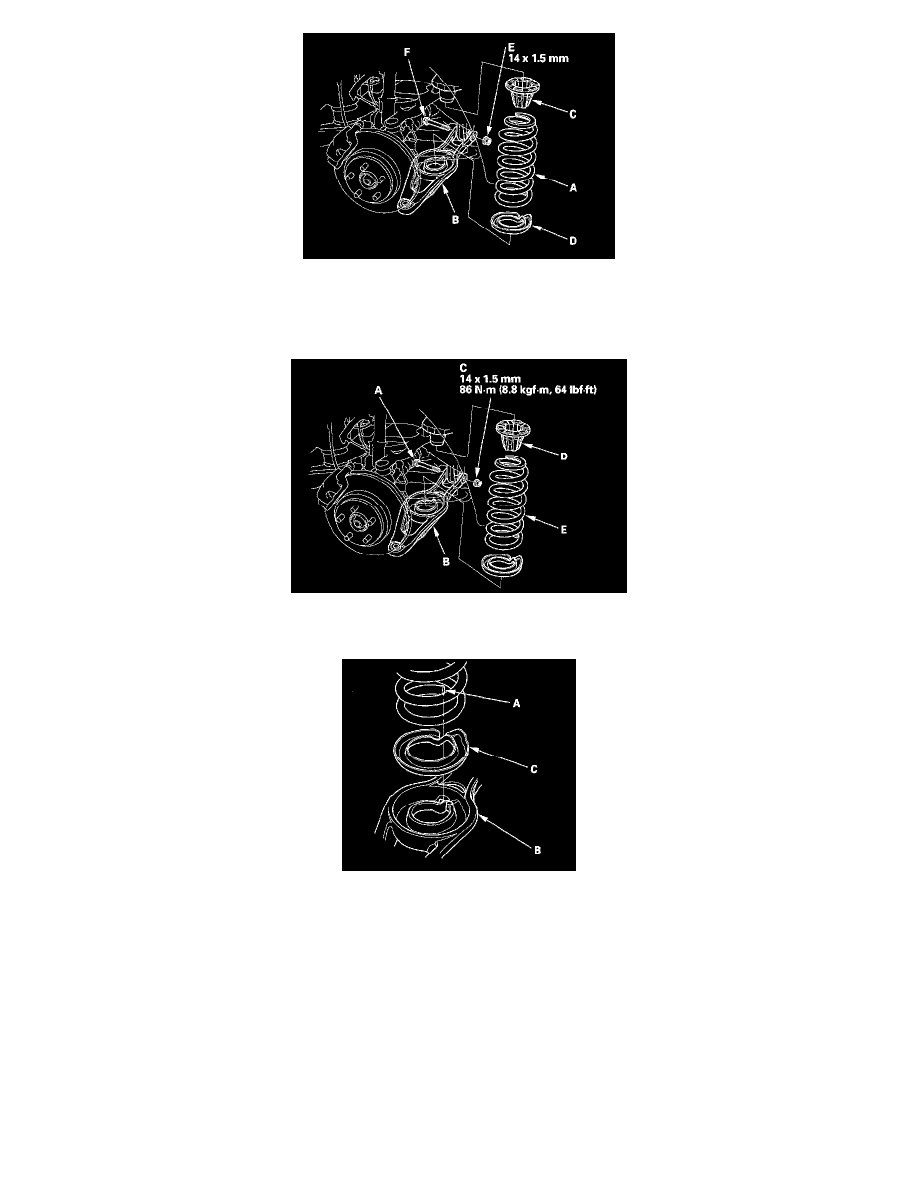
9. Remove the self-locking nut (E) and flange bolt (F), then remove lower arm B.
Installation
1. Position lower arm B, install the flange bolt (A), and loosely install the self-locking nut (C).
2. Install the spring mounting cushion (D) and spring (E).
3. Align the bottom of the spring (A), the stepped part of the lower spring seat (C) and lower arm B.
4. Place a floor jack at the connecting point of lower arm B and the stabilizer link.
5. Raise the jack slowly until you can align the bolt hole of lower arm B and the knuckle ball joint pin, then loosely install the castle nut (A).