RL V6-3.7L (2009)

-
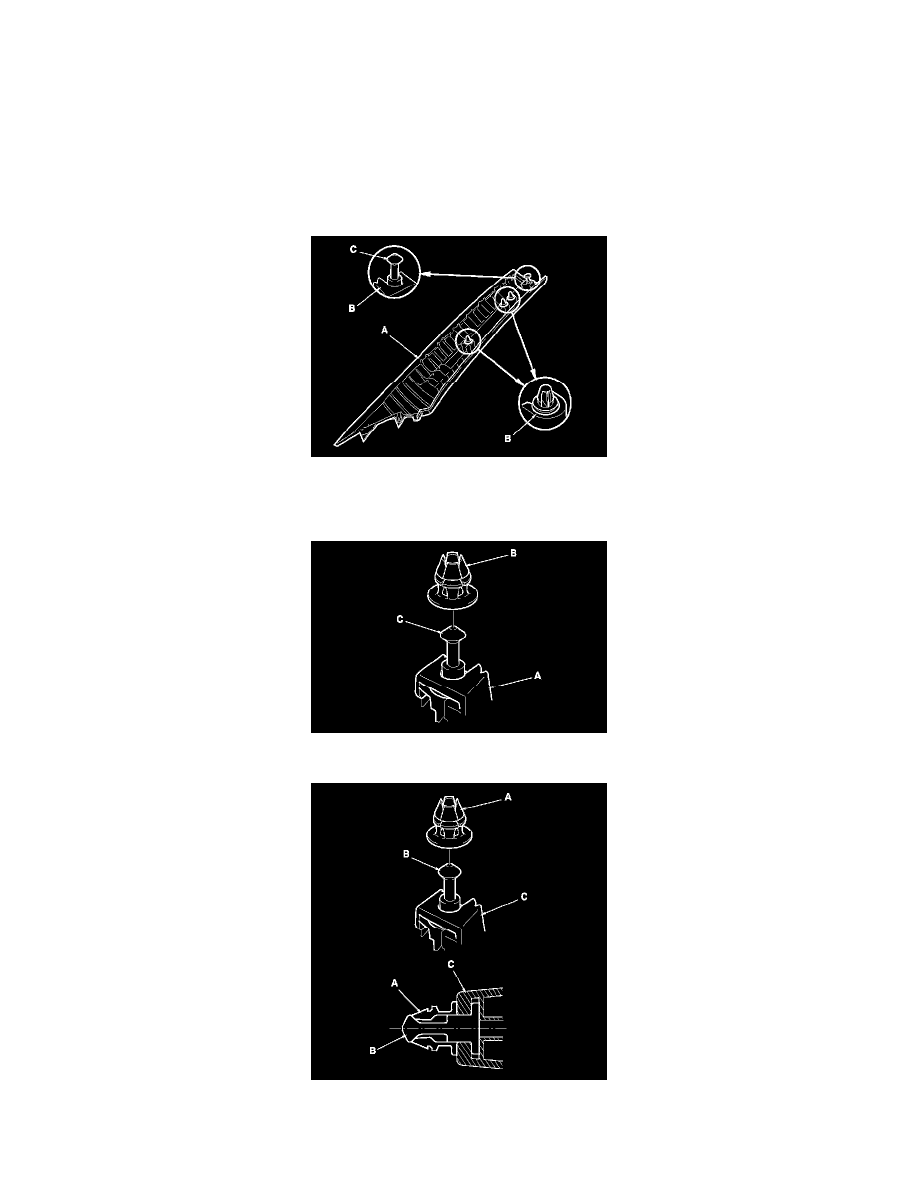
To prevent the side curtain airbags from deploying improperly and possibly causing injury, inspect the A-pillar trim and replace it if it has any
of these types of damage:
-
Any cracks, deformations, or stress-whitenings
-
Any cracks or stress-whitening in the clip and the pin seating surfaces (B)
-
Damaged top of the upper clip pin (C)
-
Replace the upper clip grommet with a new one because it is damaged during removal.
-
If the clips are damaged or stress-whitened, replace them with new ones.
8. Before installing the A-pillar trim (A), carefully remove the grommet (B) from the pin (C) on the new upper clip.
9. Check the overlap between the headliner and A-pillar trim, and if necessary, adjust it. See: Restraint Systems/Air Bag Systems/Service and Repair
10. Carefully reinstall the grommet (A) on the pin (B) and seat them on the A-pillar trim (C) as shown.
11. Reinstall the A-pillar trim (A).
-1 Insert the bottom of the trim into the dashboard (B).
Place the trim over the A-pillar (C), and fit its upper clip (D) and the other clips into holes (E) in the A-pillar, then lightly push the trim into place.
