
RL V6-3474cc 3.5L (1998)
(passenger's) unit. Loosen the upper mounting bolt, then remove the mounting bolts and the control unit.
9. Remove the dust and pollen filter assemblies.
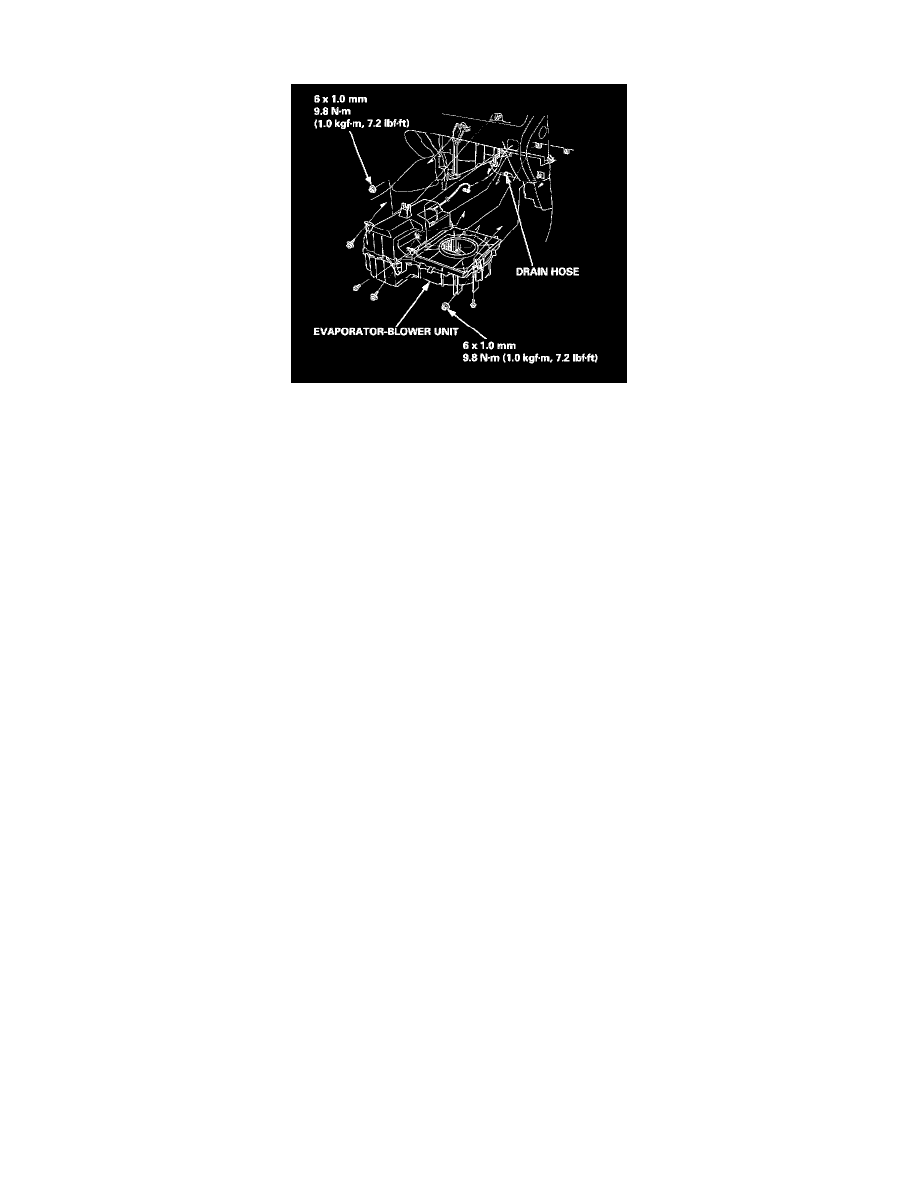
10. Disconnect the drain hose. Remove the self-tapping screws, the mounting bolts, the mounting nuts and the evaporator/blower unit.
NOTE: Be careful not to damage or bend the capillary tube.
11. Install in the reverse order of removal. Make note of the following items.
-
If you're installing a new evaporator, add refrigerant oil (ND-OIL 8).
-
Replace the O-rings with new ones at each fitting, and apply a thin coat of refrigerant oil before installing them.
NOTE: Be sure to use the right O-rings for HFC-134a (R-134a) to avoid leakage.
-
Install the capillary tube along the suction line.
NOTE: Be careful not to damage or bend the capillary tube.
-
Apply sealant to the grommets.
-
Make sure that there is no air leakage.
-
Charge the system, and test its performance.