
TL V6-3.2L (2004)
-
Any cracks, or press-whitenings in the grommet and clip seating surfaces (B)
-
Bent or broken grommet (C)
-
Damaged top of the A-pillar cap pin (D)
-
Make sure the top of the trim overlaps with the headliner correctly.
-
Push the clip portions into place securely.
B-pillar
1. Remove these items:
-
Kick panel
-
Front door sill trim
-
Rear door sill trim
-
Front door opening trim, as needed
-
Rear door opening trim, as needed
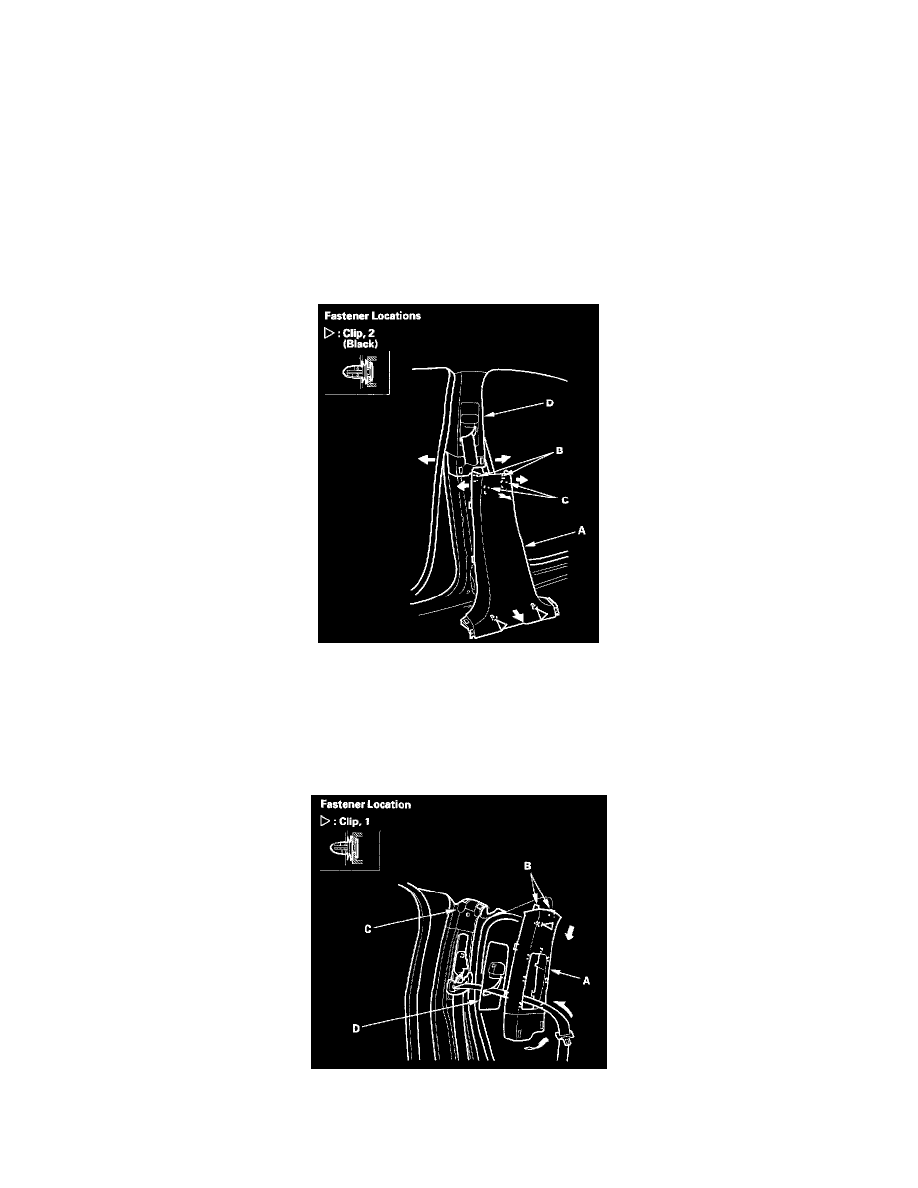
2. Remove the B-pillar trim (A).
1. Detach lower clips by pulling the bottom of the B-pillar lower trim back by hand.
2. While pulling both upper edges of the B-pillar lower trim sidewards, pull the top of the trim back by hard to release the hooks (B, C) from the
B-pillar upper trim (D), then remove the trim.
3. Left side: Remove front seat belt lower anchor bolt.
4. Right side: Detach the front seat belt lower anchor.
5. Remove the B-pillar upper trim (A).
1. Detach the clip by pulling the bottom of the trim back.
2. Pull the trim down to release the upper hooks (B) from the side curtain airbag B-pillar bracket(C).