
TL V6-3.5L (2007)
Clutch Master Cylinder: Service and Repair
Clutch Master Cylinder Replacement
NOTE:
^
Use fender covers to avoid damaging painted surfaces.
^
Do not spill brake fluid on the vehicle; it may damage the paint. If brake fluid does contact the paint, wash it off immediately with water.
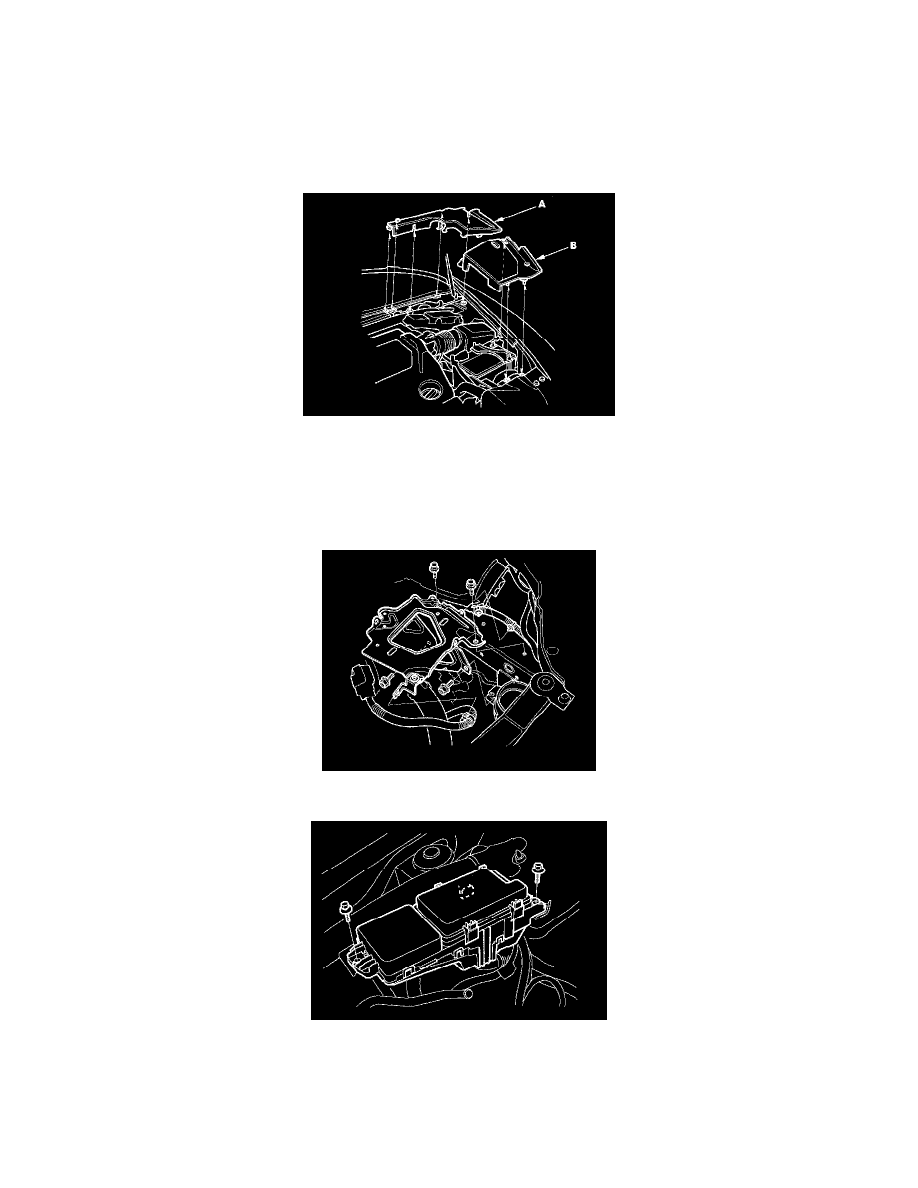
1. Remove the left rear engine compartment cover (A) and the left side engine compartment cover (B).
2. Remove the brake fluid from the clutch master cylinder reservoir with a syringe.
3. Make sure you have the anti-theft codes for the audio unit and the navigation system, then write down the audio presets.
4. Disconnect the negative cable from the battery first, then disconnect the positive cable.
5. Remove the battery.
6. Remove the air cleaner assembly.
7. Remove the battery base.
8. Remove the under-hood fuse/relay box.
9. Remove the driver's dashboard undercover.
10. Pry out the lock pin (A), and pull the clevis pin (B) out of the yoke. Remove the master cylinder mounting nuts (C).