
TL V6-3206cc 3.2L SOHC MFI (1998)
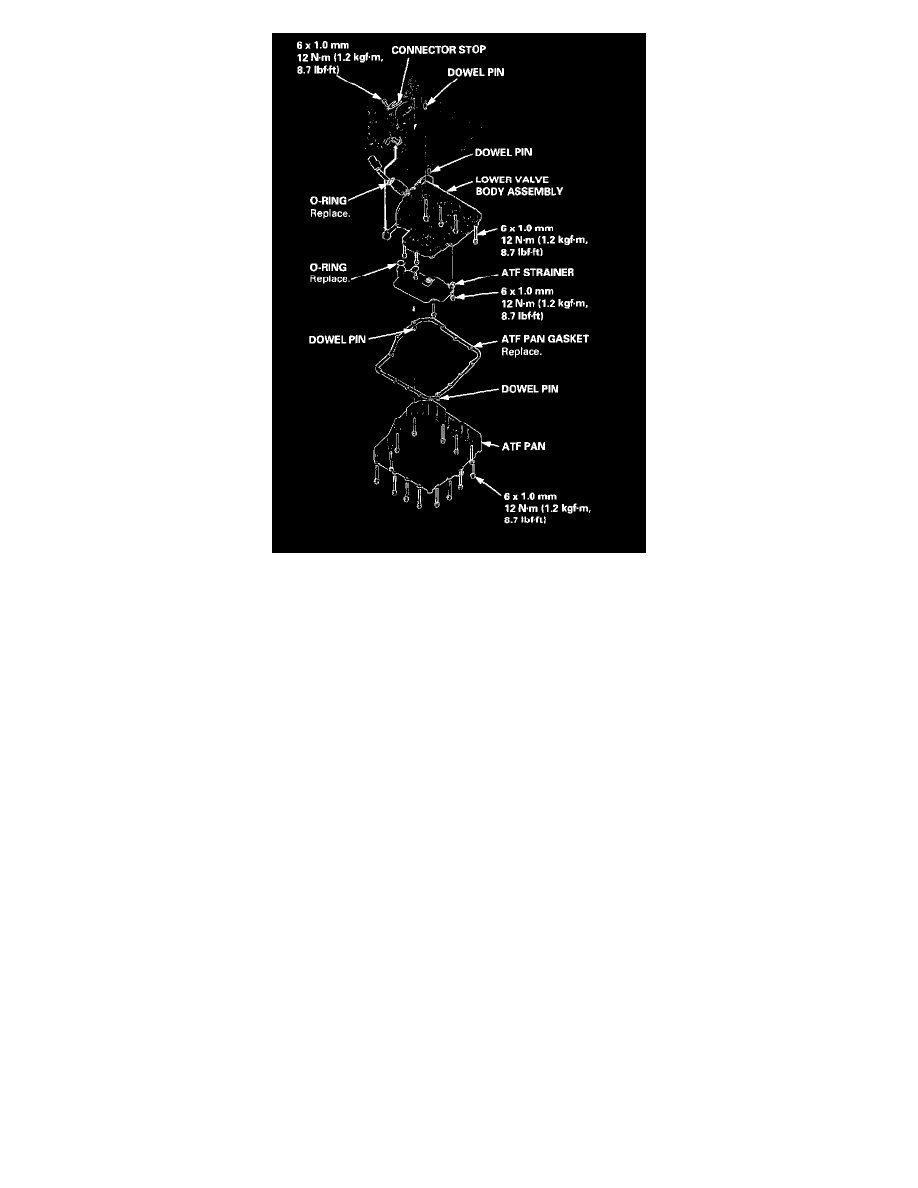
8. Remove the shift control solenoid/linear solenoid harness connector stop.
9. Remove the ATF pan (14 bolts).
10. Remove the ATF strainer (three bolts).
11. Remove the lower valve body assembly (six bolts) while pushing the connector out of the transmission housing.
12. Clean the inlet opening of the ATF strainer thoroughly with compressed air, then check that it is in good condition, and the inlet opening is not
clogged.
13. Replace the ATF strainer if it is clogged or damaged.
NOTE: The ATF strainer can be reused if it is not clogged.
14. Install the lower valve body assembly in the reverse order of removal.