
TL AWD V6-3.7L (2010)
Trunk / Liftgate Latch Release Cable: Service and Repair
Trunk Lid Opener Cable Replacement
NOTE:
-
Put on gloves to protect your hands.
-
Take care not to scratch the body.
-
Take care not to kink the trunk lid opener cable.
1. Remove these items:
-
Rear seat cushion See: Seats/Service and Repair/Rear Seat Removal/Installation
-
Rear seat-back See: Seats/Service and Repair/Rear Seat Removal/Installation
-
Trunk lid hinge trim See: Trunk / Liftgate Interior Trim Panel/Service and Repair/Interior Trim Removal/Installation - Trunk Lid
-
Trunk lid trim panel See: Trunk / Liftgate Interior Trim Panel/Service and Repair/Interior Trim Removal/Installation - Trunk Lid
-
Trunk side trim panel, left side See: Trunk / Liftgate Interior Trim Panel/Service and Repair/Interior Trim Removal/Installation - Trunk Area
-
Trunk upper trim panel See: Trunk / Liftgate Interior Trim Panel/Service and Repair/Interior Trim Removal/Installation - Trunk Area
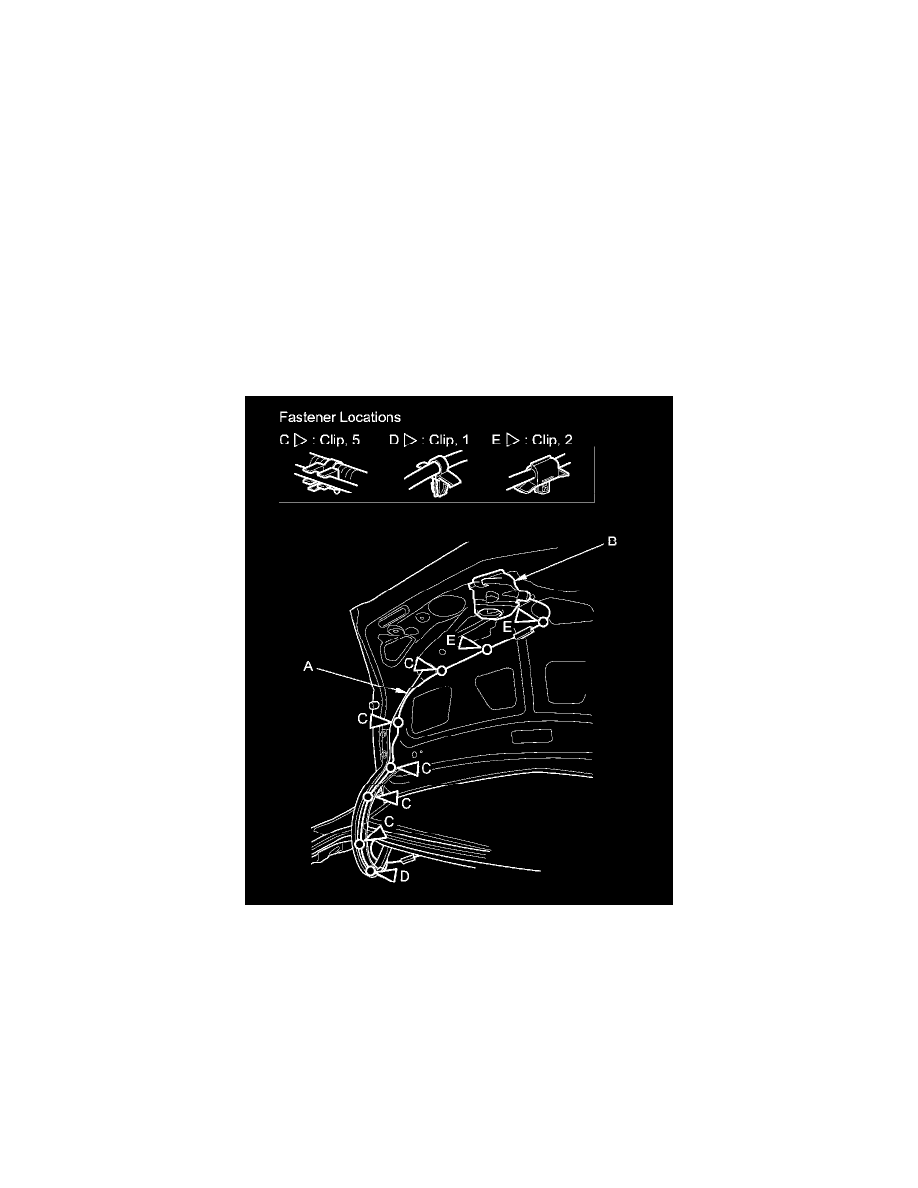
2. Disconnect the trunk lid opener cable (A) from the latch (B) See: Trunk / Liftgate Latch/Service and Repair.
3. Detach the clips (C, D, E) with a clip remover.
4. Remove the trunk lid opener cable (A) from the opener cable bracket (B).