
ZDX V6-3.7L (2010)
Liftgate Window Glass: Service and Repair
Lower Rear Window Replacement
Lower Rear Window Replacement
NOTE:
-
Wear eye protection while cutting the glass adhesive with a piano wire.
-
Put on gloves to protect your hands.
-
Use seat covers to avoid damaging any surfaces.
-
Do not damage the lower rear window defogger grid lines, the window antenna grid lines, or the terminals.
1. Remove these items:
-
Tailgate lower trim panel
-
Tailgate spoiler See: Spoilers, Flaps, and Air Dams/Spoiler/Service and Repair
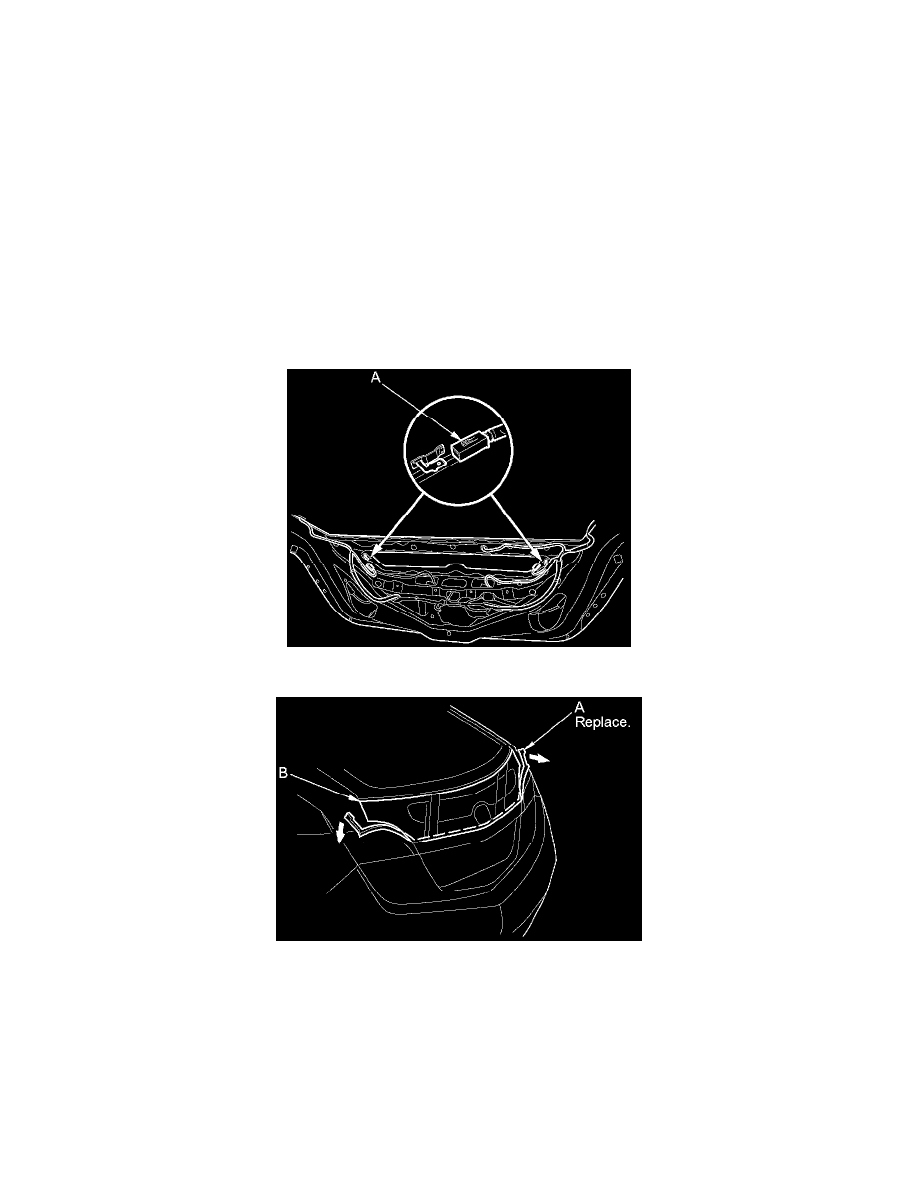
2. Disconnect the lower rear window defogger connectors (A).
3. Remove the glass molding (A) from the edge of the lower rear window (B). If necessary, cut off the upper molding with a utility knife.
4. Apply protective tape along the inside and outside edges of the tailgate. Make holes with an awl through the upper adhesive from inside the vehicle
from both sides of the lower rear window.
5. With a helper on the outside, pull the piano wire (A) back and forth in a sawing motion. Hold the piano wire as close to the lower rear window (B)
as possible to prevent damage to the body, and carefully cut through the adhesive (C) in the upper area and the corners, but not the lower area.