ZDX V6-3.7L (2010)

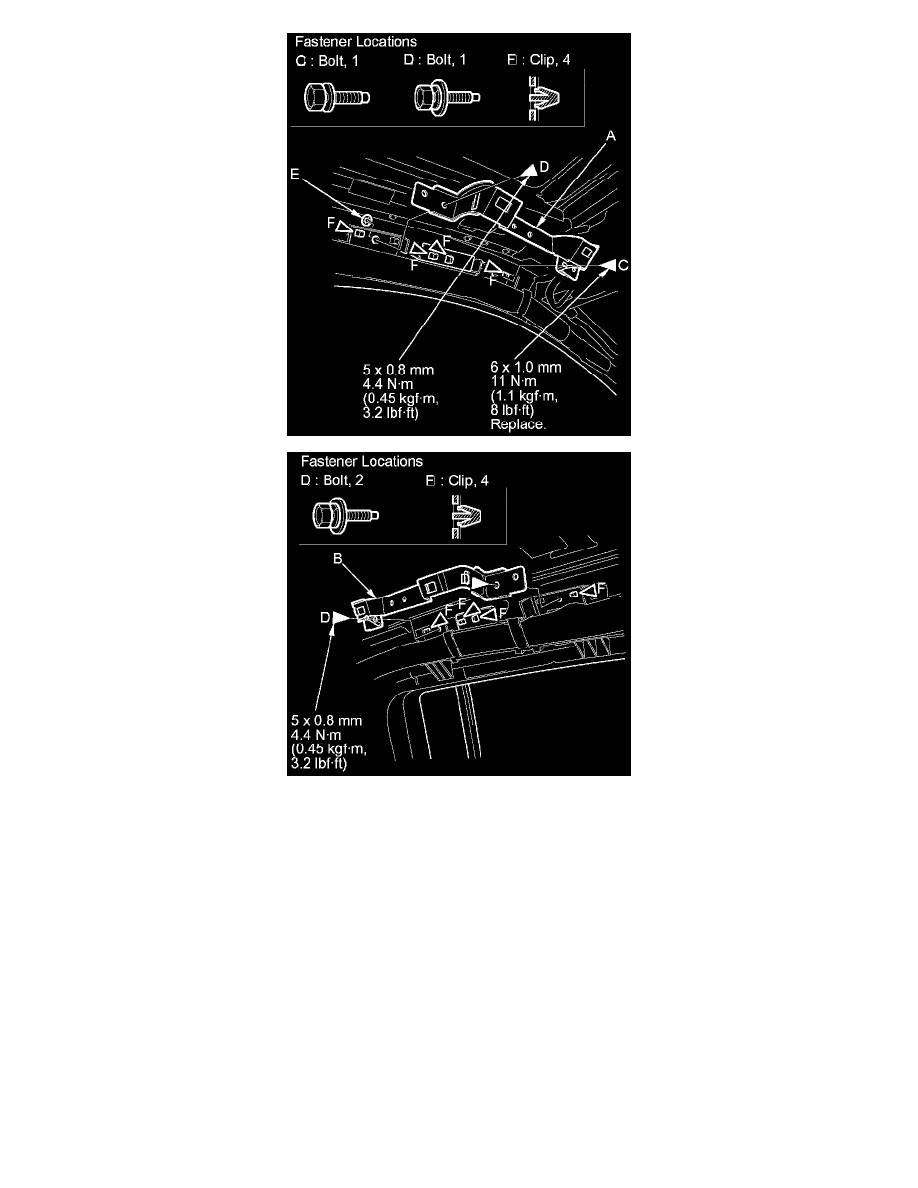
13. Install the headliner in the reverse order of removal, and note these items:
-
If the side curtain airbag has deployed, replace the headliner and removed trim pieces with new ones See: Restraint Systems/Air Bag
Systems/Service and Repair.
-
To prevent the side curtain airbags from deploying improperly and possibly causing injury, inspect the headliner and all removed trim. Replace
any pieces with the following damage:
-
Any creases or tears in the headliner (A)
-
Any cracks or breakage in the grab handle (B)
-
Any damages around the grab handle holes (C) or the sunvisor holes (D) in the headliner
-
Any cracks in the sunvisor stay base (E)
-
Any cracks in the sunvisor bracket cover (F)
-
Any bends or cracks in the sunvisor stay shaft (G)
-
Any cracks in the sunvisor base (H)
-
Any cracks or breakage in the vanity mirror base (I)
-
Any fastener bases (J), the stiffeners (K), the magnet (L), or the clip bases (M) which have come off the headliner
-
When installing the grab handle, push on the handle against the bracket (N) until the clips (O) snap into place securely.
-
If the clips are damaged or stress-whitened, replace them with new ones.
-
Replace the removed cushion tape with new ones.
-
Check that both sides of the headliner are securely attached to the body.
-
Make sure the headliner overlaps the trim pieces correctly See: Restraint Systems/Air Bag Systems/Service and Repair.
-
When reinstalling the headliner through the tailgate opening, be careful not to fold or bend it. Also, be careful not to scratch the body.
