
ZDX V6-3.7L (2010)
9. Temporarily install the B-pillar upper trim (without the upper clip) to check the overlap between the trim and the headliner See: Restraint
Systems/Air Bag Systems/Service and Repair. Remove the trim, and if necessary, adjust the overlap.
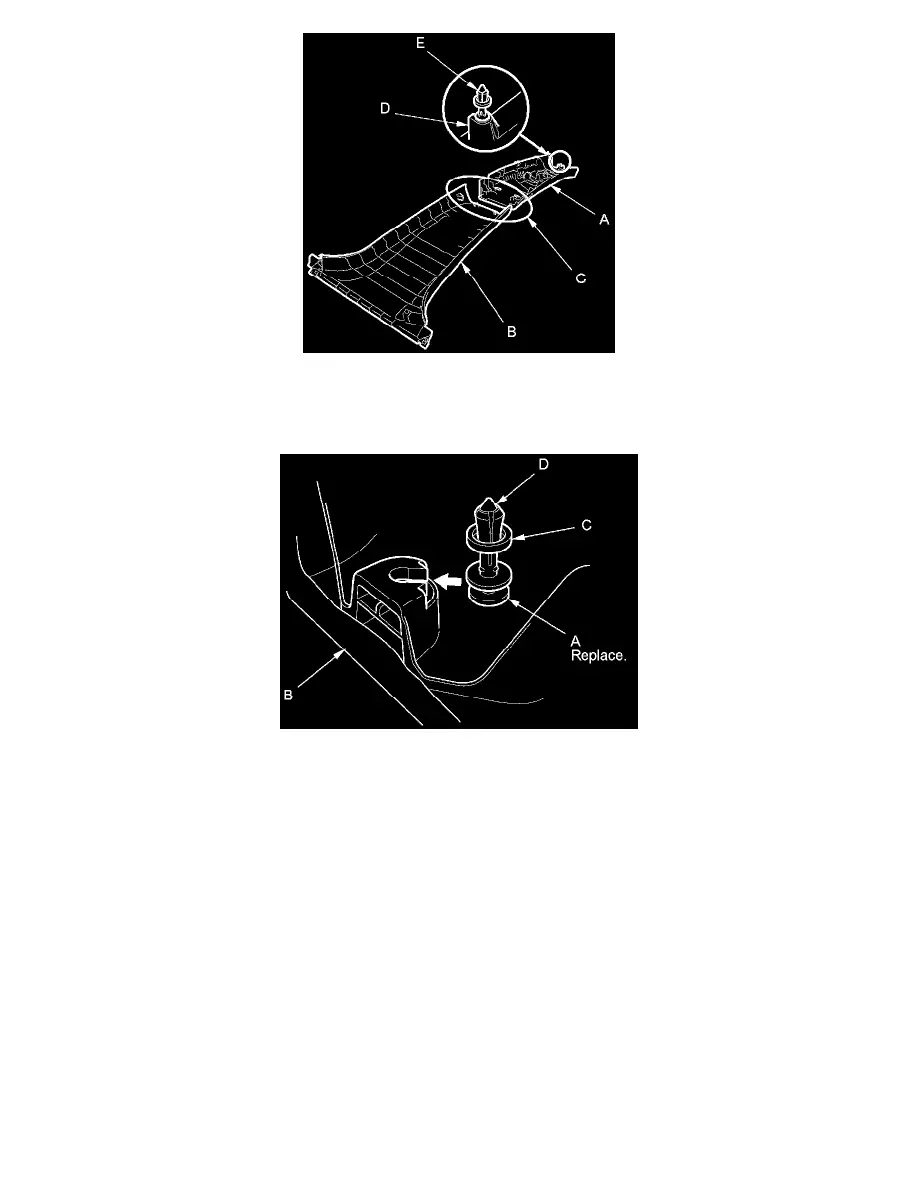
10. Carefully install the new upper clip (A) to the B-pillar upper trim (B). Be sure that the grommet (C) is nearest to the top of the pin (D) as shown.
11. Reinstall the B-pillar upper trim (A).
1. Insert the hooks (B) of the trim into the B-pillar hole (C).
2. Place the trim over the B-pillar (D) and fit the upper clip (E) into the hole (F) in the B-pillar, then lightly push the trim into place.
NOTE:
-
Make sure the pin (G) on the front seat belt shoulder anchor adjuster (H) and the hole (I) on the back of the slider are engaged when
installing the B-pillar upper trim.
-
Make sure the side curtain airbag is not tucked under the clip or the trim ribs.
-
Do not push too hard on the B-pillar upper trim. If you push too hard, the clip will be damaged, and it will not hold the trim properly.
-
Gently tug on the B-pillar trim to verify that all clip is securely fastened.