
ZDX V6-3.7L (2010)
Control Arm: Service and Repair
Rear Lower Arm B Removal/Installation
Rear Lower Arm B Removal/Installation
1. Raise and support the vehicle See: Wheels and Tires/Vehicle Lifting/Service and Repair.
2. Remove the rear wheel.
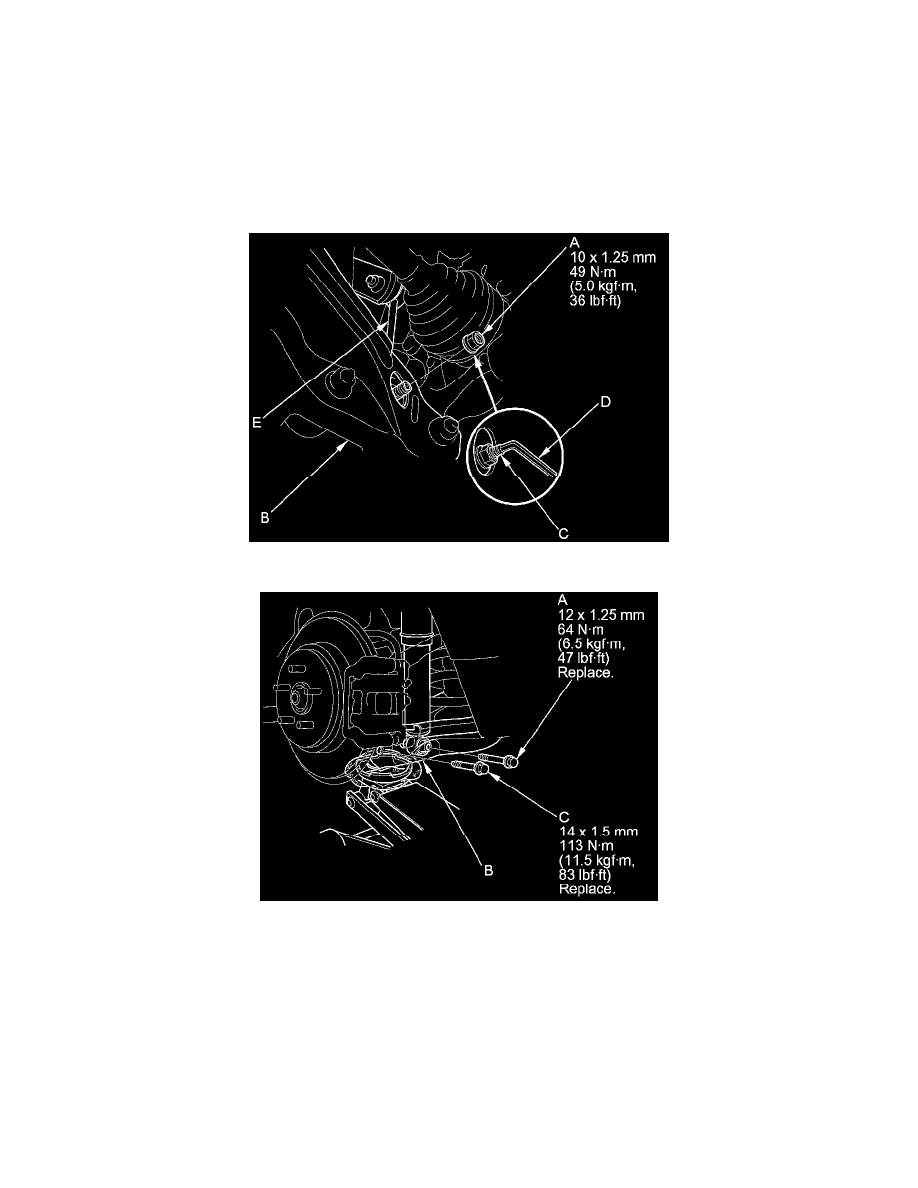
3. Remove the flange nut (A) while holding the joint pin (C) with a hex wrench (D), and disconnect the stabilizer link (E) from lower arm B.
4. Position a floor jack under lower arm B. Raise the floor jack until the suspension begins to compress.
5. Remove the flange bolt (A) from the bottom of the damper.
NOTE: Use the new flange bolt during reassembly.
6. Remove the flange bolt (C) from the knuckle.
NOTE: Use the new flange bolt during reassembly.
7. Lower the floor jack gradually.
8. Remove the spring (A) and the lower spring seat (C).
NOTE: During installation, align the bottom of the spring with the stepped part of the lower spring seat and lower arm B as shown.