ZDX V6-3.7L (2010)

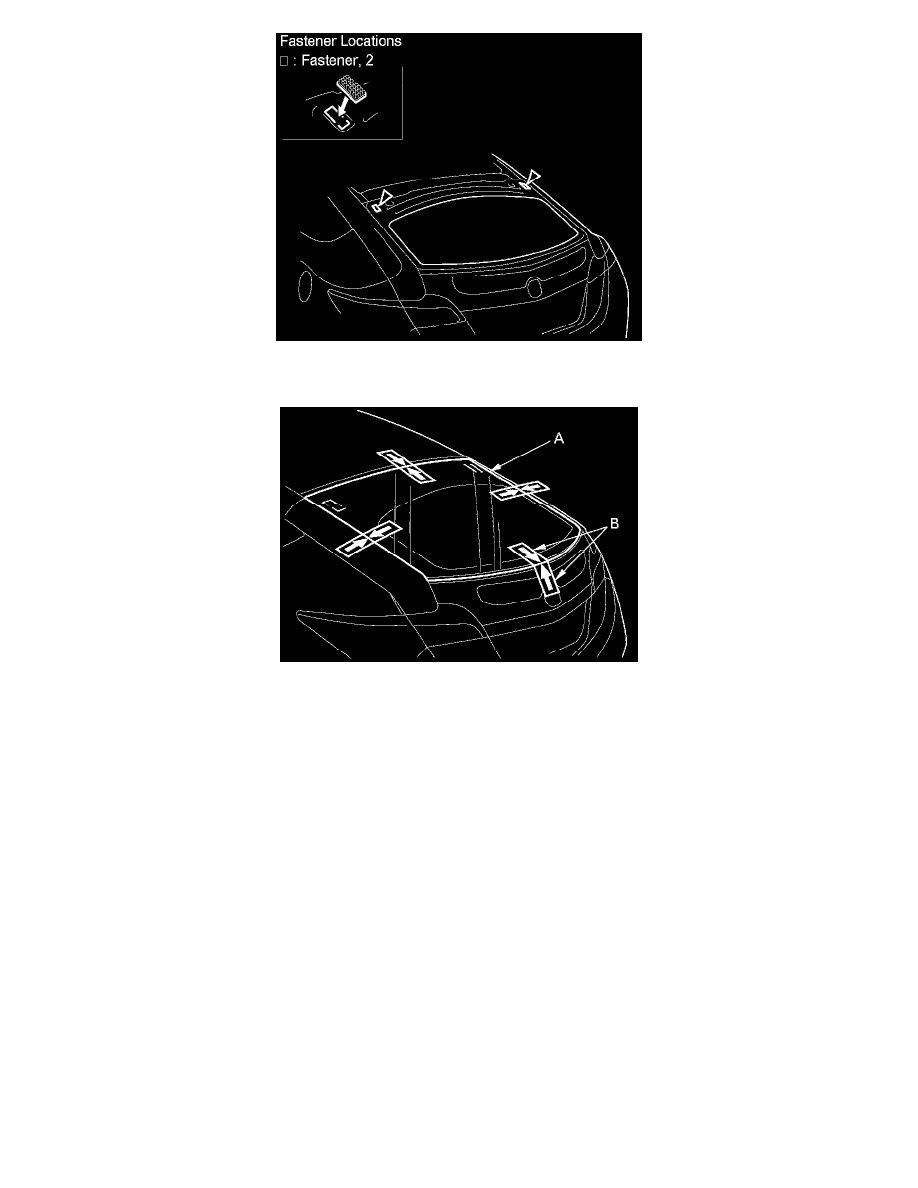
14. Set the upper rear window (A) in the opening, and center it. Make alignment marks (B) across the upper rear window and the body with a grease
pencil at the four points shown. Be careful not to touch the upper rear window where the adhesive will be applied.
15. Remove the upper rear window.
16. Apply a light coat of glass primer to the upper rear window (A) along the edge of the rubber dams (B) as shown, then lightly wipe it off with gauze
or cheesecloth:
-
Apply the glass primer to the corner areas of the upper rear window using the printed dots (C) on the upper rear window as a guide.
-
Do not apply body primer to the upper rear window, and do not mix up the body and the glass primer applicators.
-
Never touch the primed surfaces with your hands. If you do, the adhesive may not bond to the upper rear window properly, causing a leak after
the upper rear window is installed.
-
Keep water, dust, and abrasive materials away from the primed surfaces.
