| –
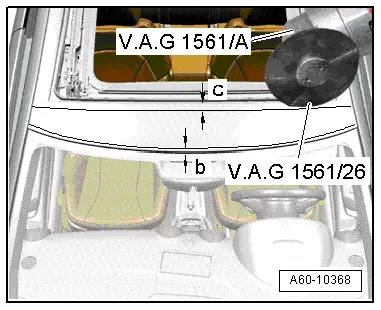
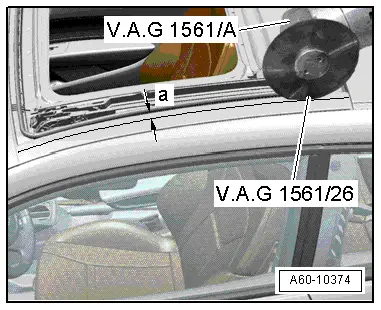
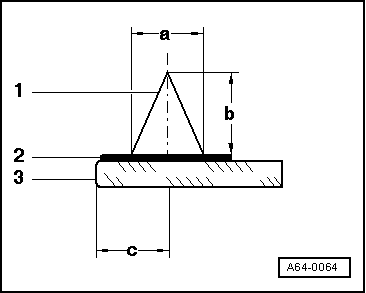
| Also make marks with distance -b- = 10 mm to front edge and with distance -c- = 10 mm to rear edge. |

Caution | Because there is little space between the front trim panel and the frame, fit a depth stop and set it to 5 mm. |
|
| –
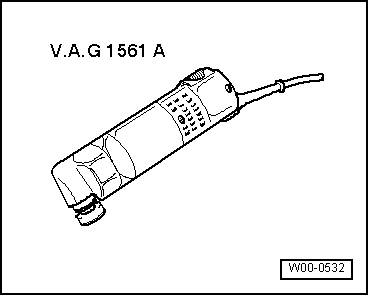
| Using electric cutter -V.A.G 1561A- and saw blade, Ø 80 mm -V.A.G 1561/26-, cut along marks from rear to front. |
| –
| Also cut off a transverse strip each at front and rear edges of trim panel along marks. |
| –
| After the edges of the trim panel have been removed, the adhesive beads for the trim panel are now accessible. |
| –
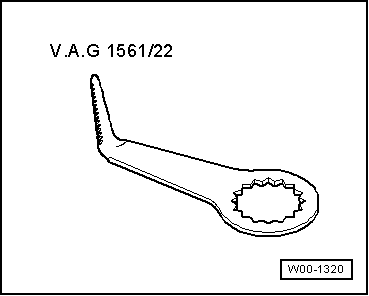
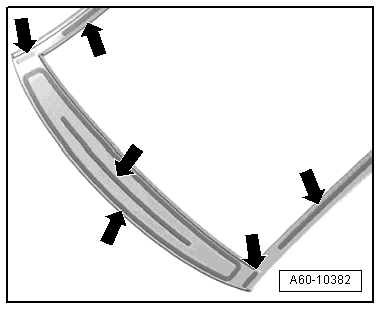
| Use electric cutter -V.A.G 1561A- and blade (L-shaped, 25.4 mm) -V.A.G 1561/22- to cut through adhesive bead from rear to front on both sides. |
| –
| Proceed in the same manner for the two adhesive beads at the front of the trim panel. |
| –
| Cut through adhesive bead at centre of the trim panel using cutting wire and two pull handles and remove remaining pieces of trim panel. |
Caution | t
| Keep bonding areas free of dirt and grease. |
| t
| Do not cut back bonding surface until shortly before installation. |
| t
| Do NOT apply primer to bonding surface and do NOT use cleaning solution. |
|

Note | t
| The sliding/tilting sunroof must be closed during installation. |
| t
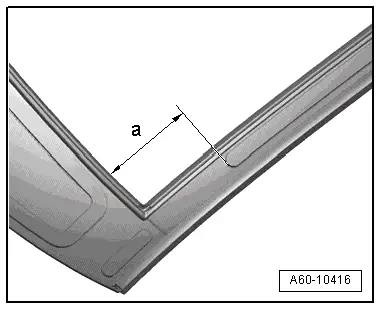
| The positions of the adhesive beads are stamped into the trim panel. |
| –
| Do not cut back remaining adhesive bead on sliding/tilting sunroof frame until shortly before installation. |
Caution | Roughen bonding surface slightly using fine abrasive paper (e.g. soft pad from paintshop). |
|
| –
| Clean area for adhesive bead with cleaning solution -D 009 401 04-. |
|
|
|


 WARNING