Audi Workshop Service and Repair Manuals
HOME
FEATURES
MENU
INDEX
ABOUT US
Exploded view - dismantling and assembling Haldex coupling (generation "Haldex II"), rear final drive "02D/0AV&qu >
< Exploded view - removing and installing Haldex coupling
A3 Mk2
Power transmission
Rear final drive 02D, 0AV, 0BR, 0BS and 0BY
Final drive, differential, differential lock
Exploded view - removing and installing Haldex coupling
Removing and installing Haldex coupling (with final drive installed)
Removing and installing Haldex coupling (with final drive installed)
Removing and installing Haldex coupling (with final drive installed)
Special tools and workshop equipment required
t
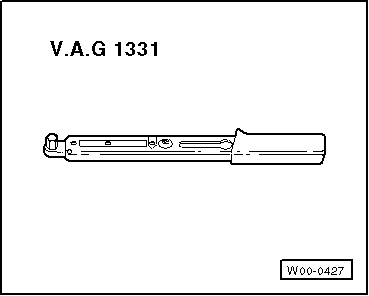
Torque wrench -V.A.G 1331-
t
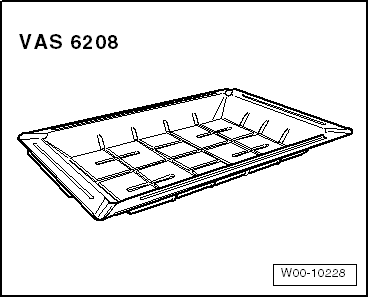
Drip tray for workshop hoist -VAS 6208-
t
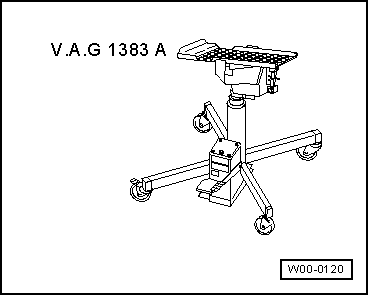
Engine/gearbox jack -V.A.G 1383 A- with universal support -V.A.G 1359/2-
t
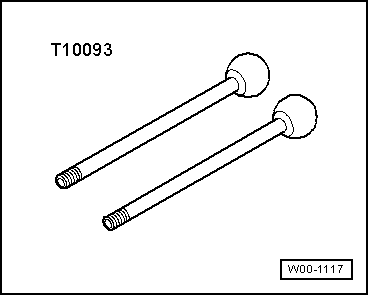
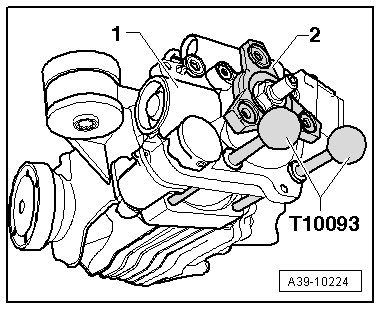
Guide pins -T10093-
Removing
Caution
The flexible joints in the exhaust system can be damaged.
The flexible joints in the front exhaust pipe must not be bent further than 10°.
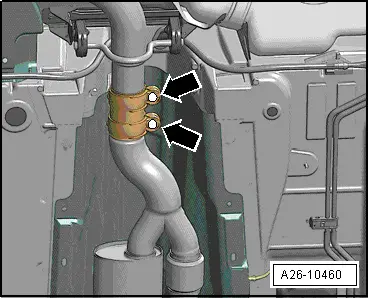
–
Disconnect exhaust system at clamp
-arrows-
.
–
Tie up front exhaust pipe on underbody.
–
Remove rear section of exhaust system
→ Rep. gr.26
.
–
Remove flexible coupling (rear)
→ Chapter
.
–
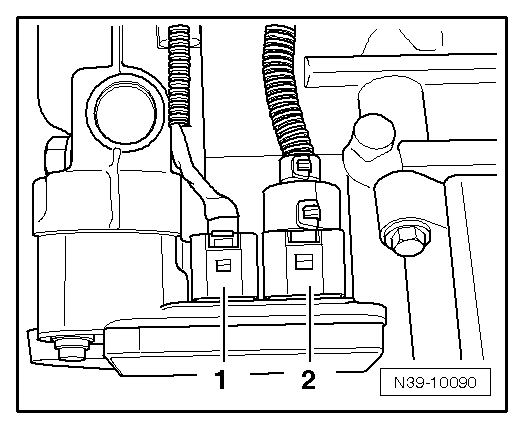
Unplug connector
-2-
on four-wheel drive control unit -J492-.
–
Position drip tray -VAS 6208- under final drive.
–
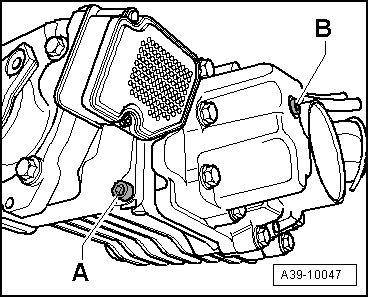
Remove drain plug
-A -
and drain high performance oil for Haldex coupling completely.
–
Fit drain plug
-A-
with new seal.
Tightening torque for plug
-A-
: 30 Nm
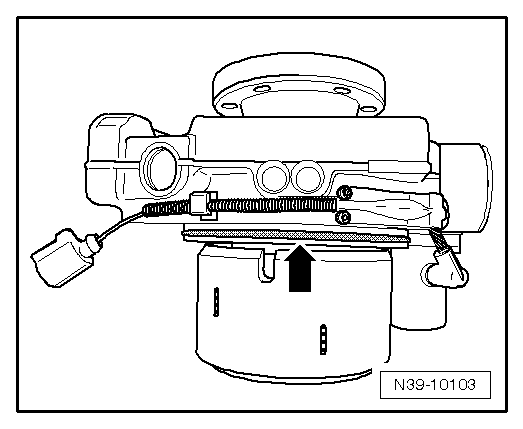
–
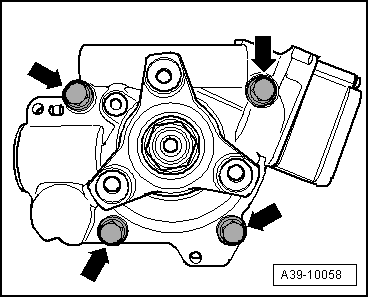
Unscrew securing bolts
-arrows-
and remove Haldex coupling from rear final drive.
Installing Haldex coupling
Perform installation in reverse sequence of removal. Note the following:
–
Remove "old" O-ring
-arrow-
from Haldex coupling.
–
Insert new O-ring
-arrow-
and lubricate lightly with high-performance oil for Haldex coupling.
–
Insert Haldex coupling
-1-
into rear final drive. Screw in guide pins -T10093- for exact fitting.
–
Insert Haldex coupling as far as stop (turn propshaft flange
-2-
).
–
Tighten bolts
-arrows-
to specified torque
→ Item
.
–
Plug connector
-2-
into four-wheel drive control unit -J492-.
–
Install flexible coupling (rear)
→ Chapter
.
–
Install exhaust system and perform stress-free alignment
→ Rep. gr.26
.
–
Fill up with high-performance oil for Haldex coupling and check oil level in Haldex coupling
→ Chapter
.
Power transmission
Rear final drive 02D, 0AV, 0BR, 0BS and 0BY
Final drive, differential, differential lock
Exploded view - removing and installing Haldex coupling
Removing and installing Haldex coupling (with final drive installed)
Exploded view - dismantling and assembling Haldex coupling (generation "Haldex II"), rear final drive "02D/0AV&qu >
< Exploded view - removing and installing Haldex coupling