
A4 Mk1
|
Repair instructions
General repair instructions
The maximum possible care and cleanliness and proper tools are essential to ensure satisfactory and successful gearbox repairs. The usual basic safety precautions also naturally apply when carrying out vehicle repairs. A number of generally applicable instructions for individual repair operations, which are otherwise mentioned at various points in the Workshop Manual, are summarised here. They apply to this Workshop Manual. Special tools For a complete list of special tools used in this Workshop Manual => Booklet; Special tools, Workshop equipment Gearbox
Sealants
O-rings, seals, gaskets
|
 |
|
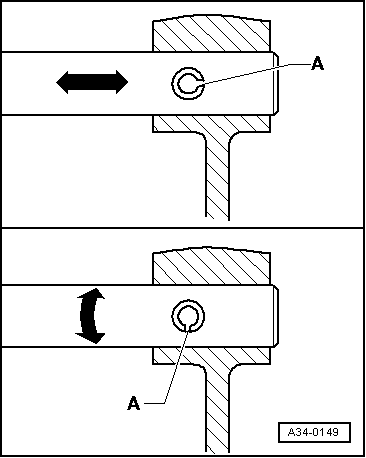
Locking elements |
 |
|
Nuts, bolts
Mounting
Adjustment shims
Sliding gears
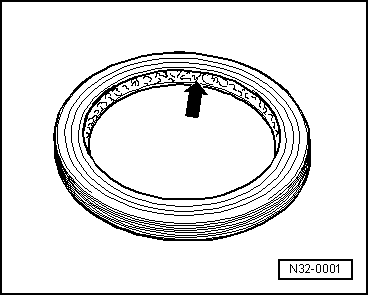
Synchroniser rings
Gears, synchro-hubs, inner races for sliding gears
Clutch mechanism
|