A4 Mk1
|
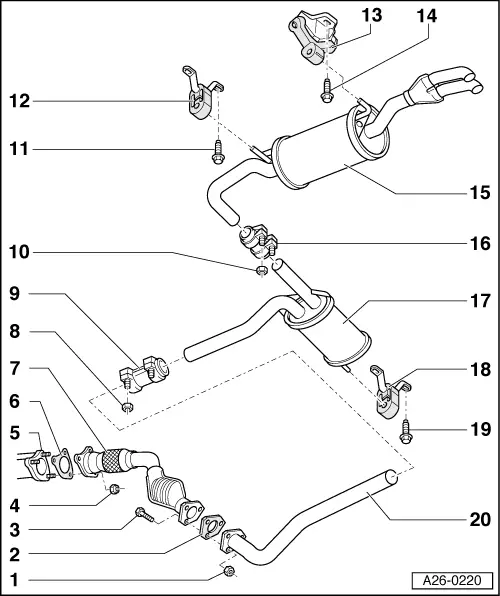
Removing and installing exhaust system components
Front-wheel drive vehicles
|
 |
|
|
|
|
|
|
|
|
 |
|
|
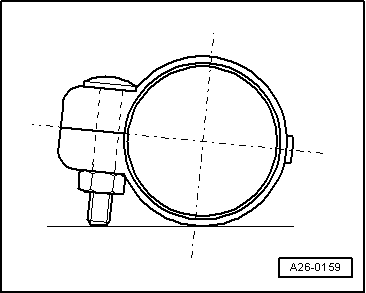
→ Fig.1 Installation position of front clamp
|
 |
|
|
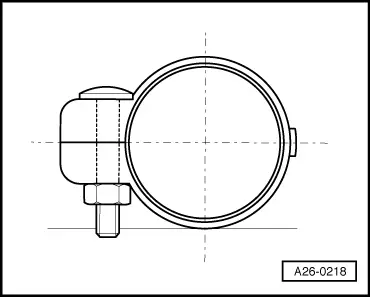
→ Fig.2 Installation position of rear clamp |

|
Removing and installing exhaust system components
Front-wheel drive vehicles
|
|
|
|
|
|
|
|
|
|
|
|
|
→ Fig.1 Installation position of front clamp
|
|
|
|
→ Fig.2 Installation position of rear clamp |