|
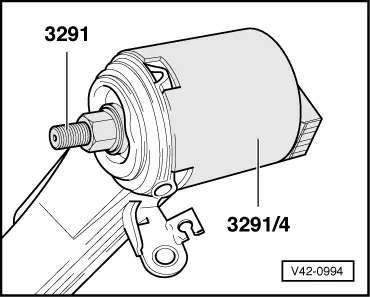
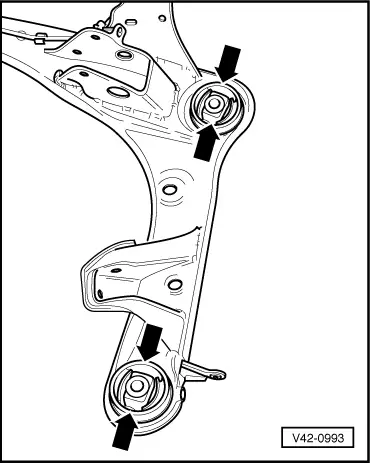
→ Fig.4 Fitting rear bonded rubber bush in subframe
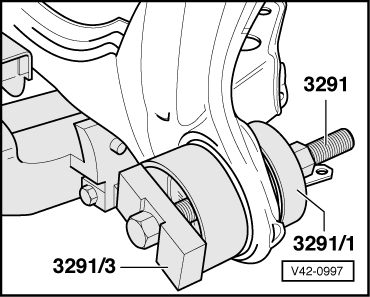
Use lubricant G 294 421 A1, for example, when pressing in bonded rubber bushes.
-
‒ Position thrust pad 3291/1 on bonded rubber bush and insert with tube 3291/3 and threaded stem 3291 in subframe hole at right angles.
-
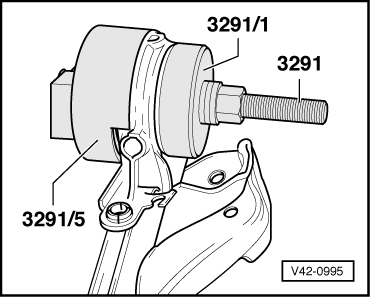
‒ Position the two brass washers with annular grooves next to one another on threaded stem 3291.
-
‒ Attach packing plate and screw on hexagon nut.
-
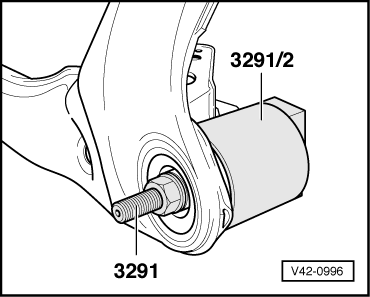
‒ Draw in bonded rubber bush as far as it will go by turning hexagon nut; whilst doing so, hold thrust pad 3291/1 and bonded rubber bush by hand to prevent turning.
Note:
Insert hexagon head of threaded stem 3291 in recess of tube 3291/3. Grease annular grooves of brass washers 3291/1 and threaded stem.
|