audi Workshop Repair Guides

Audi Workshop Service and Repair Manuals

Resetting adjuster ring in SAC clutch pressure plate > < Clutch with SAC pressure plate - exploded view
Removing and installing clutch with SAC pressure plate
Special tools and workshop equipment required
   
t  Counterhold tool -10-201- or -3067-
  W00-0254
t  Centring mandrel -3176-
  W00-0085
Removing
–  Attach counterhold tool -10-201- or -3067- before loosening bolts.
To prevent the pressure plate from becoming distorted during removal (causes clutch grab when driving off), always adhere to the following procedure when unbolting the pressure plate:
–  Working clockwise, loosen all bolts consecutively in steps of 90° (1/4 turn) until the pressure plate is released.
Installing
  Note
t  Before you re-install the SAC pressure plate check that it is not distorted → Fig..
t  When only the clutch plate is renewed, the adjuster ring in the SAC pressure plate has to be reset before assembly → Chapter.
–  Re-position counterhold tool -10-201- or -3067- to tighten bolts.
l  Installation position of clutch plate: coil springs (damper assembly) or marking “Getriebeseite” point towards pressure plate and gearbox.
  A30-0091
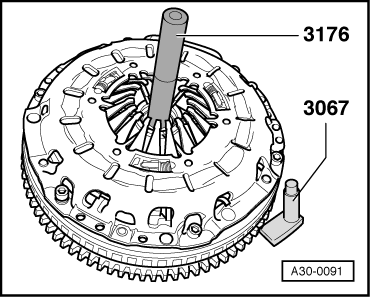
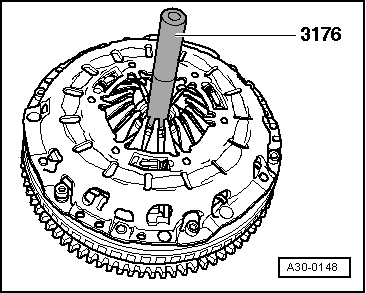
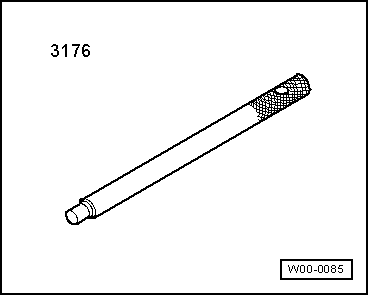
–  Use centring mandrel -3176- to centralise clutch plate.
To prevent the pressure plate from becoming distorted during installation (causes clutch grab when driving off), always adhere to the following procedure when installing the pressure plate:
–  Fit pressure plate onto dowel pins.
–  Screw in all bolts evenly by hand until bolt heads make contact with pressure plate.
–  Working clockwise, tighten all bolts consecutively in steps of 90° (1/4 turn) until the housing makes contact with the flywheel.
–  Working clockwise, tighten all bolts consecutively to final torque (22 Nm).
  A30-0148

Resetting adjuster ring in SAC clutch pressure plate > < Clutch with SAC pressure plate - exploded view