audi Workshop Repair Guides

Audi Workshop Service and Repair Manuals

Removing and installing gearbox > < Removing and installing locking cable
Adjusting locking cable
Special tools and workshop equipment required
   
t  Locking cable adjustment gauge -3352 A-
t  Angle grinder
t  Safety goggles
  W00-0385
Preparation
  Note
The centre console does not have to be removed if the procedure described below is followed.
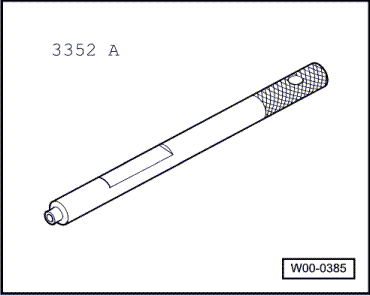
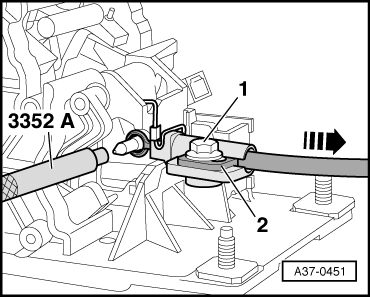
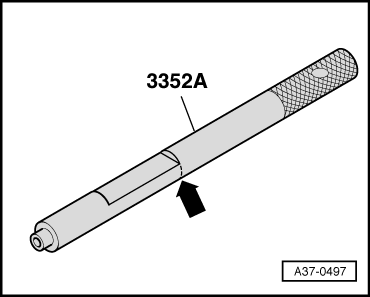
–  Using an angle grinder or similar, cut off the locking cable adjustment gauge -3352 A- at the rear end of the flat section -arrow-.
  WARNING
Wear safety goggles.
–  Order a new locking cable adjustment gauge -3352 A- as a replacement for subsequent use.
Requirements for adjustment
l  Locking cable must be in installation position.
l  Selector lever is in position “P”
l  Ignition key is in removal position.
Procedure
–  Remove selector mechanism cover → Chapter.
  Note
The selector lever handle and cover can remain installed.
–  Remove ashtray in centre console → Rep. Gr.68.
  A37-0497
–  Slacken bolt -1-.
l  It should be possible to move support bracket -2- for locking cable by hand.
–  Insert the modified locking cable adjustment gauge -3352 A- between the pin on the locking cable lever and the locking cable eye.
–  Pull locking cable in direction of -arrow- as far as it will go and tighten bolt.
l  In this position it should be easy to remove and insert the locking cable adjustment gauge -3352 A-.
–  Remove adjustment gauge.
–  Install ashtray in centre console → Rep. Gr.68.
–  Always test the ignition key removal lock after adjusting locking cable → Chapter.
Tightening torque
  A37-0451
ComponentNm
Locking cable to support bracket9


Removing and installing gearbox > < Removing and installing locking cable