audi Workshop Repair Guides

Audi Workshop Service and Repair Manuals

Adjusting selector lever cable to basic setting > < Removing and installing selector lever cable
Adjusting selector lever cable
Special tools and workshop equipment required
   
t  Socket and key -T40031-
  W00-1181
Procedure
–  Remove selector mechanism cover → Chapter.
–  Shift selector lever to position “D”.
–  Insert socket and key -T40031- through access hole in selector mechanism and loosen clamping bolt at rear of selector lever cable approx. 1 turn.
  Note
t  Only loosen clamping bolt approx. one turn - do not remove.
t  Clamping bolt can only be accessed with selector lever in position “D”.
t  With clamping bolt loosened, selector lever must remain in position “D”.
–  Carefully move selector lever slightly forwards and backwards, without shifting lever into a different selector lever position. The selector lever cable is thereby slackened.
–  Check that selector lever is set accurately in position “D”. To do so, push selector lever slightly towards driver's seat -arrow A-.
  Note
Do not touch selector lever again during adjustment process.
–  Use socket and key -T40031- to tighten clamping bolt in this position, taking care not to touch selector lever.
–  Install selector mechanism cover → Chapter.
–  Check selector mechanism → Chapter.
  Note
  A37-10831
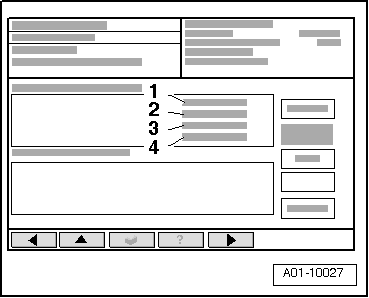
Use the vehicle diagnostic, testing and information system -VAS 5051B- (Self-diagnosis, 02 - Gearbox electronics, 011 - Measured values, display group 2, display zone -1-) to compare the position of the multi-function switch-F125- with the position on the selector lever.
If selector mechanism is not functioning correctly after adjusting the selector lever cable, proceed as follows:
–  Adjust selector lever cable to basic setting → Chapter.
l  Tightening torque → Chapter
  A01-10027

Adjusting selector lever cable to basic setting > < Removing and installing selector lever cable