Take the reverse gear clutch with corrugated washer -Items 1 to 5- out of the gearbox.
–
Measure the upper shim -5- and the lower shim -2- and note down the values.
Note
The purpose of noting down the values for the old upper -5- and lower -2- shims fitted is to provide a check or comparison with the newly determined shims.
Installing
l
Thoroughly clean all components prior to insertion.
–
Determine the lower shim -2- and upper shim -5- → Chapter.
–
Insert the corrugated washer -1- over the guides -B-.
–
Insert the lower shim -2- determined (thickness “E1”) over the guides -B-.
–
Alternately insert first a friction plate -3- and then an outer plate -4- over the guides -B-.
–
Insert the upper shim -5- determined (thickness “E2”) over the guides -B-.
–
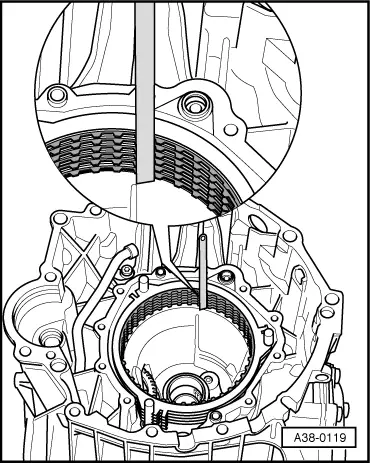
Use a rule, for example, to align the plates of the reverse gear clutch.
 Note
Note