audi Workshop Repair Guides

Audi Workshop Service and Repair Manuals

Removing and installing trim > < Exploded view of cover and padding for head restraint
Removing and installing head restraint cover
Special tools and workshop equipment required
   
t  Removal wedge -3409-
  Caution
t  The cover can only be renewed on the head restraint version with leather cover. On the version with fabric cover, the cover cannot be renewed as it is foam-filled and also serves as a sheath for the padding.
t  Mounting bracket for head restraint is foam-fitted in padding. The two components are permanently connected.
  W00-0016
Removing
–  Remove head restraint → Chapter.
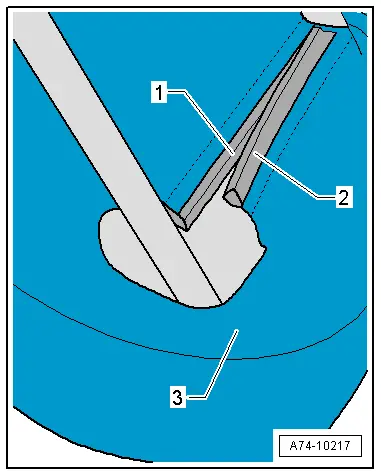
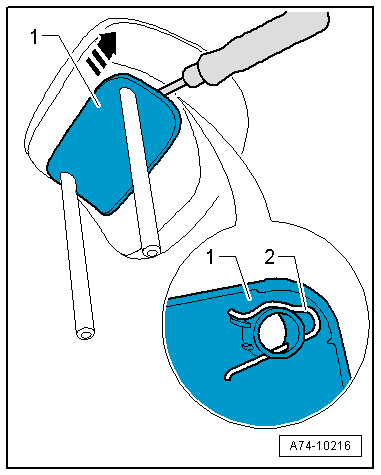
–  Press padding to side in direction of -arrow- on side of trim -1-.
–  When doing so, use a wide screwdriver to slightly bend open long-arm spring -2-.
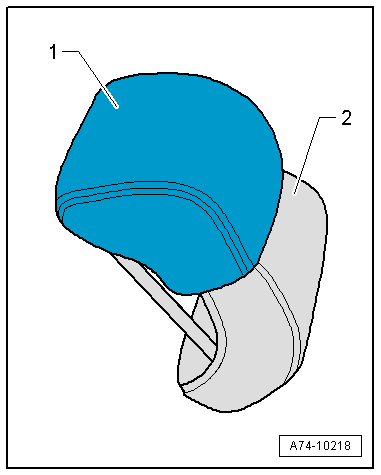
–  At the same time, pull off trim on one side until it is released on one side.
–  Repeat procedure on other side.
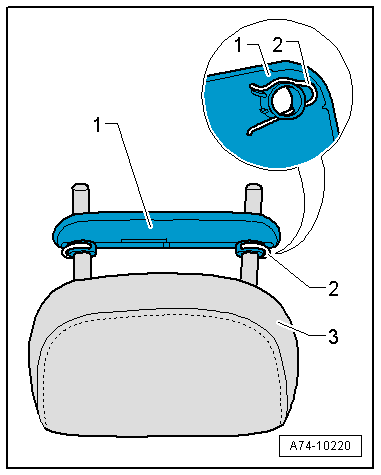
–  Detach trim while at the same time bending open long-arm springs.
  A74-10216
–  Open end sections -1- and -2-.
–  Detach cover -3- from mounting bracket with padding.
  A74-10217
Installing
–  Fold back cover -1-.
–  Position cover and slide it over mounting bracket with padding -2-.
  A74-10218
–  Pull left and right corners of cover -arrow- separately over mounting bracket with padding -2-.
–  Smooth down cover.
–  Engage end section -1-.
  A74-10219
–  While fitting trim -1-, bend open long-arm springs -2-.
–  Hold long-arm springs -2- open until trim -1- has been slipped over notches into locking position.
–  Firmly press on trim until it engages.
–  Finish aligning cover -3- and smooth it down.
–  Make sure cover is positioned on padding without creases or seam marks.
Perform remaining installation in reverse order of removal.
  A74-10220

Removing and installing trim > < Exploded view of cover and padding for head restraint