audi Workshop Repair Guides

Audi Workshop Service and Repair Manuals

Removing and installing exhaust gas temperature sender 3G495 > < Exhaust gas temperature senders - exploded view
Removing and installing exhaust gas temperature sender 1G235
Removing and installing exhaust gas temperature sender 1 -G235-
Special tools and workshop equipment required
   
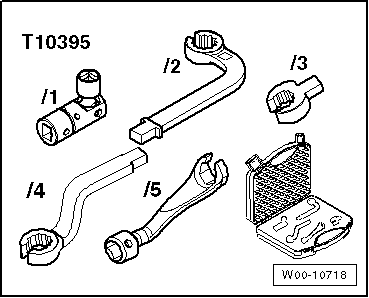
t  Tool set, 17 mm -T10395-
  W00-10718
Removing
  Note
Fit all cable ties in the original positions when installing.
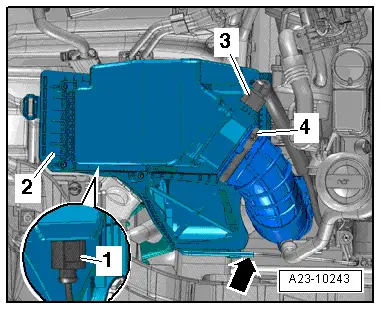
–  Remove air cleaner housing → Rep. gr.23.
  A23-10243
–  Unplug electrical connector -3- for pressure differential sender -G505-.
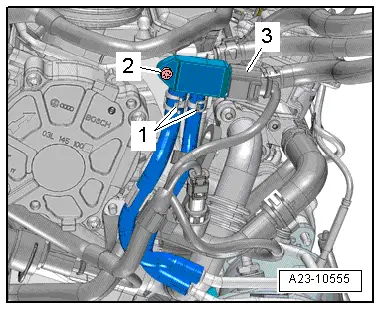
–  Remove bolt -2- and move hoses -1- clear at bracket.
–  Move pressure differential sender -G505- to rear.
–  Remove front right wheel.
  A23-10555
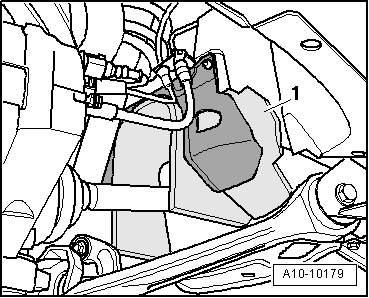
–  Remove cover -1- for drive shaft in wheel housing (right-side).
–  Remove front exhaust pipe → Chapter.
  A10-10179
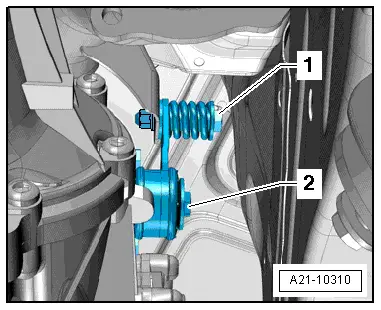
–  Remove bolt -2- on mounting for particulate filter.
  Note
Disregard -item 1-.
  A21-10310
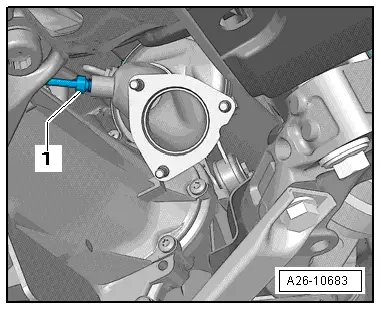
–  Remove exhaust gas temperature sender 4 -G648--item 1-.
  A26-10683
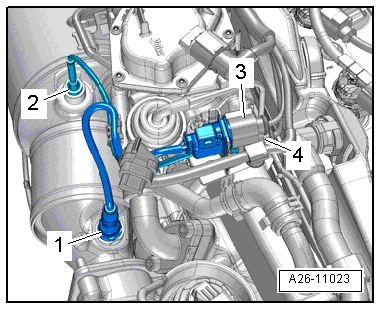
–  Unplug electrical connector -4- and move clear.
–  Remove Lambda probe -1- → Rep. gr.23.
  A26-11023
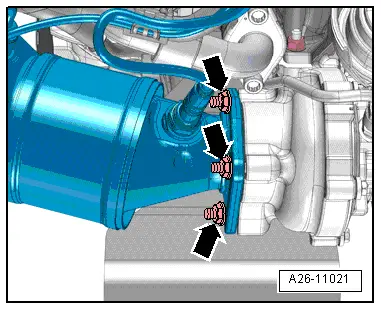
–  Remove nuts -arrows- and move particulate filter to rear.
  A26-11021
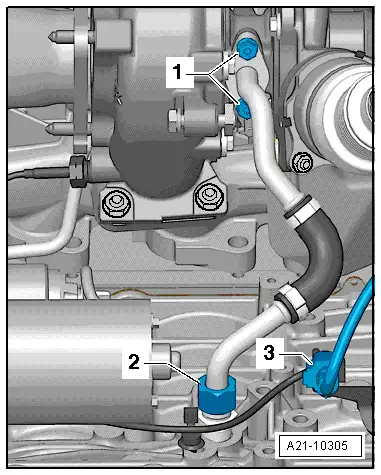
–  Unplug electrical connector -3- for exhaust gas temperature sender 1 -G235- and unclip at bottom.
  Note
Disregard -items 1, 2-.
  A21-10305
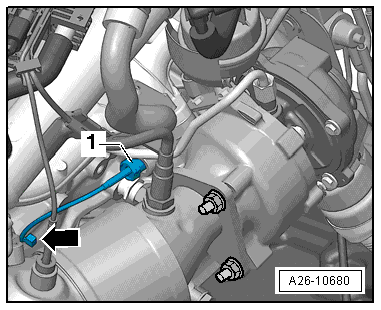
–  Unscrew exhaust gas temperature sender 1 -G235--item 1- and unclip electrical wiring -arrow-.
Installing
Installation is carried out in the reverse order; note the following:
l  Tightening torques → Chapter „Exhaust gas temperature senders - exploded view“
–  Install pressure differential sender -G505- → Rep. gr.23.
–  Install particulate filter → Chapter.
–  Install air cleaner housing → Rep. gr.23.
  A26-10680

Removing and installing exhaust gas temperature sender 3G495 > < Exhaust gas temperature senders - exploded view