CTS V6-3.2L VIN N (2003)

11. Loosen the upper idler pulley bolt.
12. Remove the lower idler pulley bolt.
13. Remove the lower idler pulley and spacer.
14. Remove the J 42069-10 from the crankshaft sprocket.
Notice: After timing belt is removed, never turn camshaft and crankshaft independently. If turned, interference may occur among pistons and valves,
and parts related to pistons and valves may be damaged.
Important: Do not remove J 42069-1 and the J 42069-2 while the belt is removed.
15. Remove the timing belt.
Installation and Initial Adjustment Procedure
Notice: When installing a new or used timing belt, the directional arrows on the timing belt must be matched with the rotation of the crankshaft. If this
precaution is not observed, excessive wear and timing belt failure may occur.
Important:
-
Guide marks are printed on the timing belt to aid in installation. If these marks are not identifiable, install a new belt.
-
Arrows are printed on the timing belt indicating the required direction of travel. When installing the timing belt, ensure the arrows are traveling in
engine rotational direction, clockwise.
-
Install the timing belt with the engine at room temperature.
-
Do not crimp or bind the timing belt when handling or installing.
1. Inspect the timing belt. Refer to Timing Belt Inspection.
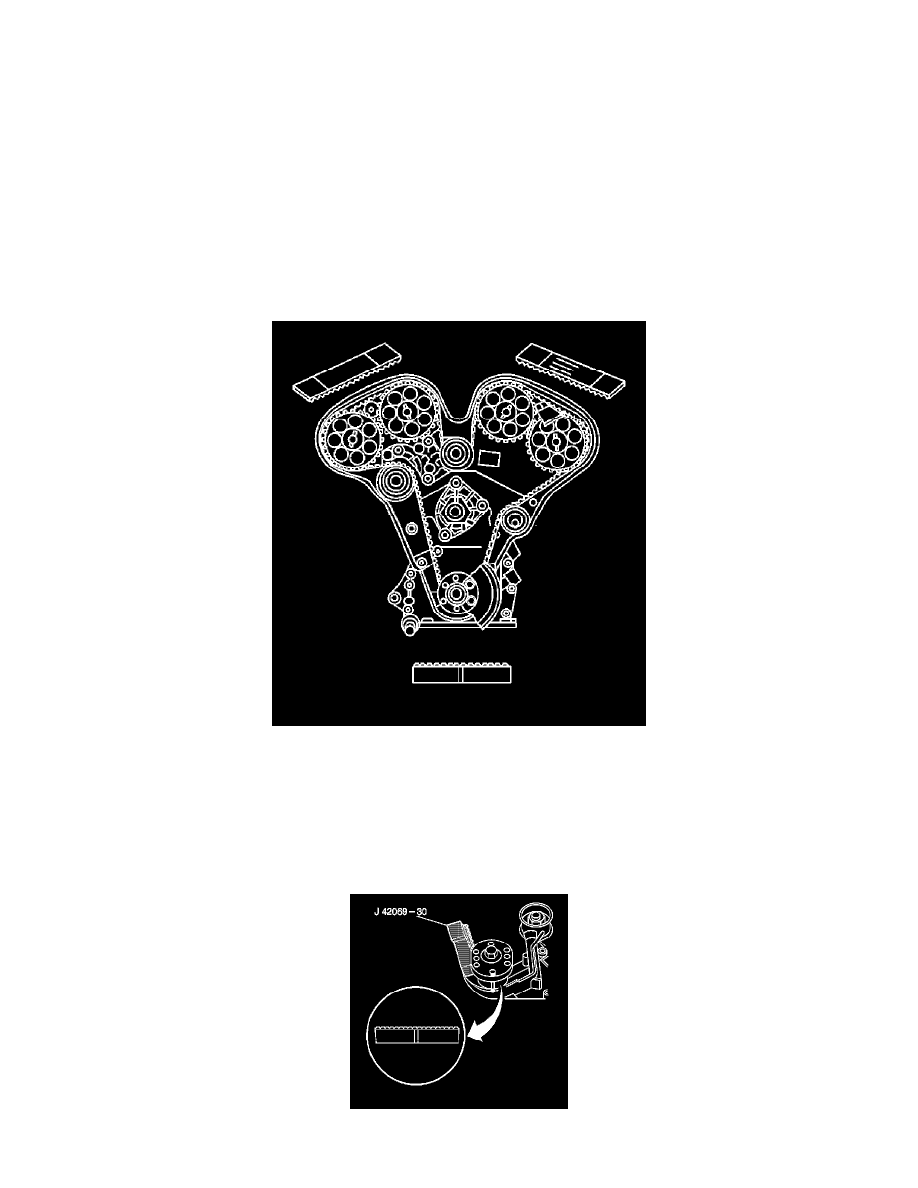
2. Start at the crankshaft sprocket by aligning the double dash TDC mark on the timing belt with the marks on the oil pump housing and on the
