
SRX AWD V6-3.6L (2008)
5. Open and remove the quick connect fitting from the A/C refrigerant component.
Installation Procedure
Important: Inspect the A/C quick connect fitting locking tab for damage or wear. Replace the A/C quick connect fitting if any conditions
exist.
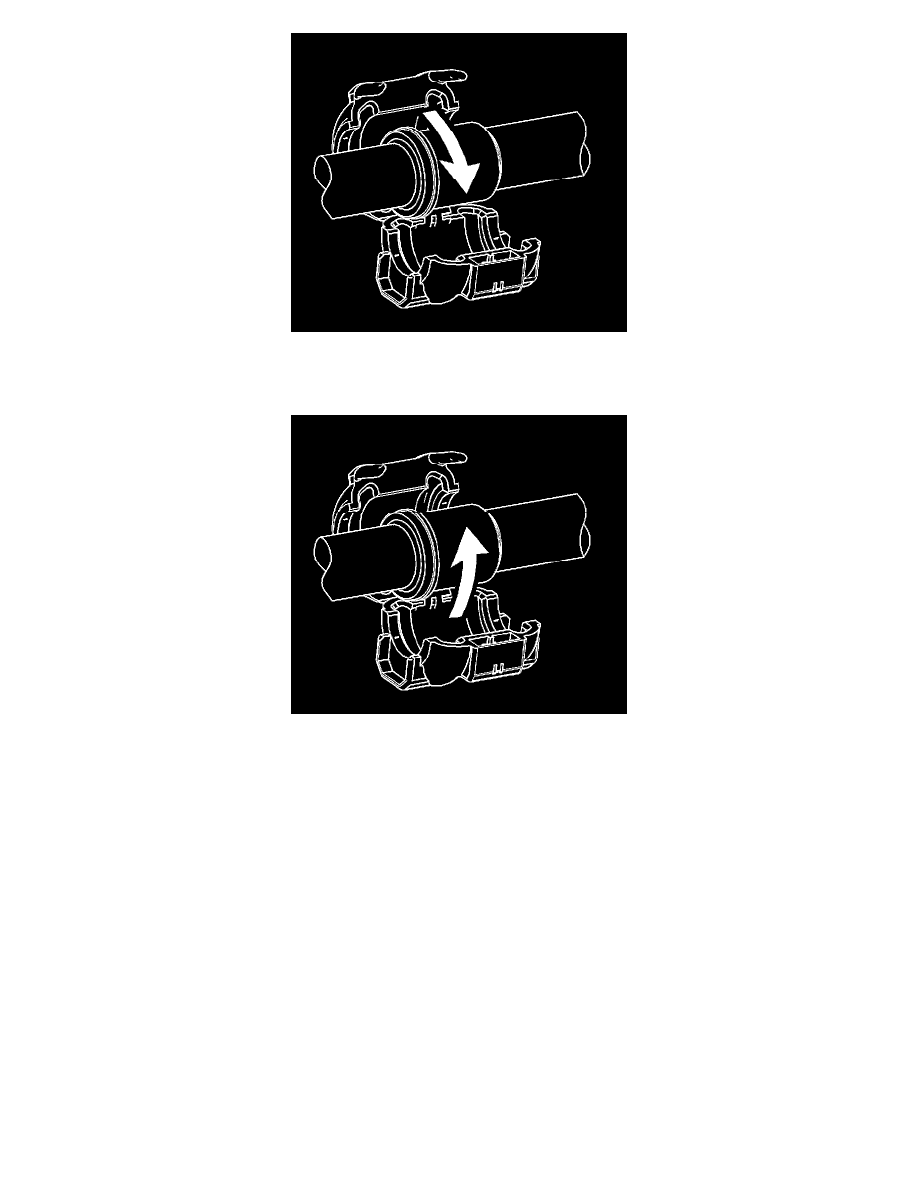
1. Install the A/C quick connect fitting to the A/C refrigerant component.
Important: Ensure that the A/C quick connect fitting is latched securely to the A/C refrigerant component.
2. Close the A/C quick connect fitting .
3. Evacuate and recharge the A/C system. Refer to Refrigerant Recovery and Recharging (See: Service and Repair/Refrigerant Recovery and
Recharging) .
4. Leak test the fittings of the component using J 39400-A .
Auxiliary Air Conditioning Evaporator Front Tube Replacement (Discharge Line)
Auxiliary Air Conditioning Evaporator Front Tube Replacement (Discharge Line)
Tools Required
J 39400-A Halogen Leak Detector
Removal Procedure
1. Recover the A/C system. Refer to Refrigerant Recovery and Recharging (See: Service and Repair/Refrigerant Recovery and Recharging) .