
SRX AWD V6-3.6L (2008)
14. Remove and discard the O-rings from the liquid line. Refer to O-Ring Replacement (See: Coupler HVAC/A/C Coupler O-ring/Service and Repair
) .
Installation Procedure
1. Install new O-rings to the liquid line. Refer to O-Ring Replacement (See: Coupler HVAC/A/C Coupler O-ring/Service and Repair) .
2. Connect the liquid line to the evaporator.
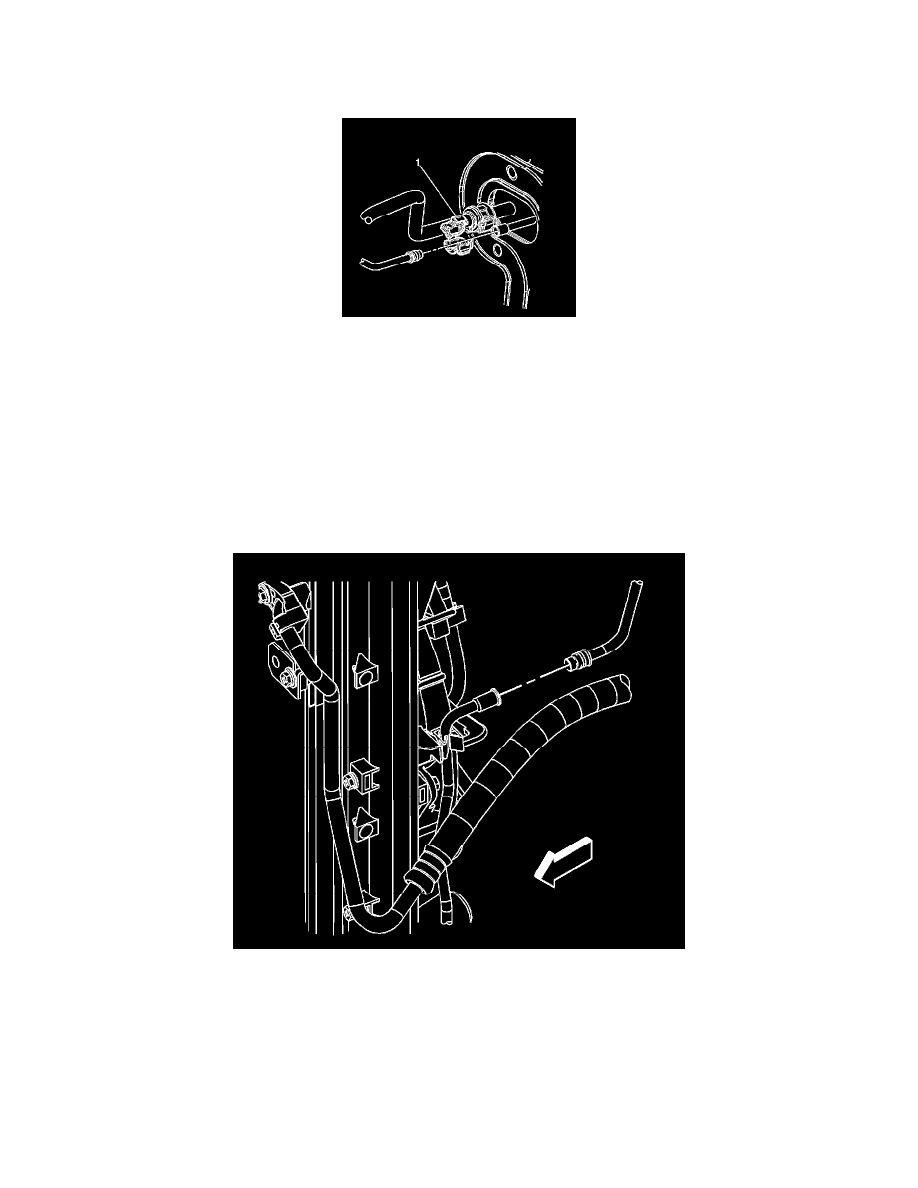
3. Install a quick connect fitting (1) to the liquid line at the evaporator. Refer to Air Conditioning Line/Tube Connector Removal/Replacement (See:
Air Conditioning Line/Tube Connector Removal/Replacement) .
4. Connect the liquid line to the condenser tube.
5. Install a quick connect fitting to the liquid line at the condenser. Refer to Air Conditioning Line/Tube Connector Removal/Replacement (See: Air
Conditioning Line/Tube Connector Removal/Replacement) .
6. Install the brake booster. Refer to Power Vacuum Brake Booster Replacement (LHD) (See: Brakes and Traction Control/Power Brake
Assist/Vacuum Brake Booster/Service and Repair/Power Vacuum Brake Booster Replacement (LHD))Power Vacuum Brake Booster Replacement
(RHD) (See: Brakes and Traction Control/Power Brake Assist/Vacuum Brake Booster/Service and Repair/Power Vacuum Brake Booster
Replacement (RHD)) .
7. Reposition the surge tank outlet hose to the installed position.
8. Install the surge tank outlet hose bracket nuts to the cowl.
Notice: Refer to Fastener Notice .
Tighten the nuts to 9 N.m (80 lb in).
9. Connect the engine harness electrical connector.
10. Connect the electrical connector to the wiper motor.
11. Install the surge tank. Refer to Radiator Surge Tank Replacement (Left Hand Drive) (See: Engine, Cooling and Exhaust/Cooling System/Coolant
Reservoir/Service and Repair)Radiator Surge Tank Replacement (Right Hand Drive) (See: Engine, Cooling and Exhaust/Cooling System/Coolant
Reservoir/Service and Repair) .