
SRX AWD V6-3.6L (2008)
2. Raise and support the vehicle. Refer to Lifting and Jacking the Vehicle (See: Vehicle Lifting/Service and Repair) .
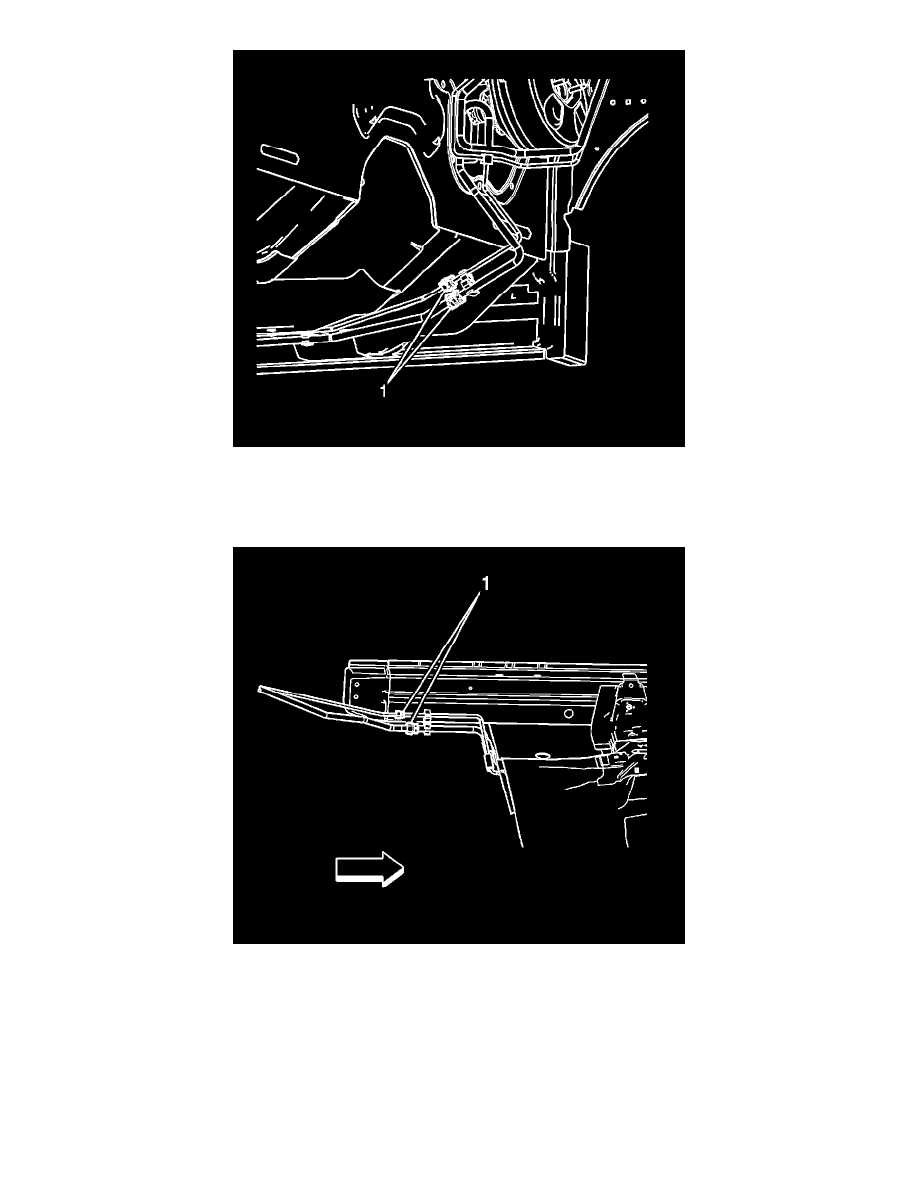
3. Remove the auxiliary front discharge line to front discharge line quick connect fitting. Refer to Air Conditioning Line/Tube Connector
Removal/Replacement (See: Air Conditioning Line/Tube Connector Removal/Replacement) .
4. Disconnect the auxiliary front discharge line from the front discharge line.
5. Loosen the auxiliary front discharge line to auxiliary rear discharge line fitting.
6. Disconnect the auxiliary front discharge line from the auxiliary rear discharge line.
7. Disconnect the auxiliary front discharge line from the body retainers.
8. Remove the auxiliary front discharge line from the vehicle.
9. Remove and discard the O-rings from the auxiliary front discharge line. Refer to O-Ring Replacement (See: Heating and Air
Conditioning/Coupler HVAC/A/C Coupler O-ring/Service and Repair) .
Installation Procedure