
SRX AWD V6-3.6L (2008)
Seat Belt: Service and Repair
Front Seat Belt Replacement
Front Seat Belt Replacement
Removal Procedure
Caution: Refer to SIR Caution (See: Service Precautions/Technician Safety Information/SIR Caution) .
1. Remove the front seat back trim cover. Refer to Bucket Seat Replacement (See: Body and Frame/Seats/Service and Repair/Removal and
Replacement/Bucket Seat Replacement) .
2. Remove the front seat cover and pad. Refer to Front Seat Back Cushion Cover and Cushion Pad Replacement (See: Body and Frame/Seats/Seat
Back/Service and Repair/Front Seat Back Cushion Cover and Cushion Pad Replacement) .
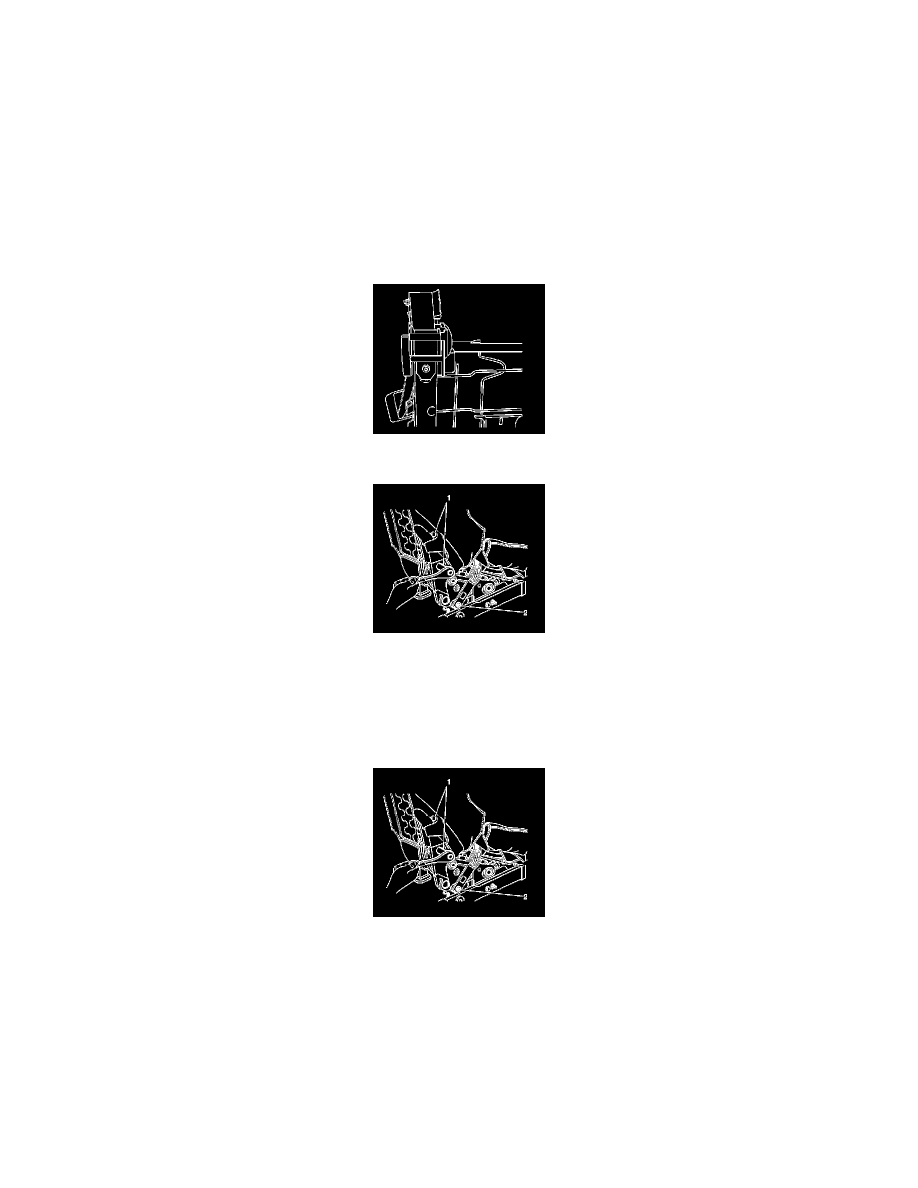
3. Remove the screws retaining the roller assembly cover and remove the cover.
4. Remove the bolt retaining the seat belt retractor to the seat frame.
5. Remove the seat belt lower retaining nut (2).
6. Remove the seat belt retractor assembly.
Installation Procedure
1. Ensure that the seat belt is not twisted before installing the retractor.
2. Install the seat belt (2) to the mounting stud.
Ensure that the anti-rotation tab on the seat belt is located properly in the seat frame before tightening the retaining nut.
Notice: Refer to Fastener Notice (See: Service Precautions/Vehicle Damage Warnings/Fastener Notice) .
3. Install the retaining nut.
Tighten the nut to 42 N.m (31 lb ft).
4. Position the seat belt over the roller assembly.
Ensure that the seat belt is not twisted.