
SRX AWD V6-3.6L (2008)
10. Using a transmission jack positioned under the transmission pan area, support the transmission case on both sides with the 2 similar wood blocks
to prevent the transmission internal components from contacting the transmission jack.
11. Remove the transmission support. Refer to Transmission Support Replacement (See: Body and Frame/Frame/Cross-Member/Service and
Repair/Transmission Support Replacement) .
12. Remove the extension housing. Refer to Case Extension and Gasket Replacement (See: Extension Housing/Service and Repair/5L40-E/5L50-E -
Automatic Transmission) .
13. Remove the parking pawl spring.
14. Remove the parking pawl pivot pin.
15. Remove the parking pawl.
16. Inspect the following components:
*
The parking pawl tooth for chipping or wear
*
The parking pawl spring for over expansion
*
The pivot pin for scoring and excessive wear
Installation Procedure
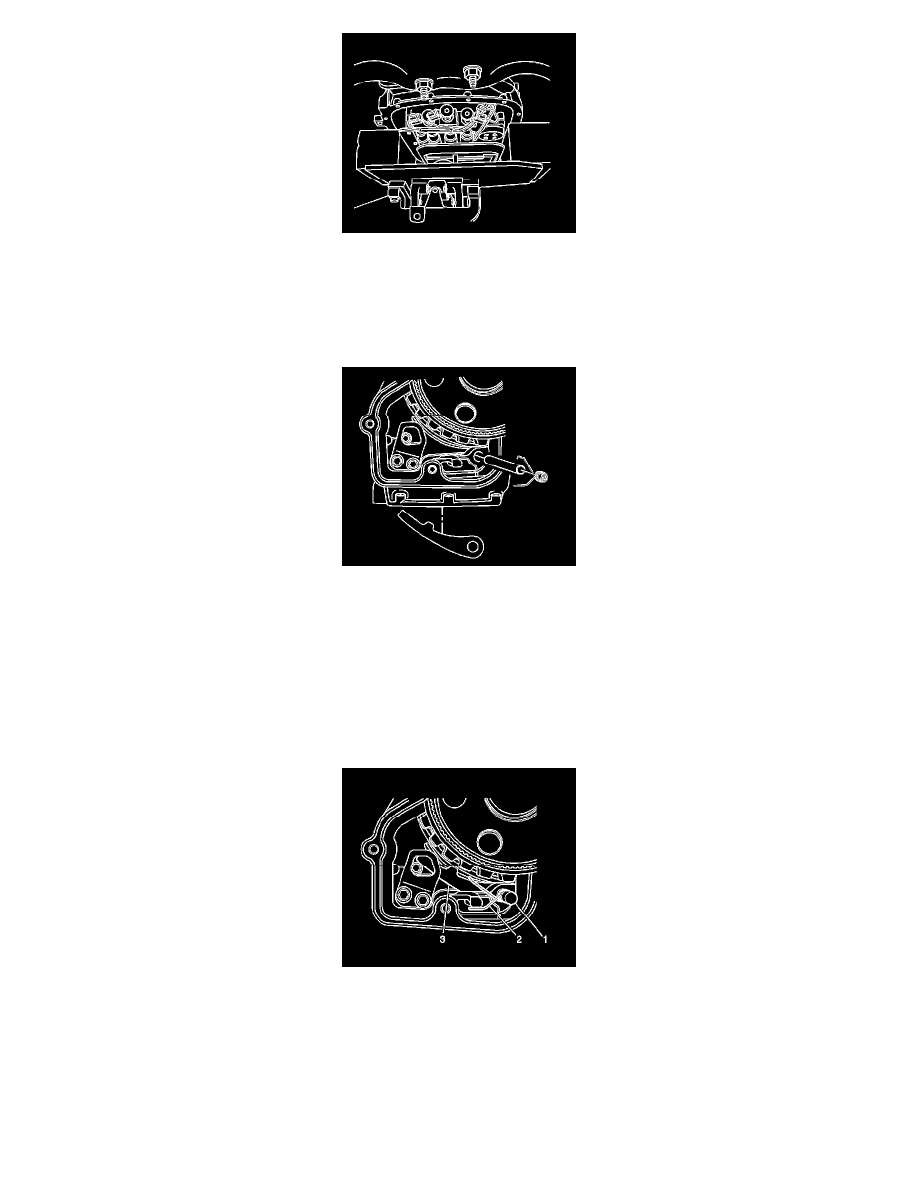
1. Install the parking pawl (3).
2. Install the pivot pin (1).
3. Install the parking pawl spring (2). The straight end of the spring locates against the case and the hooked end locates over the parking pawl.
4. Install the extension housing. Refer to Case Extension and Gasket Replacement (See: Extension Housing/Service and Repair/5L40-E/5L50-E -
Automatic Transmission) .
5. Install the transmission support. Refer to Transmission Support Replacement (See: Body and Frame/Frame/Cross-Member/Service and
Repair/Transmission Support Replacement) .
6. Remove the transmission jack.
7. Install the transmission fluid pan. Refer to Automatic Transmission Fluid and Filter Replacement (See: Service and Repair/Removal and