
XLR V8-4.6L VIN A (2006)
4. Install the I/P compartment striker.
Tighten the striker to 1.9 N.m (17 lb in).
5. Install the I/P retaining bolt at the lower beam behind the I/P compartment door.
Tighten the bolt to 10 N.m (89 lb in).
6. Install the steering wheel to the steering column.
7. Install the remote control door lock receiver.
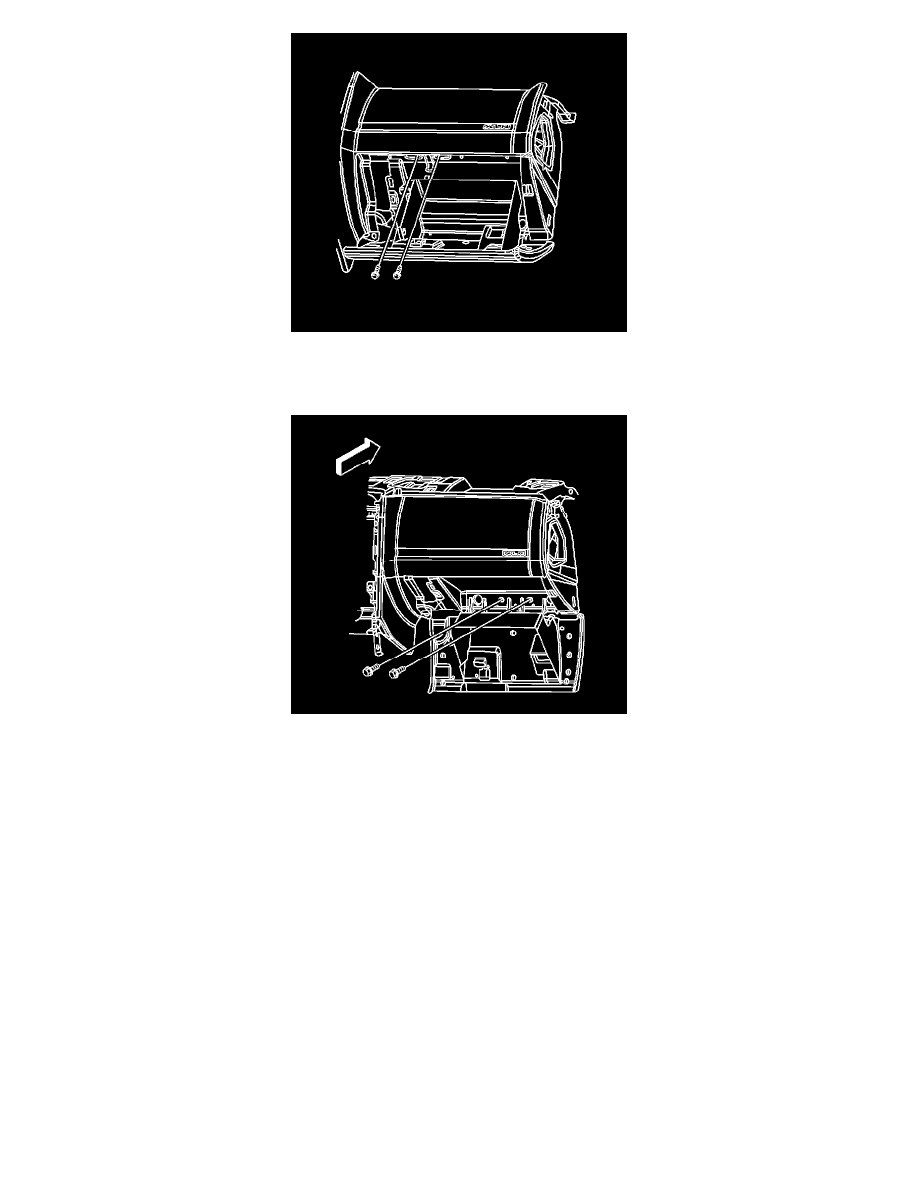
8. Install the GPS antenna to the I/P carrier.
9. Install the SDM and the YAW sensors to the I/P carrier.
10. Install the speakers to the I/P.
11. Install the I/P cluster (IPC).
12. Install the I/P trim pad.
13. Install the right and the left I/P end caps.
14. Install the windshield side garnish moldings.
15. Install the right and the left hinge pillar trim.
16. Install the right and the left I/P trim panels.
17. Install the left knee bolster bracket.
18. Install the I/P compartment trim bezel.
19. Install the I/P compartment.
20. Install the closeout/insulator panels.
21. Install the radio.
22. Install the console assembly.
Caution: Refer to Battery Disconnect Caution in Service Precautions.