
C 2500 Truck 2WD V8-5.7L VIN R (1997)
Camshaft: Service and Repair
Removal
-
Tools Required
-
J 582-A Crankshaft Sprocket Remover, or equivalent
1. Disconnect the battery negative cable assembly from the battery negative terminal.
2. Remove the air cleaner intake duct. Refer to Powertrain Management.
3. Remove the radiator. Refer Cooling System.
4. Remove the Front cover.
5. Remove the intake manifold.
6. Remove the pushrods and valve lifters.
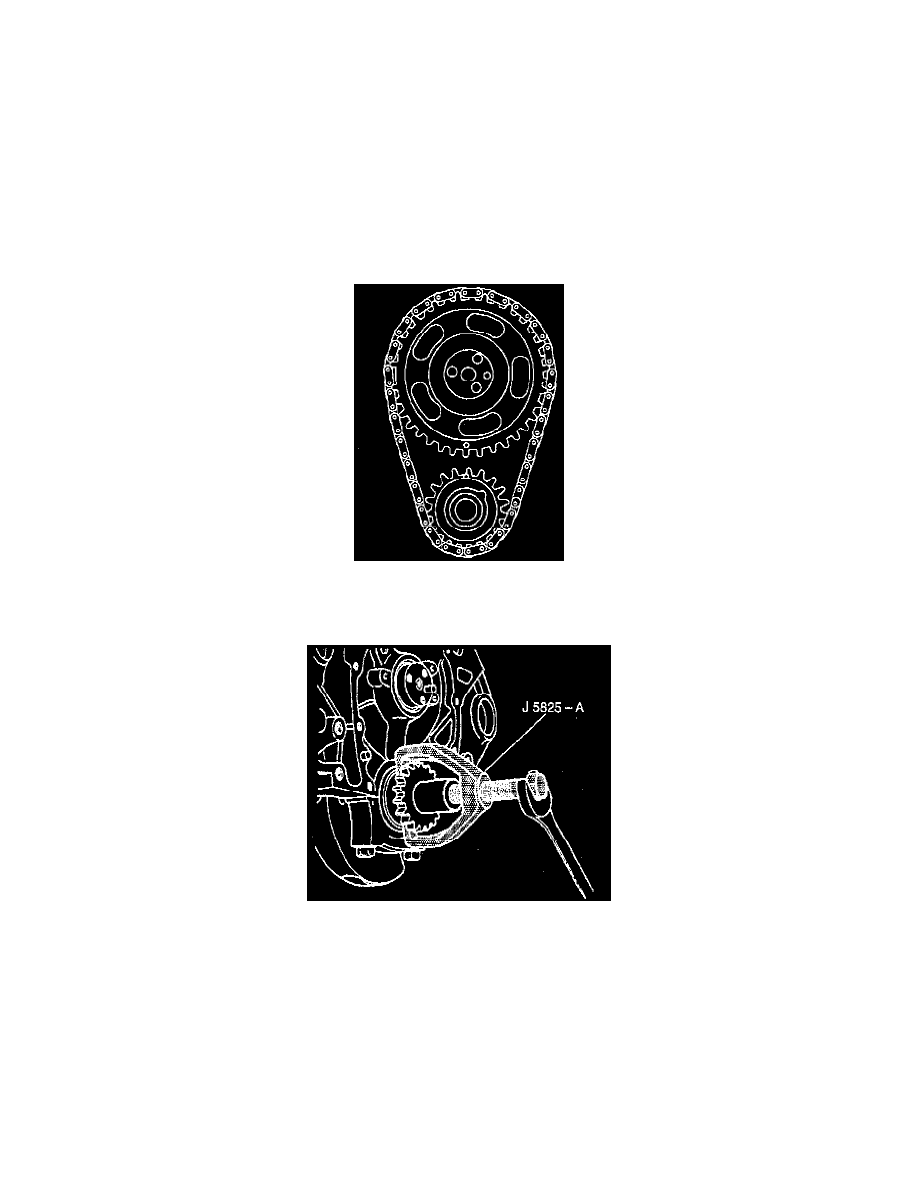
7. Align the timing marks.
8. Remove the camshaft sprocket bolts.
9. Remove the camshaft sprocket and timing chain. The sprocket is a light interference fit on the camshaft. Tap the sprocket on its lower edge to
loosen it.
10. Remove the crankshaft position sensor reluctor ring.
11. Remove the crankshaft sprocket (if required). Use the J 5825-A.
12. Remove the fronts engine mount through bolts.
CAUTION: When supporting the engine to replace a mounting, raise the engine only to the height required to provide clearance for mounting
removal. It may be necessary to drain the cooling system and disconnect hoses to avoid damage when the engine is raised. Be careful that control
linkage and wiring are not damaged from raising the engine. When replacing a single front mounting, both mountings, should be detached before
attempting to raise the engine. Failure to do this will place excessive stress on the attached mounting when the engine is raised.
13. Raise the engine.
14. Remove the camshaft retainer plate and bolts.