
Prizm L4-108 1.8L DOHC VIN 8 MFI (1998)
Release Cable Replacement: Rear Compartment Lid - Removal Procedure
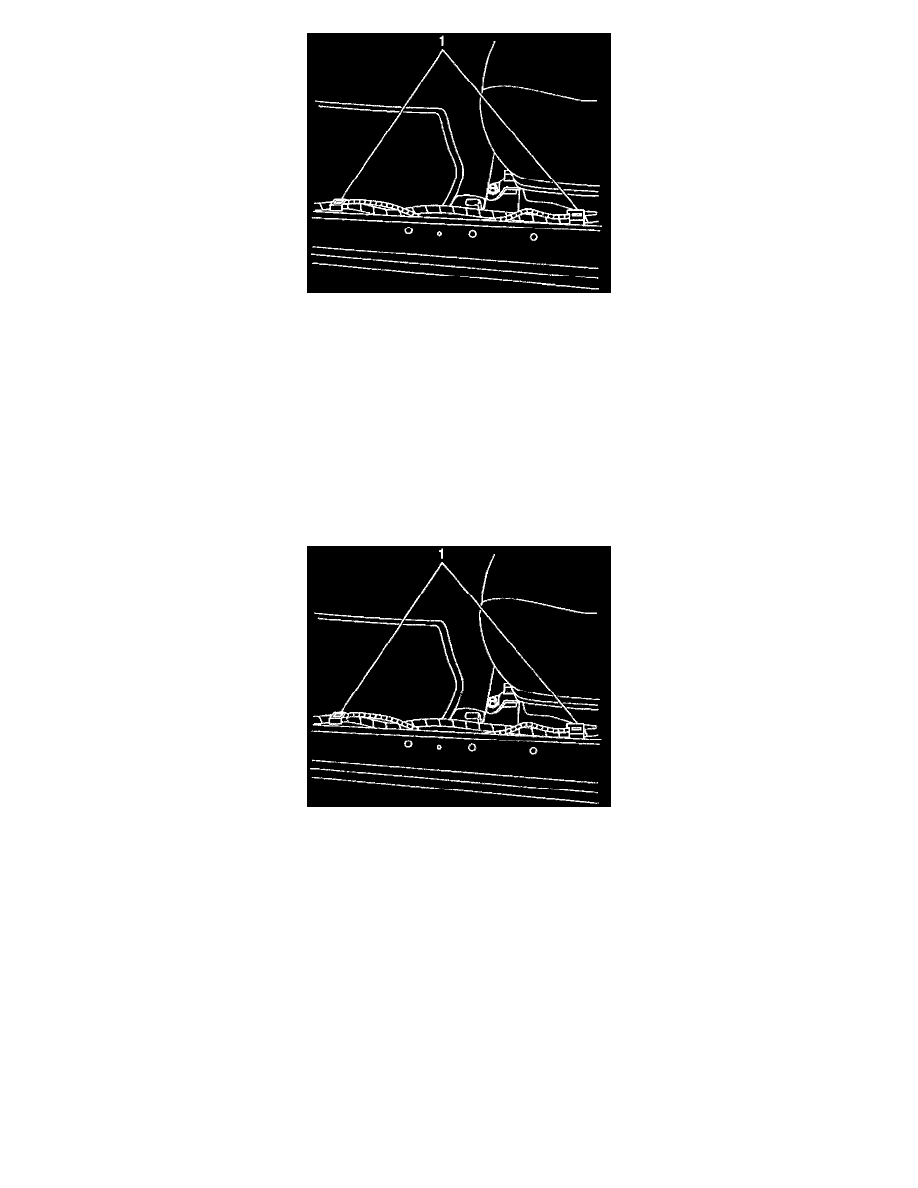
10. Remove the floor carpet retainers (1) from the left front and rear door sill flange.
11. Position the floor panel carpet aside to access the rear compartment lid lock release cable.
12. Remove the fuel/rear compartment release handle housing bolt from the floor panel.
13. Remove the rear compartment lid lock release cable from the fuel/rear compartment release handle housing.
14. Open the rear compartment lid.
15. Remove the plastic retainer and position the left rear compartment side trim aside to access the rear compartment lid lock release cable.
16. Remove the two bolts which secure the rear compartment lid lock to the rear compartment lid.
17. Remove the rear compartment lid lock release cable from the rear compartment lid lock.
18. Unclip the release cable from the retaining clips and remove the cable from the vehicle.
INSTALLATION PROCEDURE
Release Cable Replacement: Rear Compartment Lid - Installation Procedure
1. Install and route the rear compartment lid release cable to the vehicle. Secure the cable to the retaining clips.
2. Install the rear compartment lid release cable to the rear compartment lid lock
3. Install the rear compartment lid lock to the lid. Secure the lock with the two bolts.
Tighten
Tighten the rear compartment lid lock bolts to 5 N.m (43 lb in).
4. Reposition the left rear compartment side trim to its original position. Secure the trim with the plastic retainer.
5. Lower the rear compartment lid.