
Tracker 4WD L4-1.6L VIN 6 (1998)
Description
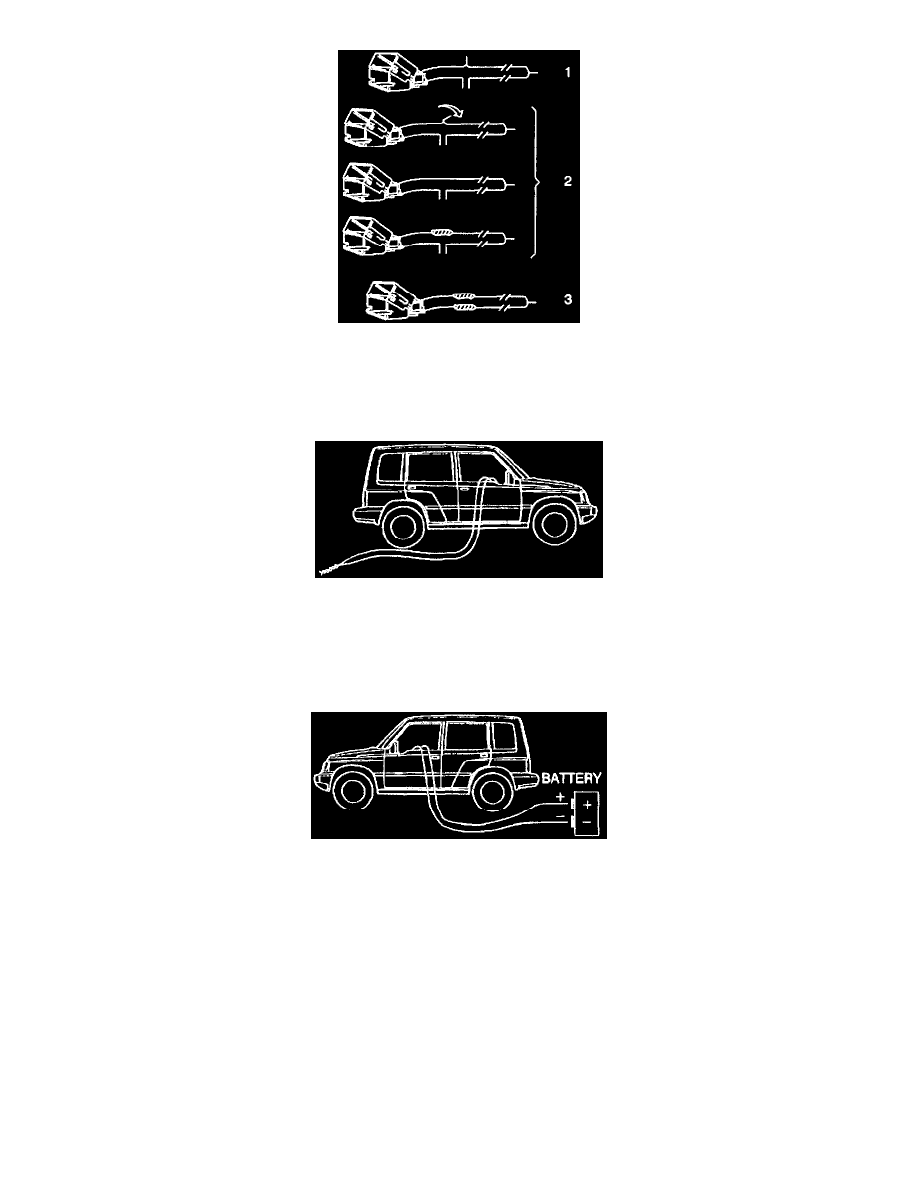
22. Twist together one connector wire lead to one deployment wire (1). Secure the connection mechanically.
23. Bend the twisted connection (2) flat. Wrap the connection tightly and securely with electrical tape. The tape will also insulate the connection.
24. Secure the remaining connector wire lead (3) to the remaining deployment wire.
Description
25. Connect the deployment harness to the inflatable restraint IP module, yellow 2-way connector.
26. Route the deployment harness out of the passenger side of the vehicle.
27. Clear the inside of the vehicle and the area surrounding the vehicle of any people. Clear the vehicle of all loose or flammable objects.
28. Stretch the driver and passenger deployment harnesses to their full lengths.
Description
29. Completely cover the windshield area and the front door window openings with a drop cloth, a blanket, or any similar item. This reduces the
possibility of injury due to possible fragmentation of the vehicle's glass or interior.
30. Notify everyone in the immediate area before you deploy the air bags:
^
The deployment is very loud.
^
The deployment may startle any uninformed people in the area.
31. Place a power source near the shorted end of the SIR deployment harness. Use a vehicle battery when available, but always use a power source
that complies to the following:
^
12 volts minimum
^
2 A minimum