
Lanos S Hatchback L4-1.6L DOHC D-TEC MFI (1999)
10. Remove the rack housing retaining ring.
11. Remove the rack shaft from the rack and pinion housing.
Assembly Procedure
Important: All interlocking metal parts must be lubricated with lithium-base grease as they are assembled.
1. Install the rack shaft into the rack and pinion housing. Install the retaining ring.
2. Install the housing end cover.
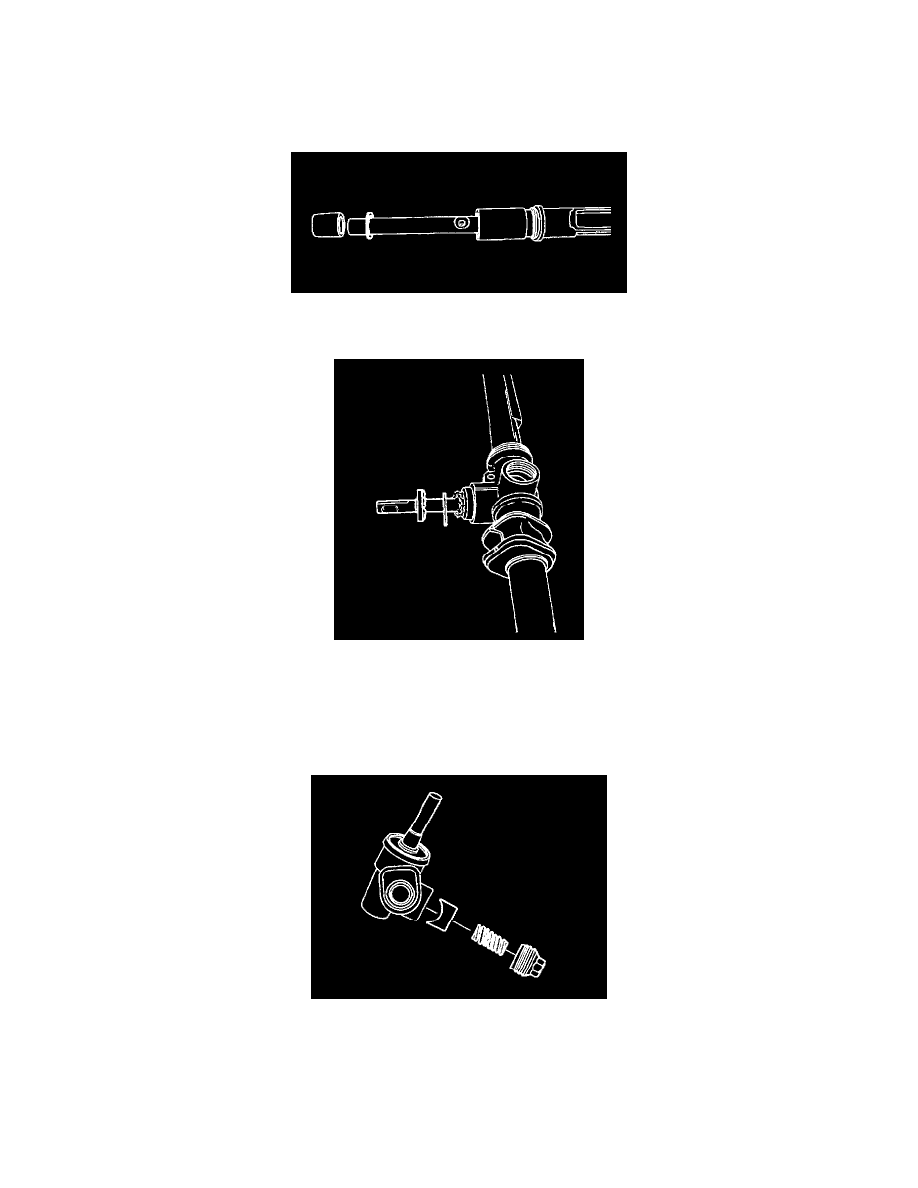
Important: When the pinion and valve assembly is fully seated in the housing, be sure the notch in the stub shaft and the mark on the housing line up.
Be sure the rack guide assembly is centered in the housing window.
3. Center the rack guide assembly in the housing window opening.
4. Line up the stub shaft notch with the mark on the housing. Seat the pinion and valve assembly into the rack and pinion housing.
5. Install the retaining ring and seat the pinion seal. The top of the seal should be flush with the top of the housing.
6. Coat the rack bearing (with the O-ring seal attached), the adjuster spring, and the adjuster plug with lithium-base grease. Install them into the
housing.
Tighten
With the rack centered in the window in the housing, turn the adjuster plug clockwise until a torque of 5 Nm (44 inch lbs.) is obtained. Then back
the adjuster plug off by 20 to 30 degrees. Check the pinion preloaded torque is within the range 0.7 to 1.5 Nm (6 to 13 inch lbs.).