
Daytona IROC R/T L4-135 2213cc 2.2L DOHC Turbo VIN A FI (1993)
Throttle Body: Testing and Inspection
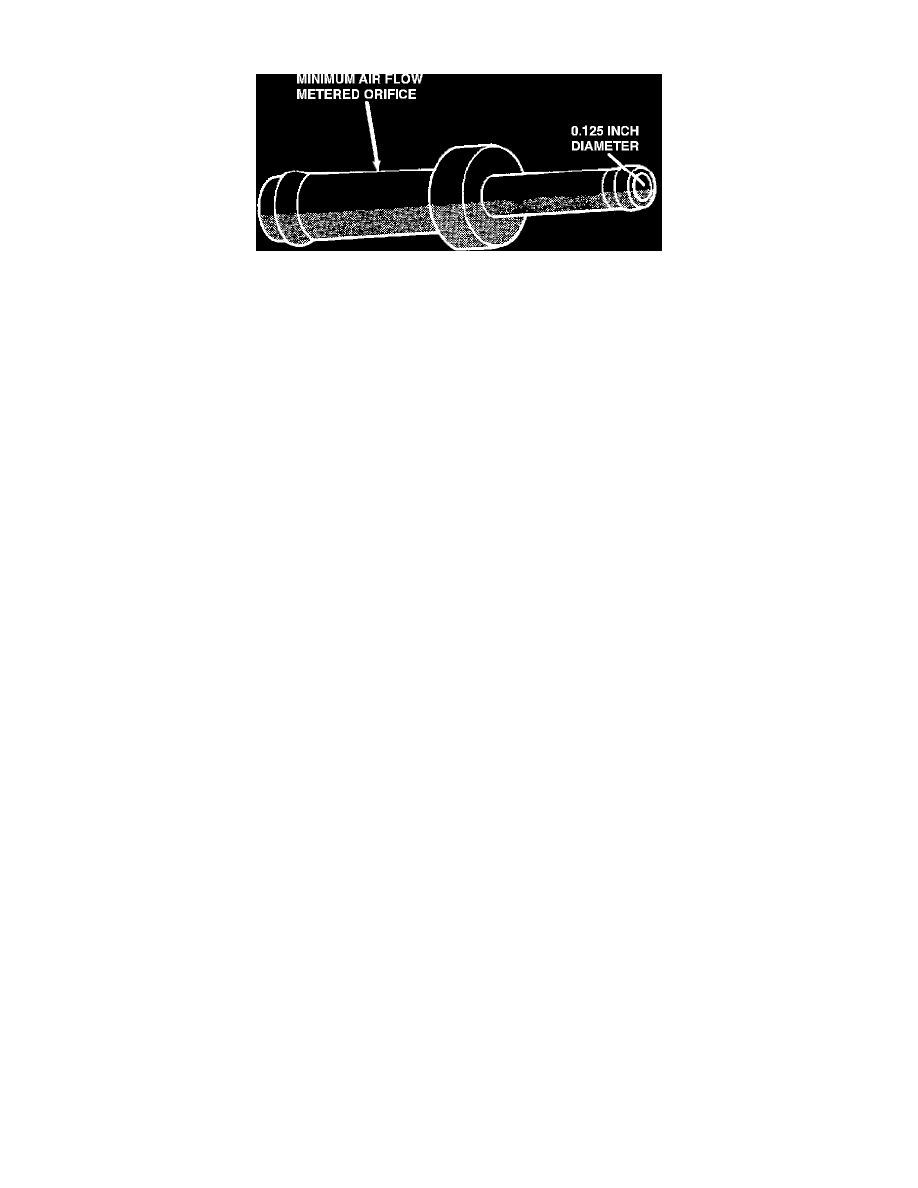
Minimum Air Flow Air Metering Fitting
WARNING: Apply parking brake and/or block wheels before performing any engine running test with the vehicle on the ground.
NOTE: Before performing minimum air flow test, make sure all accessories are off.
1.
With vehicle in PARK (A/T) or NEUTRAL (M/T), START the engine and allow it to warm up until the cooling fan cycles at least once, then shut
OFF engine.
2.
Connect a tachometer to the engine.
3.
Disconnect the 3/16" manifold vacuum purge vacuum line from the top of the throttle body and cap the nipple.
4
Disconnect PCV valve from intake manifold nipple, and attach air metering tool 6457 (0.125 inch orifice) or equivalent to manifold nipple.
5.
Connect scan tool [1], START engine and allow to idle for at least one minute.
6.
Using the scan tool [1], access the MINIMUM AIR FLOW IDLE SPEED function.
When this mode is entered, the following should occur:
^ The Idle Air Control (IAC) motor should close the bypass passage fully.
^ Idle spark advance should become fixed.
^ Idle fuel should become enriched.
^ Engine rpm will be displayed on the scan tool.
7.
Read idle rpm with tachometer, and compare to specifications below.
^ If idle rpm is within range, Minimum Air Flow is set correctly.
^ If idle rpm is not within specified range, replace the throttle body.
8.
Shut OFF the engine; remove scan tool, and tachometer. Connect the purge line to the throttle body.
9.
Using scan tool [1], erase any fault codes that may have been set.
Remarks:
[1] Follow scan tool manufacturer's instructions for procedures.
ODOMETER READING IDLE SPEED
Less than 1000 miles
600-1,150 RPM
More than 1000 miles
650-1,150 RPM