
Durango 4WD V8-5.9L VIN Z (1998)
Control Arm: Service and Repair
Upper Control Arm
REMOVAL
1. Raise and support vehicle.
2. Remove wheel and tire assembly.
3. Remove brake hose brackets from suspension arm, refer to Brakes and Traction Control.
4. Position hydraulic jack under lower suspension arm and raise jack to unload rebound bumper.
5. Remove shock absorber.
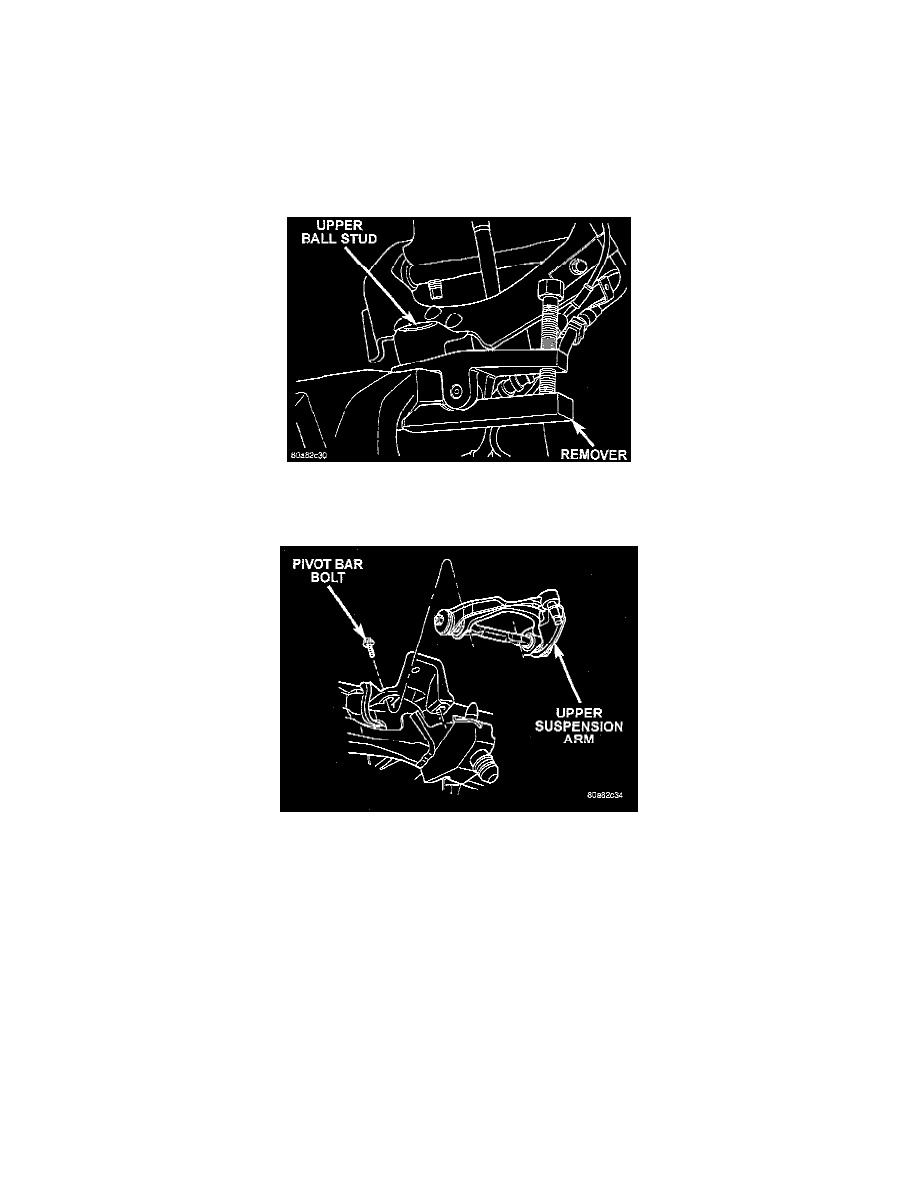
6. Remove the cotter pin and nut from upper ball stud.
7. Separate upper ball stud from the steering knuckle with Remover MB-991113, or equivalent.
CAUTION: When installing Remover MB-991113, or equivalent to separate the ball stud, be careful not to damage the ball stud seal.
8. Remove suspension arm pivot bar bolts and remove suspension arm.
INSTALLATION
1. Position suspension arm pivot bar on mounting bracket. Install bolts and tighten (temporarily) to 136 Nm (100 ft. lbs.).
2. Insert ball stud in steering knuckle and tighten ball stud nut to 81 Nm (60 ft. lbs.) then install a new cotter pin.
3. Install shock absorber.
4. Remove hydraulic jack.
5. Attach brake hose brackets to suspension arm, refer to Brakes and Traction Control.
6. Tighten upper suspension arm pivot bolts to 224 Nm (165 ft. lbs.).
7. Install the wheel and tire assembly.
8. Remove support and lower vehicle.
9. Align front suspension.