
Sprinter 2500 V6-3.0L DSL Turbo (2008)
Intake Manifold: Service and Repair
Intake Port Swirl Actuator
Removal
REMOVAL
1. Disconnect the negative battery cable.
2. Remove the engine cover.
3. Remove the air filter housing.
4. Drain the cooling system.
5. Remove the intake manifold See: Intake Manifold - Removal.
6. Position the intake manifolds on a work bench.
CAUTION: Care must be taken when disconnecting the actuator and rod assembly. Failure to do so will result in poor connections
during assembly or intake manifold replacement.
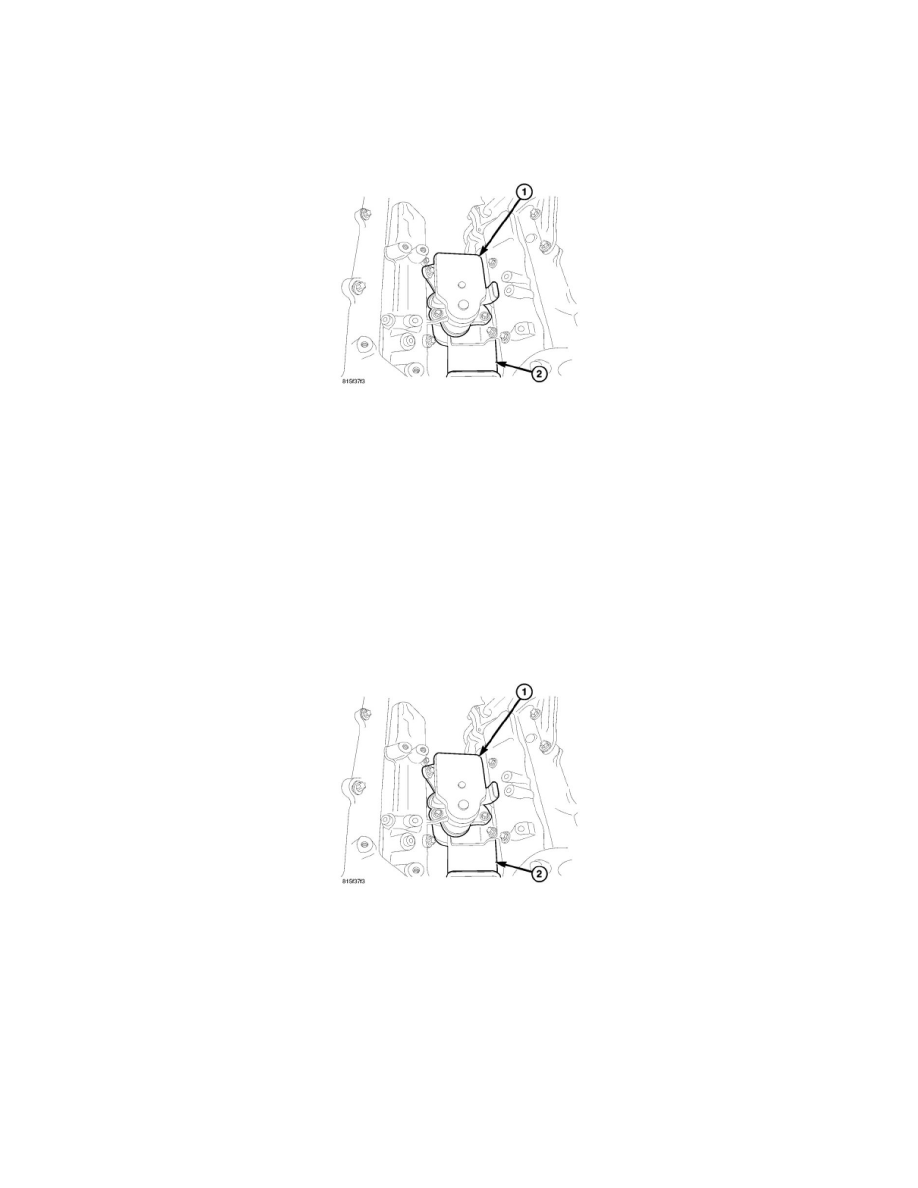
7. Pinch together the actuating rod retaining clip and carefully separate the rod from the actuator.
8. Remove the actuator fasteners and actuator (1) from the intake manifold.
Installation
INSTALLATION
1. Position the actuator (1) on the intake manifold and tighten fasteners to 12 Nm (106 in. lbs.).
CAUTION: Care must be taken when connecting the actuator and rod assembly. Failure to do so will result in poor connections during
assembly or intake manifold replacement.
2. Carefully connect the relationship rod to the actuator. Do Not Force.
3. Install the intake manifold See: Intake Manifold - Installation.
4. Install the turbocharger See: Powertrain Management/Fuel Delivery and Air Induction/Turbocharger/Service and Repair/Turbocharger -
Installation.
5. Fill the cooling system using the appropriate MOPAR(R) hybrid organic acid technology (H.O.A.T.) coolant.
WARNING: See: Powertrain Management/Fuel Delivery and Air Induction/Service Precautions/Vehicle Damage Warnings/Fuel Delivery
.