
Sprinter 2500 V6-3.0L DSL Turbo (2008)
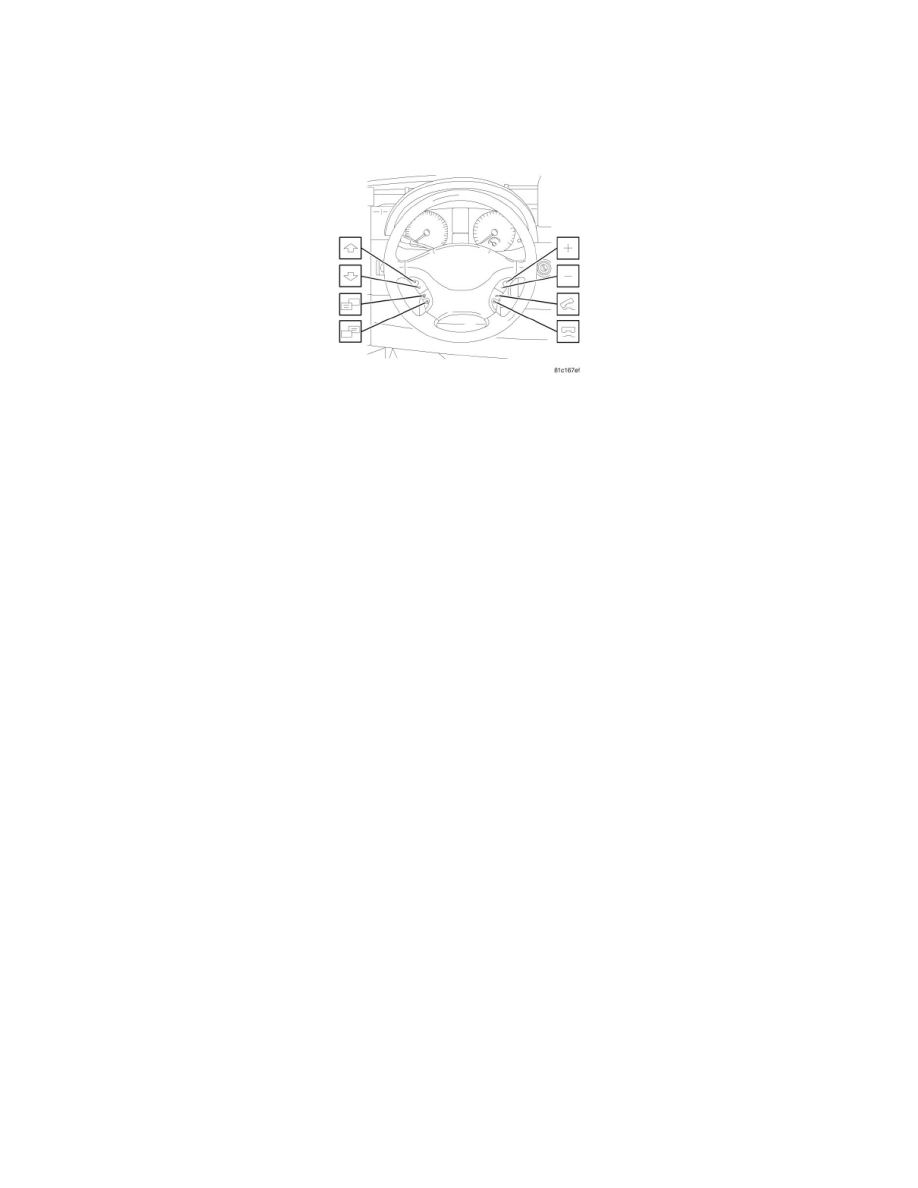
18. Select the Instrument cluster submenu using the PLUS or MINUS button.
19. Press the UP ARROW or DOWN ARROW button repeatedly until you see the "Tire pres" message in the display. The current setting is
highlighted.
20. Press the PLUS or MINUS button to select the unit for the tire pressure: bar or psi.
CLOCK/DATE SUBMENU
You can reach the Clock/Date submenu via the Settings menu.
NOTE: The Clock/Date submenu only appears if you do not have COMAND APS* installed. With COMAND APS*, it is only possible to set the
time using the audio system.
The following are the settings you can make in the Clock/Date submenu:
-
Set the hours (clock)
-
Set the minutes (clock)
-
Select the time format
-
Set the day
-
Set the month
-
Set the year
Setting the hours
1. Select the Clock/Date submenu using the PLUS or MINUS button.
2. Press the UP ARROW or DOWN ARROW button repeatedly until you see the "Set clock Hours" message in the display.
3. Set the hour by pressing the PLUS or MINUS button.
Setting the minutes
4. Select the Clock/Date submenu using the PLUS or MINUS button.
5. Press the UP ARROW or DOWN ARROW button repeatedly until you see the "Set clock Minutes" message in the display.
6. Set the minutes by pressing the PLUS or MINUS button.
Selecting the time format
7. Select the Clock/Date submenu using the PLUS or MINUS button.
8. Press the UP ARROW or DOWN ARROW button repeatedly until you see the "12/24 h" message in the display. The current setting is
highlighted.
9. Use the PLUS or MINUS button to select the 12 hour or 24 hour clock format.
Setting the day
10. Select the Clock/Date submenu using the PLUS or MINUS button.
11. Press the UP ARROW or DOWN ARROW button repeatedly until you see the "Date Day" message in the display.
12. Set the day by pressing the PLUS or MINUS button.
Setting the month
13. Select the Clock/Date submenu using the PLUS or MINUS button.
14. Press the UP ARROW or DOWN ARROW button repeatedly until you see the "Date Month" message in the display.
15. Set the month by pressing the PLUS or MINUS button.
Setting the year
16. Select the Clock/Date submenu using the PLUS or MINUS button.
17. Press the UP ARROW or DOWN ARROW button repeatedly until you see the "Date Year" message in the display.