
Windshield: Diagrams (page 5 of 8)
- Make
- Honda
- Model
- Ridgeline
- Engine
- V6-3.5L
- Year
- 2006
- Section
- Windshield
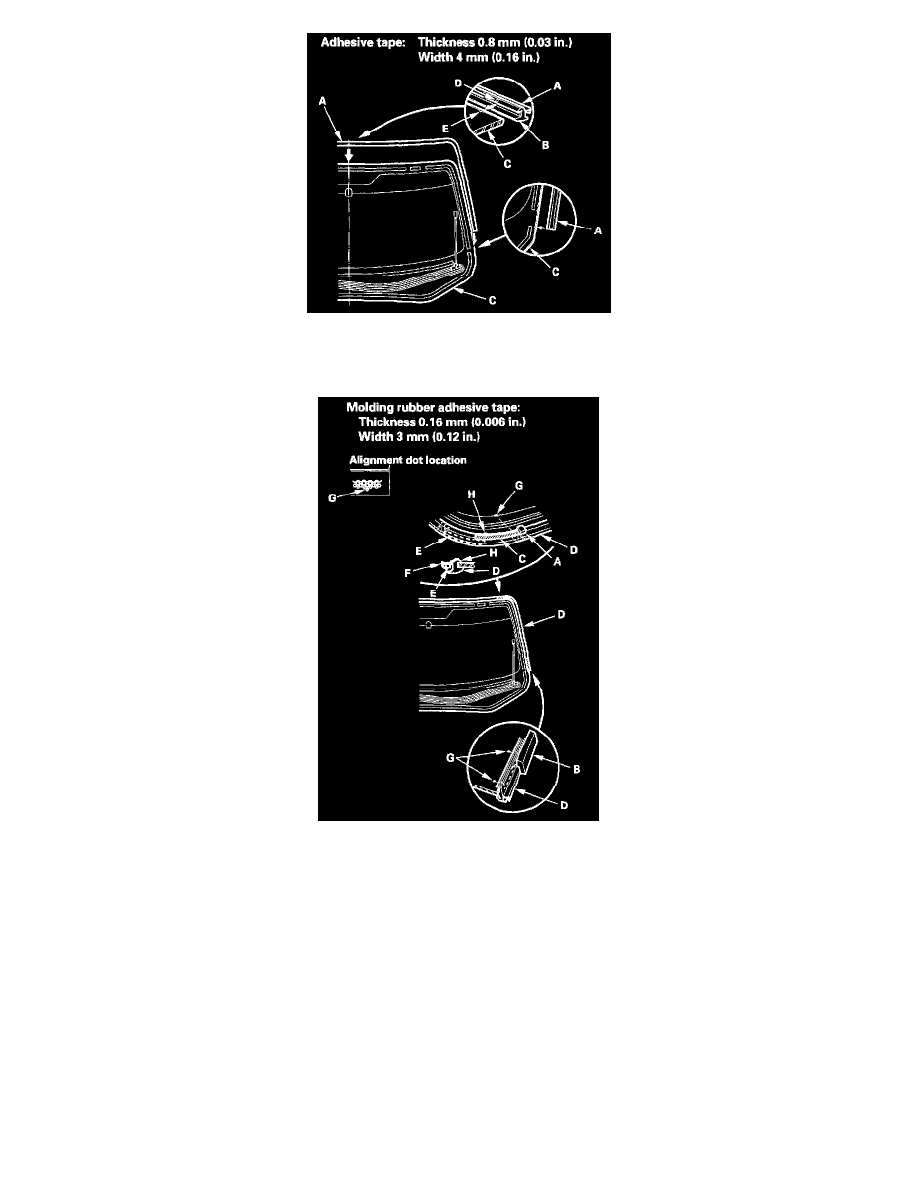
15. Attach the molding (A) with adhesive tape (B) to the edge of the windshield (C):
-
Be sure the alignment mark (D) of the molding lines up with the alignment mark (E) of the windshield.
-
Be careful not to touch the windshield where adhesive will be applied.
16. Attach the molding upper seals (A), molding lower seals (B), and non woven fabric (C) to the inside surface of the molding (D), and attach the
molding rubbers (E) with the adhesive tape to the inside surface of the molding lip (F) as shown:
-
Be sure the molding upper seal and molding side seal line up with the alignment dots (G).
-
Be sure the molding rubber lines up with the alignment mark (H) of the molding.
-
Be careful not to touch the windshield where adhesive will be applied.
Pinch or Ctrl + scroll to zoom. Double-tap to reset.
Parts & tools for this job For 2006 Honda Ridgeline 3.5L
- TOOLTrim removal tool kitSearch: trim removal tool kit
- PARTTouch-up paintSearch: Honda touch up paint
- PARTPanel clip assortmentSearch: Honda panel clips assortment
Links open Amazon search results in a new tab. As an Amazon Associate I earn from qualifying purchases.