
H2 V8-6.2L (2008)
10. Remove the camshaft.
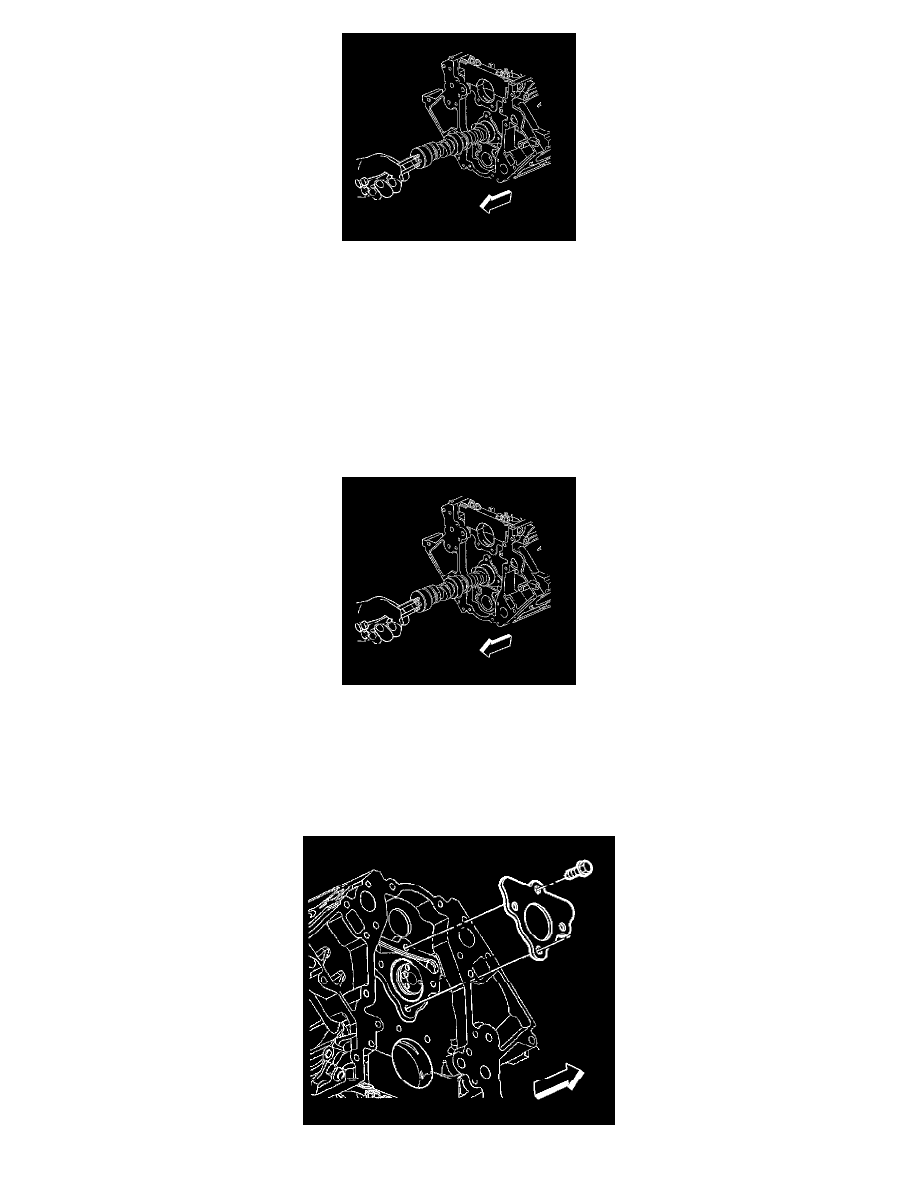
1. Install three M8-1.25 x 100 mm (M8-1.25 x 4.0 in) bolts to the bolt holes in the front of the camshaft.
2. Using the bolts as a handle, carefully rotate and pull the camshaft out of the engine block.
3. Remove the three bolts from the camshaft.
11. Clean and inspect the camshaft and bearings. Refer to Camshaft and Bearings Cleaning and Inspection (See: Service and
Repair/Overhaul/Component Service and Inspection/Camshaft and Bearings Cleaning and Inspection) .
Installation Procedure
Important: If camshaft replacement is required, the valve lifters must also be replaced.
1. Lubricate the camshaft journals and the bearings with clean engine oil.
2. Install three M8-1.25 x 100 mm (M8-1.25 x 4.0 in) bolts to the bolt holes in the front of the camshaft.
Notice: All camshaft journals are the same diameter, so care must be used in removing or installing the camshaft to avoid damage to the camshaft
bearings.
3. Using the bolts as a handle, carefully install the camshaft into the engine block.
4. Remove the three bolts from the front of the camshaft.