
H2 V8-6.2L (2008)
Notice: Refer to Fastener Notice (See: Service Precautions/Vehicle Damage Warnings/Fastener Notice) .
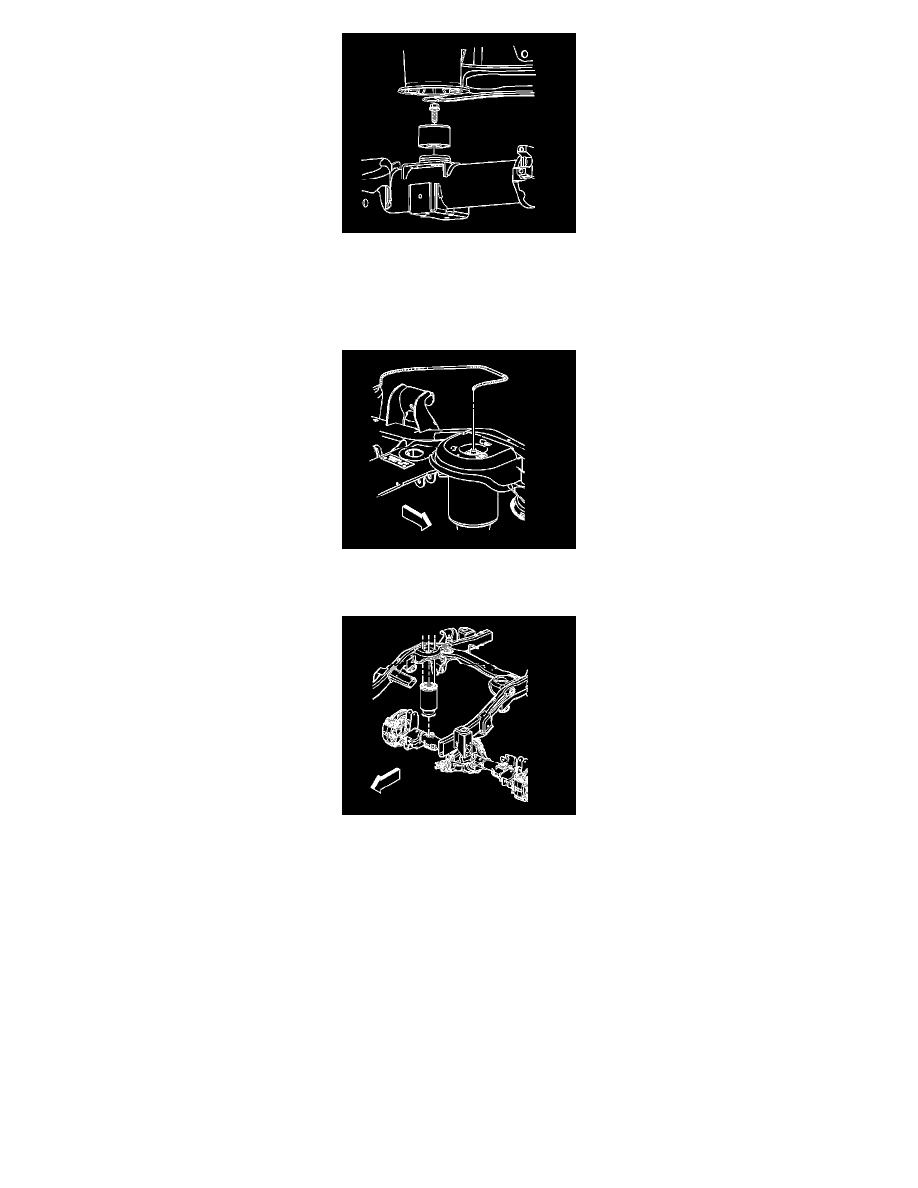
1. Install the air spring support to the axle.
Tighten the bolt to 22 N.m (16 lb ft).
2. Install the air supply line to the air spring. Verify that the air supply line is fully seated. Refer to Air Suspension Air Line Replacement (See: Air
Line/Service and Repair) .
3. Install the air spring to the vehicle.
4. Secure the air spring to the frame by aligning the mounting tabs with the keyhole slots in the upper spring seat.
5. Apply upward pressure to the air spring and rotate clockwise until the anti-rotation peg snaps into place.
Important: If the rear axle was allowed to hang unsupported, lower the vehicle far enough to allow the air spring to be manually
engaged to the support on the axle tube with minimal distortion of the air spring bladder. Ensure that the air spring is fully engaged to
the axle support.
6. Pressurize the air springs. Refer to Air Suspension Pressurization (See: Service and Repair/Procedures/Air Suspension Pressurization) .
7. Lower the vehicle completely.
8. Start the vehicle and run for approximately 2 minutes to verify that the air suspension system is functioning properly.
9. Verify the D-height. Refer to Trim Height Specifications (See: Specifications/Trim Height Specifications) .