
H2 V8-6.2L (2008)
Level Control Solenoid Valve: Service and Repair
Valve Automatic Level Control Solenoid Replacement (Dual Compressors)
Removal Procedure
Caution: Do NOT remove an air supply pipe in an attempt to depressurize the air suspension. Always follow the Air Suspension Depressurization
Procedure in Air Suspension. Failure to follow this procedure may cause personal injury or damage to the vehicle.
1. Remove the compressor assembly from the vehicle and place on a bench. Refer to Compressor Assembly Automatic Level Control Air
Replacement (Dual Compressors) (See: Compressor/Pump/Service and Repair/Compressor Assembly Automatic Level Control Air Replacement
(Dual Compressors)) .
2. Unlock and disconnect the electrical connector from the pressure transducer/sensor by turning the connection counterclockwise.
Important: Note the port location of the air lines for reassembly.
3. Remove the air lines. Refer to Air Suspension Air Line Replacement (See: Air Line/Service and Repair) .
4. Disconnect and remove the pigtail harness from the compressor assembly mounting bracket.
5. Remove the mounting screws.
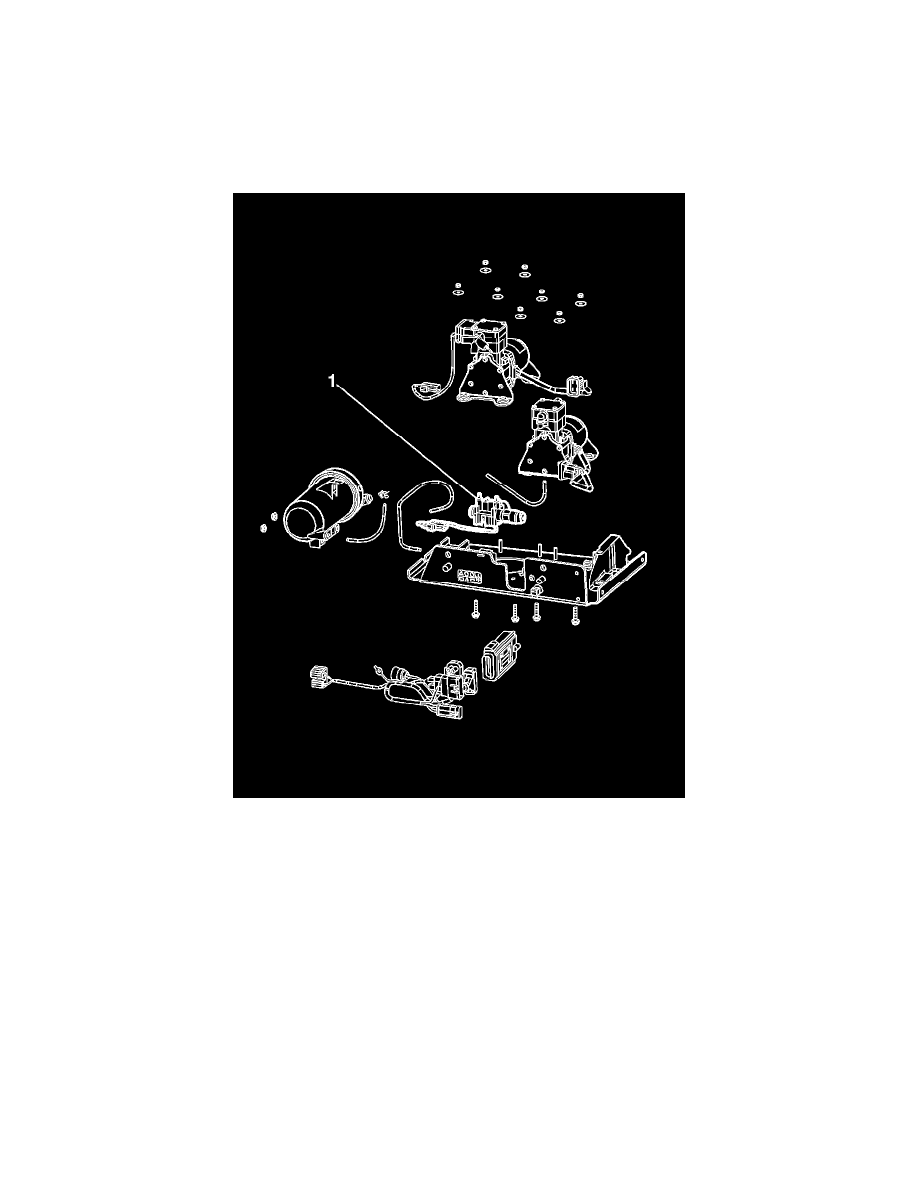
6. Remove the solenoid assembly (1).
Installation Procedure