
H2 V8-6.2L (2008)
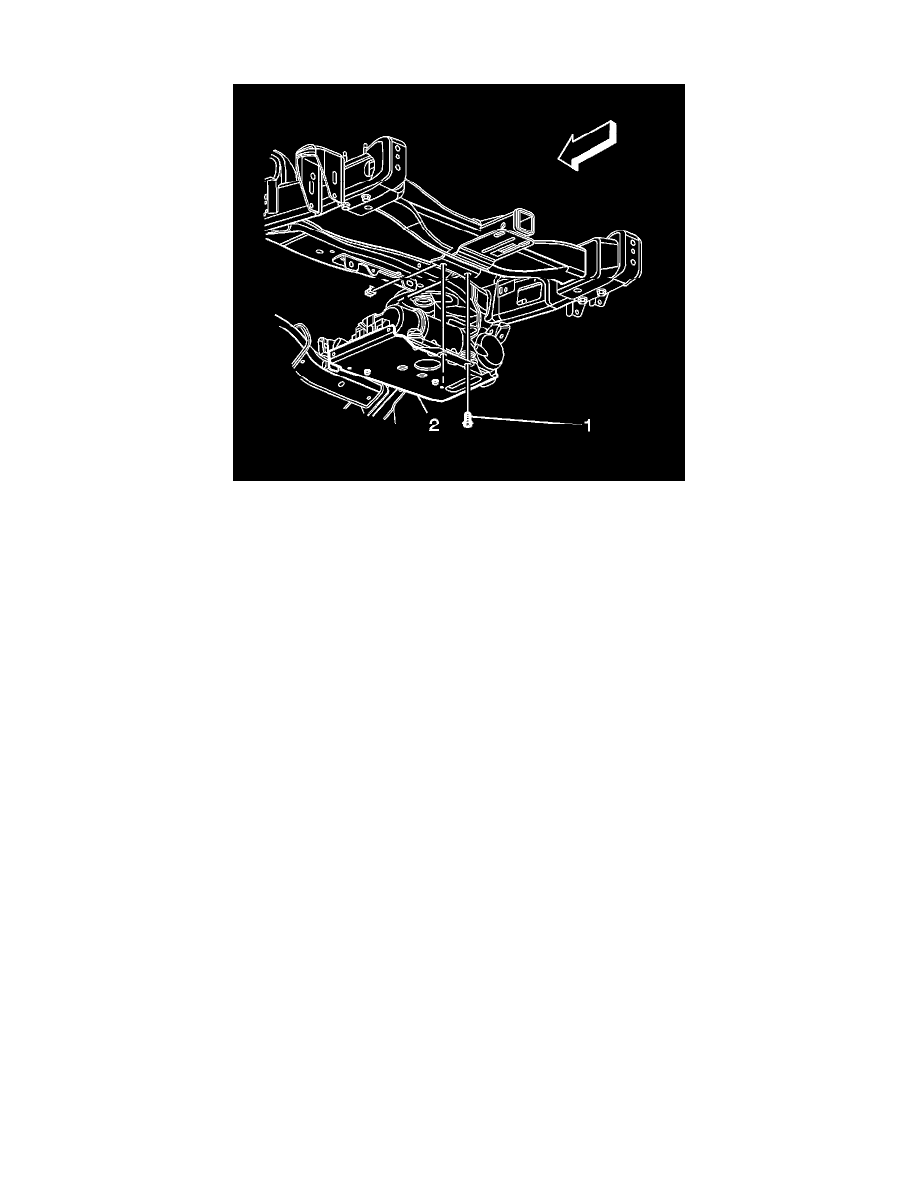
Tighten bolt to 6 N.m (53 lb in).
7. Connect the air spring compressor and air inflator switch electrical connectors (1, 2).
8. Install the CPA retainer (3).
9. Remove the support from the compressor.
Important: If the rear axle was allowed to hang unsupported, lower the vehicle far enough to allow the air spring to be manually
engaged to the support on the axle tube with minimal distortion of the air spring bladder. Ensure that the air spring is fully engaged to
the axle support.
10. Pressurize the air springs. Refer to Air Suspension Pressurization (See: Service and Repair/Procedures/Air Suspension Pressurization) .
11. Lower the vehicle.
12. Start the vehicle and run for approximately 2 minutes to ensure that the air spring leveling system is functioning properly.
13. Verify the D height. Refer to Trim Height Specifications (See: Specifications/Trim Height Specifications) .
14. Re-calibrate the trim height. Refer to Suspension Position Calibration (See: Service and Repair/Procedures/Suspension Position Calibration) .
15. Check for leaks. If a leak is found at the air supply line connections replace the air supply lines. Refer to Air Suspension Air Line Replacement (
See: Air Line/Service and Repair) .