
Timing Belt: Specifications (page 5 of 6)
- Make
- Hyundai
- Model
- Elantra Sedan
- Engine
- L4-1.8L
- Year
- 1997
- Section
- Timing Belt
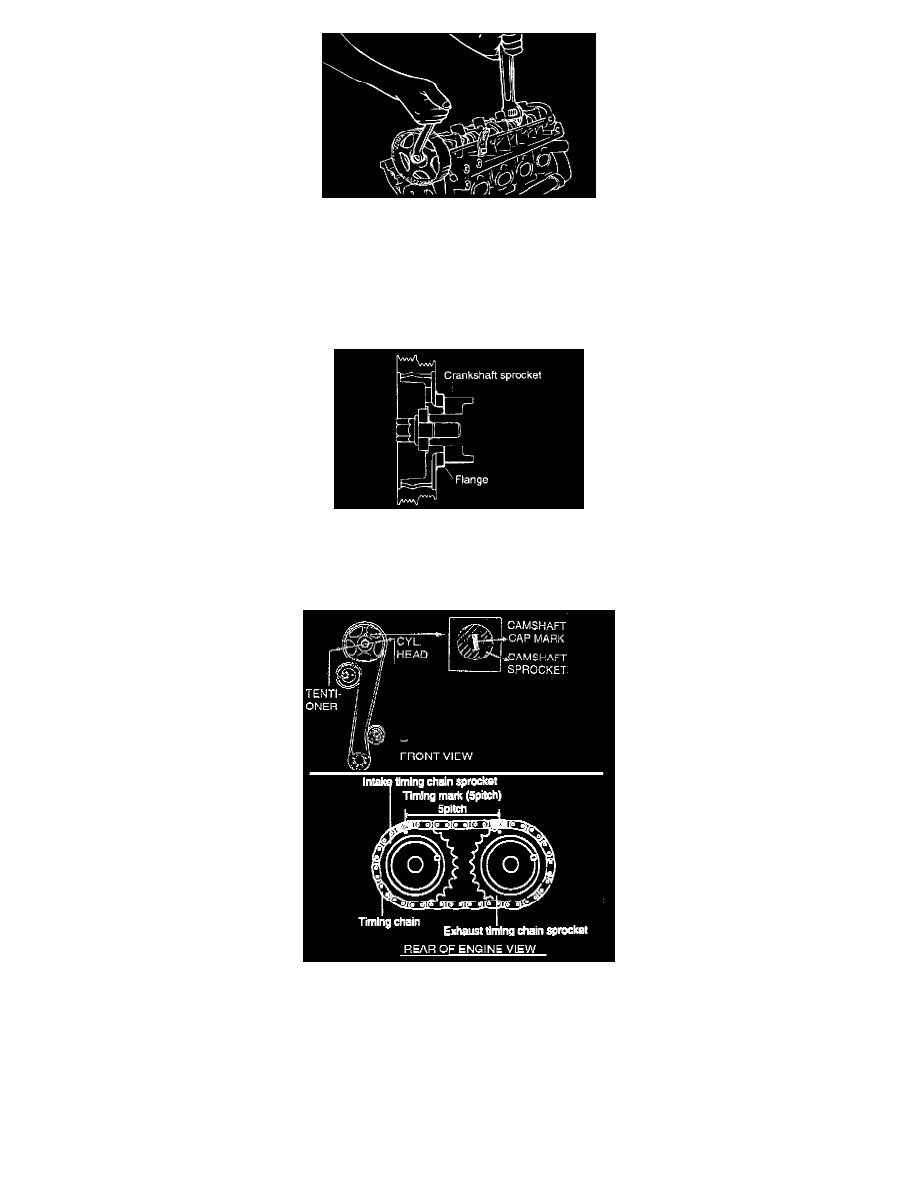
6. Remove the camshaft sprocket.
NOTE: Be careful not to damage the cylinder head with the wrench.
7. Remove the crankshaft sprocket from crankshaft.
INSTALLATION
1. Install damper pulley flange and crankshaft sprocket as shown. Pay close attention to their mounting direction.
2. Install the camshaft sprocket and tighten the bolt, to the specified torque.
Tightening torque:
Camshaft sprocket bolt: 100-120 Nm (1000-1200 kg.cm, 74-89 ft. lbs.)
3. Align the timing marks of the camshaft sprocket and crankshaft sprocket with the No. 1 piston placed at top dead center and its compression
stroke.
4. Install the timing belt tensioner and idler pulley.
5. Install the timing belt on the camshaft
6. Install the timing belt on the crankshaft.
When the timing belt is installed on the camshaft sprocket, make sure that the tension side is tighten the timing belt tensioner pulley pushing
toward the water pump.
Pinch or Ctrl + scroll to zoom. Double-tap to reset.
Parts & tools for this job For 1997 Hyundai Elantra 1.8L
- PARTTiming belt kitSearch: Hyundai Elantra 1997 1.8L timing belt kit
- TOOLEngine timing tool setSearch: Hyundai engine timing tool set
- TOOLTorque wrenchSearch: 3/8 inch torque wrench
Links open Amazon search results in a new tab. As an Amazon Associate I earn from qualifying purchases.