Rodeo S 2WD L4-2.2L (1999)

1. Use a micrometer to measure the new piston pin outside diameter in both directions at three different positions.
2. Measure the inside diameter of the connecting rod small end. If the fitting interference between the small end and pin does not conform to the
specified value, the connecting rod must be replaced.
Standard: 0.02 mm - 0.041 mm (0.0008 inch - 0.0016 inch)
3. Insert the new pin into the piston and rotate it. If the pin rotates smoothly with no backlash, the clearance is normal. If there is backlash or
roughness, measure the clearance. If the clearance exceeds the specified limit, the piston must be replaced.
Clearance
Standard: 0.011 mm - 0.014 mm (0.0004 inch - 0.0005 inch)
Connecting Rods (11)
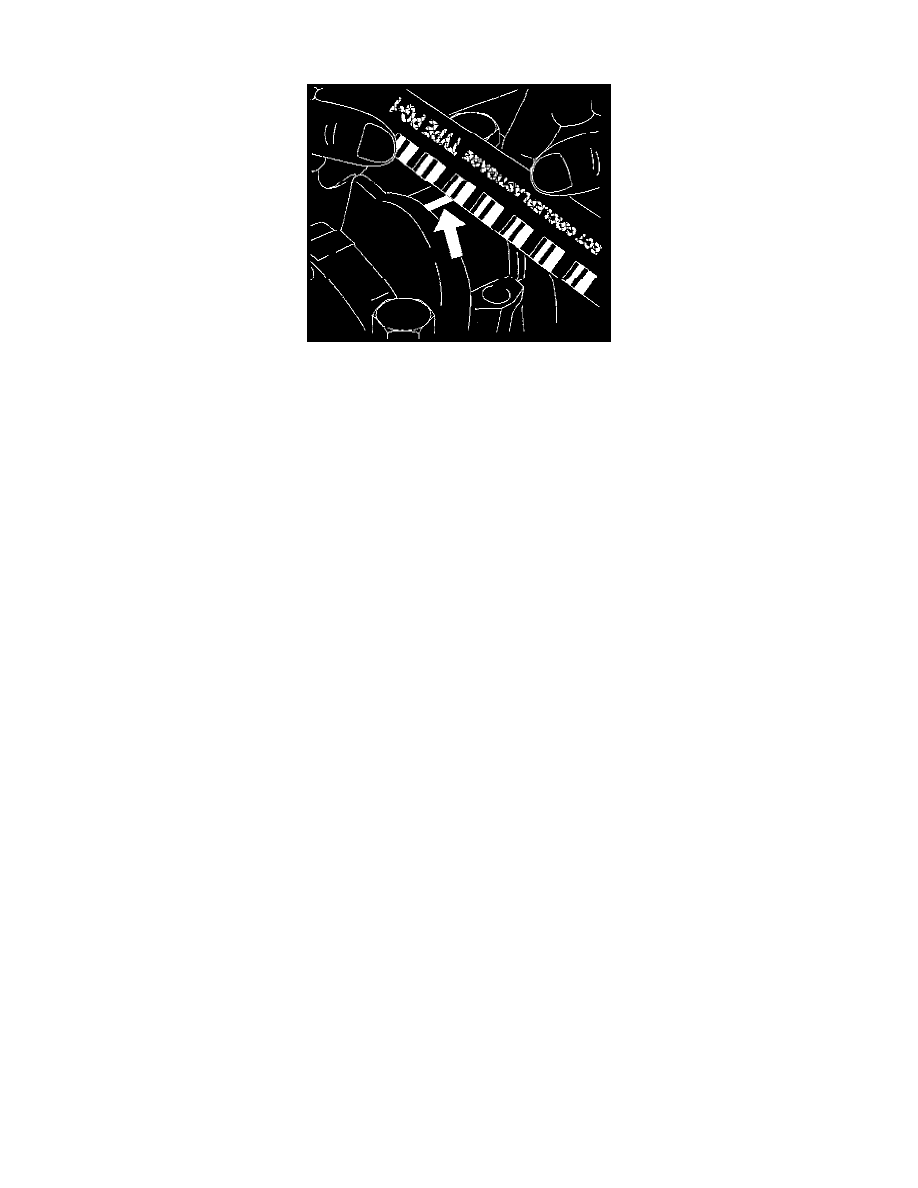
1. Measure the oil clearance between the connecting rod and the crankshaft.
1. Remove the connecting rod cap nuts and the rod caps (12).
Arrange the removed rod caps in the cylinder number order.
2. Clean the rod bearings and the crankshaft pins.
3. Carefully check the rod bearings. If even one bearing is found to be damaged or badly worn, the entire bearing assembly must be replaced as a
set. Reinstall the bearings in their original positions. Apply plastigage to the crank pin.
4. Reinstall the rod caps (12) to their original positions.
Tighten the rod cap nuts.
1st step: 35 Nm (26 ft. lbs.)
2nd step: 45°
3rd step: 15°
NOTE: Do not allow the crankshaft to rotate.
5. Remove the rod caps.
6. Measure the width of the plastigage and determine the oil clearance. If the oil clearance exceeds the limit, replace the rod bearing as a set.
Standard: 0.006 mm - 0.031 mm (0.0002 inch 0.0012 inch)
Limit: 0.12 mm (0.0047 inch)
