
Rodeo S 2WD L4-2.2L (1999)
22. Test fit a Pop-nut into each hole to be sure drilling is complete.
Important:
23. Using a blow gun through the frame hole blow any rust debris away from this area up and down the inside frame rail.
24. Install Pop-nuts.
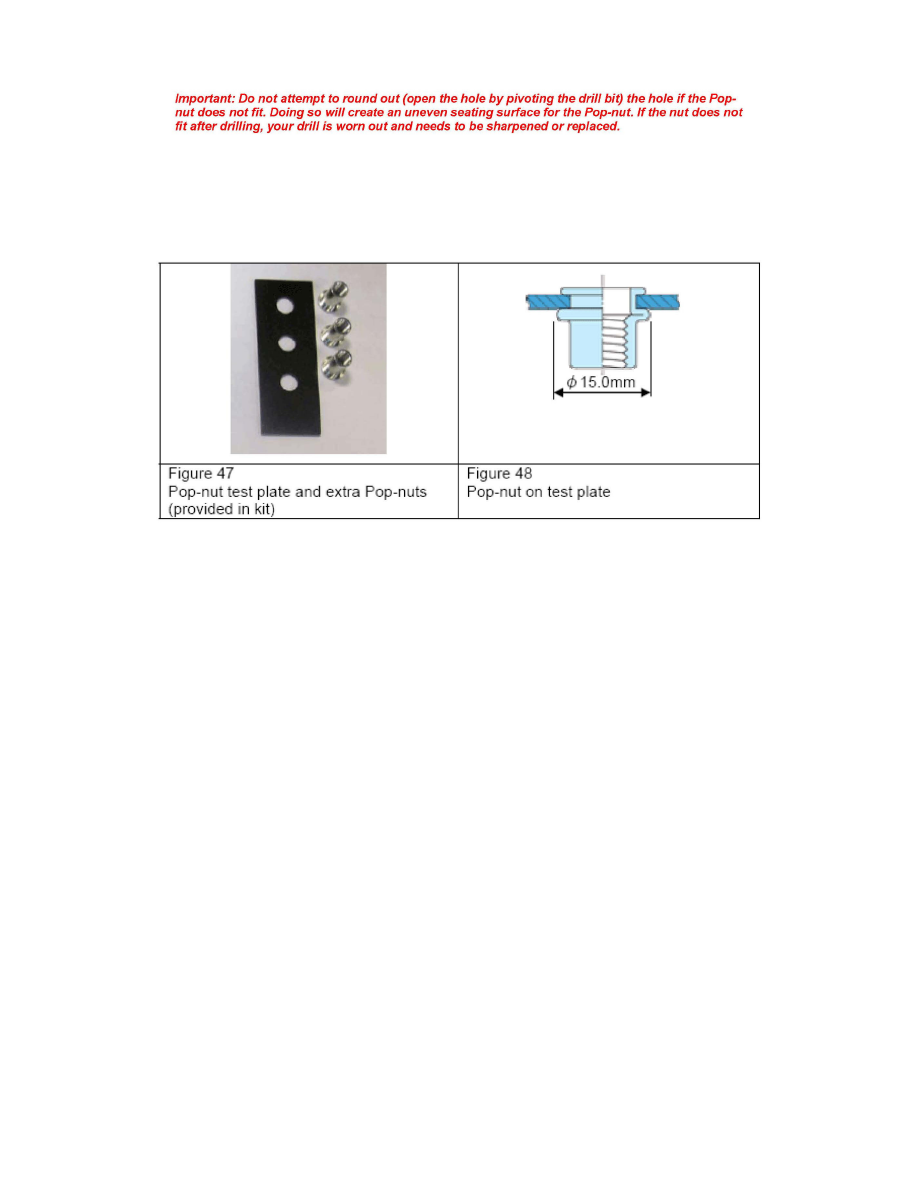
a. Before installing the Pop-nuts (P/N 8-98174-539-0) be sure the pressure regulator is adjusted between 72.5 and 87 psi (0.5-0.6MPa / 5-6bar)
and using the provided test pieces test install one to three Pop-nuts into the test plate to be sure the Pop-nuts are seating properly. See Figure 47
and 48.
NOTE:
Air pressure regulator adjustment is critical. Excessive air pressure will result in tool damage while low pressure may result in incorrect Pop-nut
installation.
b. When Installing Pop-nuts be sure the Pop-nuts are completely seated against the frame before pulling the trigger. See Figure 22.
c. After pulling trigger continue to hold it down until the mandrel reverses direction. Once reversed pull back slightly and the mandrel will
unthread from the Pop-nut. See Pop-nut Installer manual for details.
25. Temporarily install both right and left Type B brackets again. Confirm all bolts can be properly started in each Pop-nut.
26. Remove both Type B brackets.