
Rodeo S 2WD L4-2.2L (1999)
16. Using "C" clamps and the provided stud and nut (P/N 8-98174-543-0 and 8-97245-646-0) temporarily install both right and left Type "B" brackets
as shown in Figure 44.
a. Start by securing the bracket to the frame using the stud and nut at the upper link bracket.
b. Push the bracket up firmly against the frame and clamp into place with the "C clamps. Be sure the clamps compress the bracket against the
frame so there is not possibility of movement while marking the frame.
17. Using the 14 drill bit guide or equivalent drill 14 pilot holes for each bracket mounting point into the frame rail 16 holes for each bracket. See
Figure 45.
Important:
be sure the bracket does not move during the procedure.
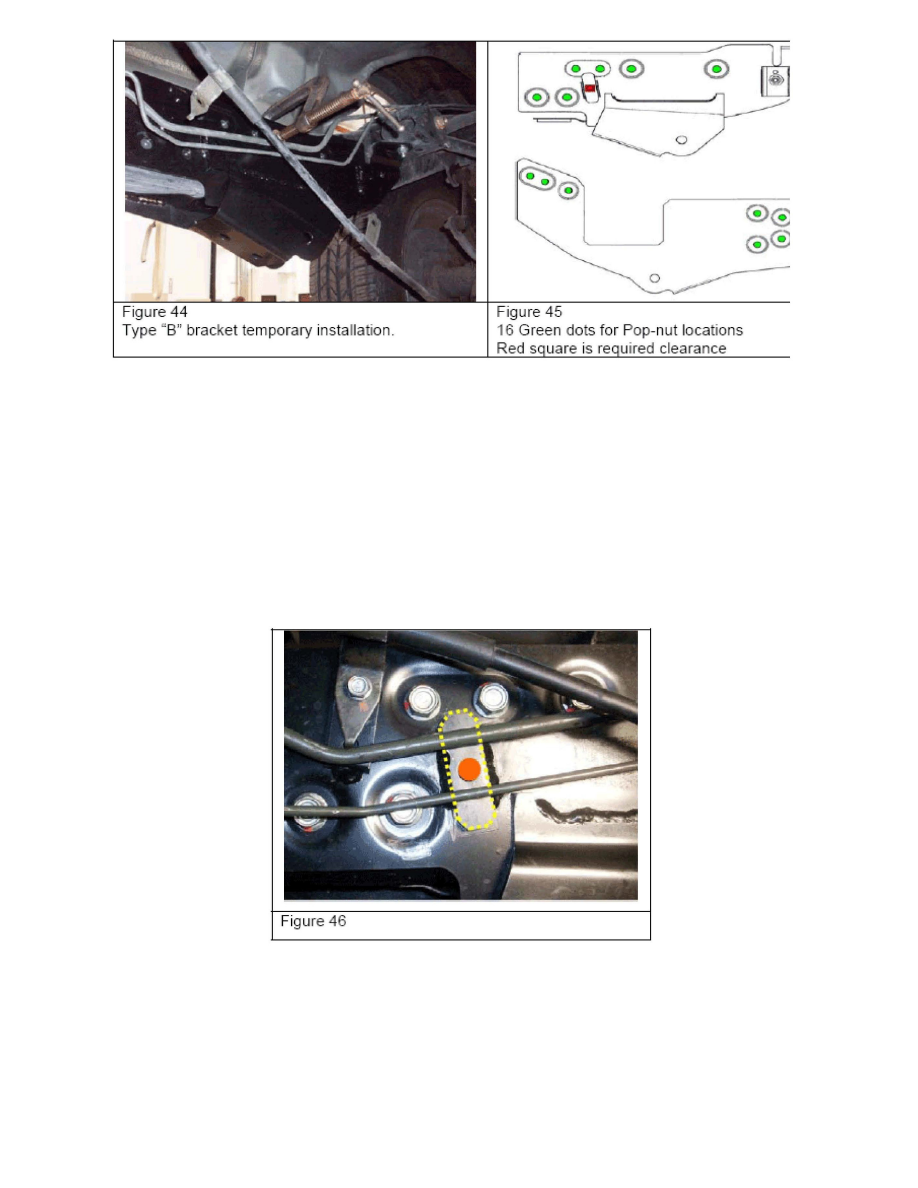
18. Using a 1/4" drill bit drill a hole in the frame through the passenger side Type "B bracket brake clip mounting hole. See Figure 45.
19. Remove both Type "B brackets.
20. Locate the 14 hole drilled in step 18. Use the 33/64 drill bit and final drill this location. Mark this location with tape or chalk. This hole is required
to provide clearance for the passenger side brake pipe clip. See Figure 45.
Important:
Do not install a Pop-nut in this location. This hole is required clearance for the passenger side brake pipe clip.
21. Use the 33/64 drill to final drill all of the mounting holes.